tripod

Todd Henson

Panorama of Cruise Ships at Bar Harbor, Maine by Todd Henson

Final stitched panorama showing 3 cruise ships docked at Bar Harbor, Maine, in stormy weather.

This post contains affiliate links and I will be compensated if you make a purchase after clicking on my links. This is at no extra cost to you.

The Story

Bar Harbor, Maine, is a popular tourist destination both by land and by sea. On one of the days my father and I spent in the area we saw three cruise ships docked at Bar Harbor. The day had been very drizzly, with clouds at low elevations, low enough they completely engulfed Cadillac Mountain. An overlook on one of the park roads offered a great view of all three cruise ships with parts of Bar Harbor peeking through the tops of the trees. Various islands could be seen further out and the clouds completely filled the sky.

It was a beautiful scene, and I wanted to capture as much of it as possible. The first images I created were with a wide angle lens, trying to get everything in. But then I had the idea to create a multi-image stitched panorama to capture more detail. Rain was moving back in, the winds were picking up, and fog was quickly coming in from the left, so I had to work quickly. I setup the tripod and fired off the shots. In the end I had 13 images to work with. I would later use Lightroom to stitch these together into the final panoramic image.

The final image has been scaled down in size to allow it to load quickly on the website, so it’s hard to appreciate the detail within it. Below, I’ve split the image into three to make it easier to see some of the details. I did have to crop in a little from the full image to split it into three without cutting into the middle cruise ship. Click on each of the three images to see a larger version of each.

The Technique

I set up my tripod, put the 70-200mm lens on my camera and positioned it vertically, set the focal length to 78 mm, and put everything into manual mode. This included setting the white balance (not in auto mode), setting the aperture, shutter speed, ISO, everything. This is done to assure the camera doesn’t change anything that will affect exposure from one image to the next. If the exposure changes between images then we won’t be able to cleanly merge them in software.

My tripod has a bubble level on the collar, where the tripod head mounts. I made sure that was level. This assured the base of the tripod was level and would help me create a level and even panorama. I also put a double axis bubble level on the camera's hot shoe. I used this to assure the camera was level. I was using a ball head, so it would be easy for the camera to not be level even though the base of the tripod was. I tightened the ball head, but loosened the panning base to allow me to rotate the camera left and right, keeping it level. Once I had everything level it was time to shoot.

One of the many tips I’ve picked up from others is to start and end a sequence of images that will all be used together, either for panoramas or HDR, with a photo of my hand. This way I know where the sequence starts and where it ends, making it much easier to pick out the images in Lightroom. I also try to shoot more than I think I’ll need to give me plenty of room to crop if needed, something that is almost always necessary with stitched panoramas.

I started from the left side and created the first image in the sequence. Then I panned the tripod head to the right. I made sure to have plenty of overlap between the first and second images to give the software enough information to line up the images correctly. I continued this process, creating an image, then panning between 1/3 to 2/3 of an image to the right, then creating the next image. In the end I used 13 of the images to stitch the final panorama. This created an image close to 80 megapixels in size using a 12.3 megapixel camera.

The Post-Processing

Post-processing the 13 raw images into the final panorama was actually very easy. In the past Lightroom needed to export the images to Photoshop to merge them. But the process is much simpler now that Lightroom has the ability to merge panoramas itself. You can still use Photoshop for more complicated or troublesome panoramas.

Step 1: Select All The Images

Step 1: Select all the images

The first step is selecting all the images in Lightroom that will be part of the panorama. This step shows nicely how I overlapped each photo, creating plenty of duplicate content that Lightroom used to properly stitch them all together.

Step 2: Click Photo Merge, Then Panorama

Step 2: Click Photo Merge, then Panorama

After all the images are selected, right click, then click on Photo Merge and select Panorama.

Step 3: Panorama Merge Preview

Step 3: Panorama Merge Preview

A window titled Panorama Merge Preview will pop up. It may take Lightroom a little time to create a preview of the panorama, depending on how many images you have and how large they are. You can see on the right of the window Auto Select Projection is checked, as is Auto Crop.

Step 4: Projections and Cropping

Step 4: Projections and Cropping

Once the preview is created you can try manually switching between the different projections to see if one does a better job than another, but in most cases Lightroom should be able to choose the best one automatically. You can also try checking and unchecking the Auto Crop box to see how well the images were stitched together.

Step 5: Click Merge

Step 5: Click Merge

I unchecked the Auto Crop box so you can see the difference. There isn’t much difference in this case, which is great. It means I did a good job of creating images with little distortion and I kept everything very level. You can see a little on the lower right and the upper left that gets cropped. If you prefer, you can use the Boundary Warp slider to warp the image to fill it all in, instead of cropping, but doing so does distort parts of the image. In some cases you won’t notice the difference, but in others the warp might be too obvious and distracting. In this case everything lined up so well I used the Auto Crop box. Click the Merge button when you’re ready for Lightroom to merge the images.

Step 6: Lightroom Creates The Panorama

Step 6: Lightroom creates the panorama

The pop up will disappear and you’ll be back in the normal Lightroom interface, but notice in the upper left corner the status bar showing it is creating the panorama.

Step 7: The Raw Stitched Panorama

Step 7: The raw stitched panorama

When Lightroom is finished it will display the final stitched panorama. Now all you need to do is apply any desired raw adjustments.

Step 8: The Final Adjustments in Lightroom

Step 8: The final adjustments in Lightroom

Here you can see my final image, after I finished adjusting the raw panorama.

The Resources

The resources below contain affiliate links and I will be compensated if you make a purchase after clicking on my links. This is at no extra cost to you.

I’ve learned how to shoot and edit panoramas from a number of sources. Some of the best are CreativeLive classes I’ve purchased over the years. CreativeLive is a company that produces fantastic online video classes on a large range of topics. One of the first topics they began teaching was photography. They bring in amazing photographers and teachers and have them teach classes live. During the live broadcast they stream the class, for free, over the Internet. If you enjoy the class you can purchase it, giving you the ability to stream it again anytime you want. When you purchase you also get access to HD-quality videos you can download and watch at your leisure. And many classes have extras available when you purchase.

Below are the CreativeLive classes I’ve purchased that are about, or have sections about, creating panoramas. 

Photographing Panoramas for Large Prints with Mike Hagen

In this 1-day class from 2016 Mike discusses everything about panoramas. He talks about how to create them in the field, how to setup your gear, what settings to use on the camera, how to shoot the images that will be stitched together later in software. Then he goes into how to process the images in software. He shows how to merge the images into a panorama in Lightroom, and also shows how it is done in Photoshop using the Merge to Panorama in Photoshop option. Finally he talks about how to print the panoramas on a large format printer. He shows how to print from both Lightroom and Photoshop, and he goes into both how to print the images on your own printer and best practices when sending the images out to a lab to be printed. This is a really excellent class if you’re interested in panorama photography.

Creative Wow: Panorama Photography with Jack Davis

This is a 1-day class from 2014 dedicated solely to panorama photography. Jack Davis is a great instructor and talented photographer. This class is part of a series he did called Creative Wow, where each 1-day class covered a single topic. Great series, I own them all. Jack goes into many aspects of panoramas, such as what makes them so great, how to create them, how to setup the camera, examples of using an iPhone for panoramas, and lots of post processing techniques in Photoshop.

Post-Processing for Outdoor and Travel Photography with Ben Willmore

In this 3-day class Ben teaches post-processing techniques in Lightroom and Photoshop for outdoor and travel photography. The majority of the class uses Lightroom, and it focuses on outdoor and travel. The class is from 2014, which is before Lightroom had the ability to merge panos, so the merging is done in Photoshop. The pano sections are very similar to those in Ben’s Photoshop for Photographers classes. This is not the class for you if all you want is panorama techniques, but it's great if you want to know lots of other techniques related to outdoor and travel photography.

Landscape Photography with Marc Muench

This 2-day class has a short section on stitching panoramas. The class is from 2014, which is before Lightroom had the ability to merge panoramas itself, so Marc used the feature in Lightroom that sends the images to Photoshop, which automatically stitches the images for Lightroom. He then discusses a little about what he does in Photoshop before saving the file back to Lightroom for final processing. I would not recommend this class if your only interest is panoramas, but I would recommend the class for all things Landscape. Marc Muench is a name you should know if you’re interested in nature landscape photography.

Innovative Techniques for Outdoor Photography with George Lepp

In this 1-day class from 2015, George Lepp talks about a large number of techniques he uses to create his images. One of the techniques is panoramas, and he talks about various types of panos. As with others, this is not a class to purchase strictly for the pano section, but like Marc Muench, George Lepp is a name you should know if you’re into nature and outdoor photography. I enjoyed getting George’s perspectives and insights on all the techniques he covers, which include things like photographing birds, mammals, macro, snowflakes, landscapes, lightning, panos, HDR, time-lapse, video, and more.

Photoshop for Photographers: The Essentials with Ben Willmore

This is a 3-day class from 2014 that covers the basics of Photoshop. It’s essentially a class to get you started and give you skills you need to perform basic Photoshop work. Of course, in 3 days you do get more than just simple basics. On the second day Ben covers a number of techniques, such as black and white, focus bracketing, and panoramas, as well as others. The panorama section is just under 30 minutes and covers the basics of stitching a pano in Photoshop. This is not the class if your only interest is panoramas, but it’s a great class if you’re looking for an in-depth intro to all things Photoshop.

Photoshop for Photographers: Beyond the Basics with Ben Willmore

This 3-day class is a continuation to Ben’s Photoshop for Photographers: The Essentials. In this class he covers more advanced techniques. On the first day he had 2 sessions covering difficult panoramas. These include creating an HDR panorama, and handling panos that don’t stitch cleanly using the automated Photoshop tools. He also goes into ways to adjust and correct perspectives in panoramic images. As with the other Photoshop for Photographers class, this isn’t for you if your only interest is panoramas, but if you have the first class and want to continue learning, or if you already know the basics and want to begin learning more advanced techniques, then this may be an excellent class for you.


Do you enjoy these posts?

Sign up to receive periodic emails with updates and thoughts. Don’t worry, I won’t spam you. And please consider purchasing artwork or products from my online store, and using my affiliate links in the sidebar to the right when shopping online.

I appreciate your support!


7 Tips For Photographing Insects And Other Little Crawly Things by Todd Henson

This post contains affiliate links and I will be compensated if you make a purchase after clicking on my links. This is at no extra cost to you.

Photographing close-ups of insects, spiders, and other little creepy crawly slithery creatures can sometimes be a challenge. But with a little know how and lots of patience and practice it’s possible to create some really pleasing images. Below are 7 tips for creating more successful close-up images.

1. Move slowly to avoid startling the insect or creature. Some insects and creatures are very skittish and will move or flee if they see sudden movement around them.

2. Use a telephoto lens to give yourself working distance. This will also help avoid startling the creatures. The photo of the pair of familiar bluet damselflies was shot with a 105mm macro lens. Sometimes I use longer focal lengths, such as 200mm, 400mm, or more.

Pair of damselfly photographed with a 105mm macro lens.

3. Try to position the camera’s focal plane (effectively the back of the camera) parallel to the subject. This will help keep more of the subject in focus.  Telephoto and macro lenses tend to create shallower depth of field, so keeping the camera parallel to the subject assures as much of the subject as possible is within the acceptable depth of field. In the photo of the damselflies the camera was positioned parallel to the pair, allowing me to capture as much of them in focus as possible.

Notice how little of the snake is in focus. The camera is not parallel to the body of the snake.

Notice how much more of the snake is in focus now that the camera is parallel to the body of the snake.

4. Stop down the aperture (use larger f-stop numbers) to increase depth of field enough to capture as much of the insect in focus as you want. As mentioned, telephoto and macro lenses tend to create shallower depth of field, so stopping down helps increase the depth of field.  But watch your shutter speed as you stop down. If you stop down too much you’ll get a very slow shutter speed and risk a blurry photo.

This assassin bug was shot at f/3.5, a very wide open aperture, using my 105mm macro lens. Notice the very shallow depth of field.

This time the assassin bug was shot at f/14, a much smaller aperture, again using my 105mm macro lens. Notice the much greater depth of field.

5. Increase the ISO, only if necessary, to get a fast enough shutter speed to capture a sharp image. If you increase the ISO too much you may see increased noise in the image, depending on your camera model. But a little extra noise is usually better than a blurry image.

6. Use a tripod, if possible, to help keep the camera steady. This will help create a sharp image, provided the shutter speed is fast enough to freeze any motion in the scene. In some cases it may be better to hand-hold, especially if the insect or creature is moving and you’re trying to track it.

7. Shoot in short bursts, especially if you’re unable to get the shutter speed fast enough, or are shooting hand-held. This can increase the chance of getting a sharp image. Sometimes one of the images in a burst will be sharper than the others. You can delete the others, if you don’t want them.

So grab your camera and give these techniques a try. Go out there looking for damselflies, snakes, or any other insect, creature, or flower you’d like, and create some beautiful images.


Do you enjoy these posts?

Sign up to receive periodic emails with updates and thoughts. Don’t worry, I won’t spam you. And please consider purchasing artwork or products from my online store, and using my affiliate links in the sidebar to the right when shopping online.

I appreciate your support!


9 Creative Uses for Slow Shutter Speeds by Todd Henson

4 sec exposure of Washington Monument, D.C.

Using slow shutter speeds to create long exposures is a great way to add a little more creativity to your photography. The uses for slow shutter speeds are almost endless. Below are 9 examples.

Examples of Slow Shutter Speeds

1. Waterfalls

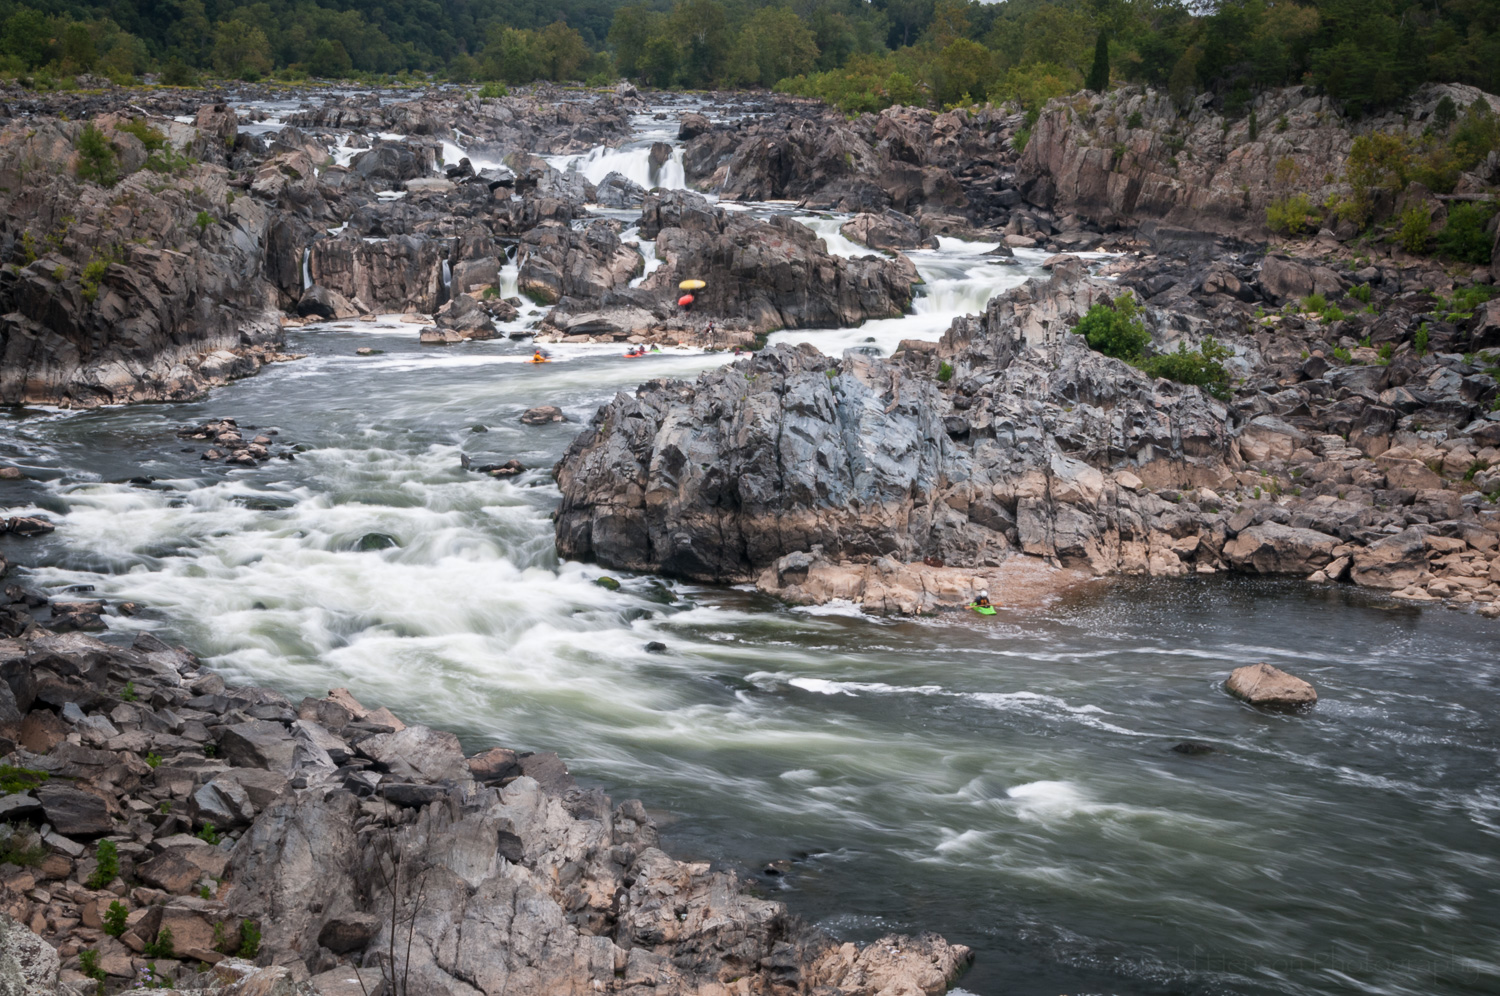
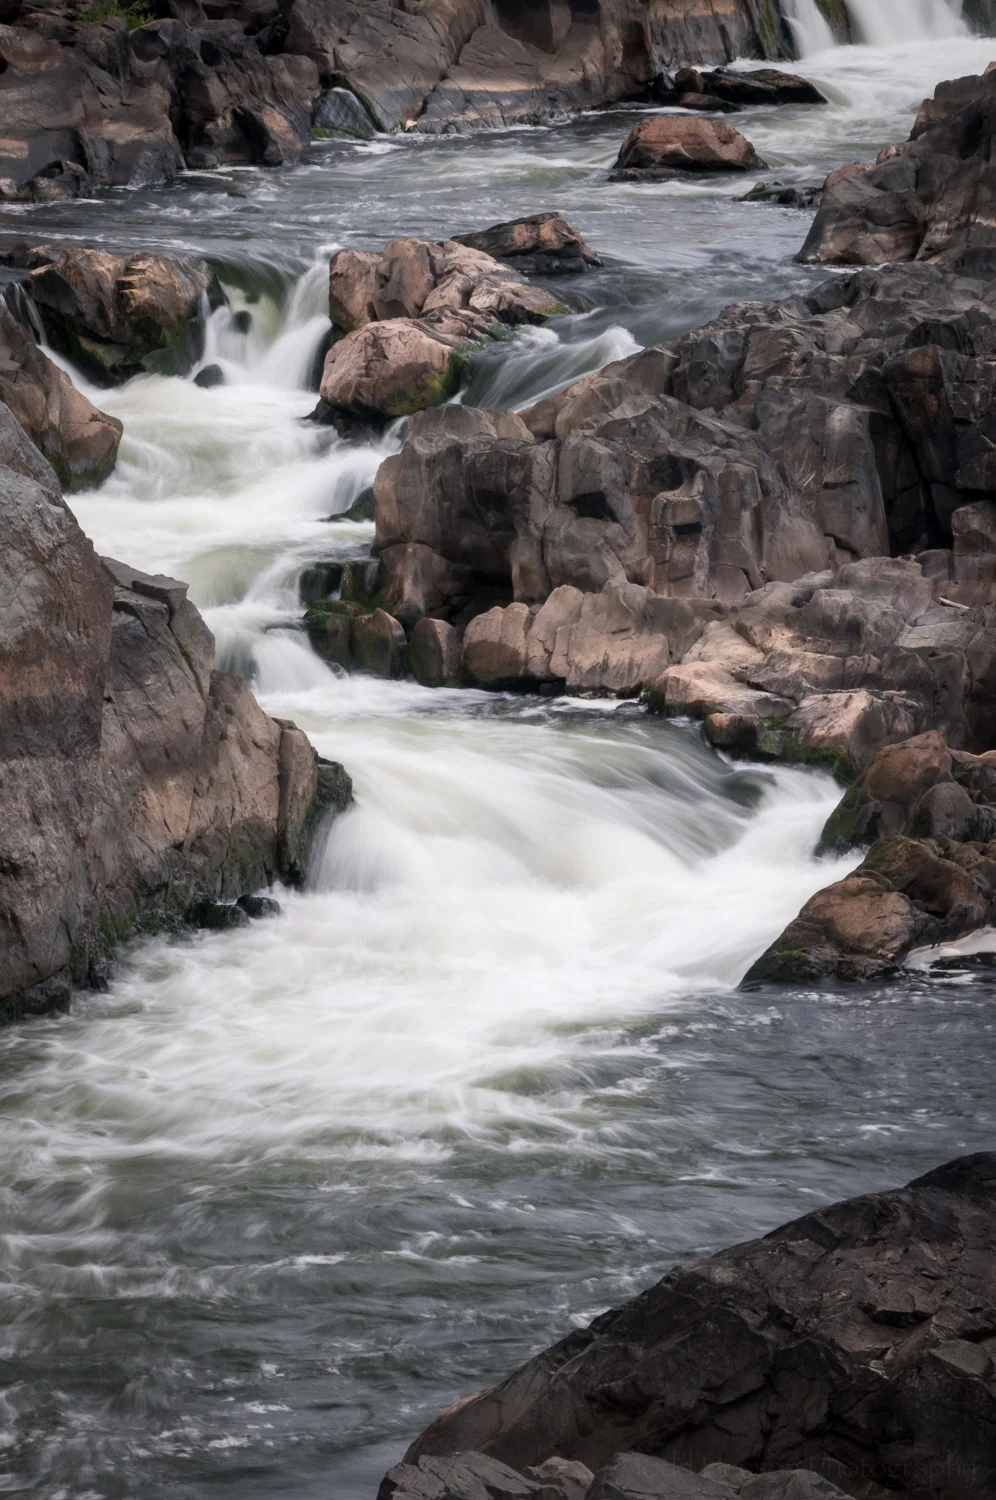
Waterfalls are a classic example of using slow shutter speeds creatively in landscape photography. As you slow the shutter speed the water begins to blur, turning into a silky smooth flow instead of frozen droplets of water. The shutter speed you choose will depend on your personal preference and the speed of the water. How smooth do you like the water? Do you want to show a little motion but still capture some of the raw energy of the water? Or do you want to completely blur the water into a rolling milky stream? This technique almost always requires a tripod to stabilize the camera during the exposure.

Here I show examples of several waterfalls and rapids shot at different shutter speeds so you can see the effects different shutter speeds have. At faster shutter speeds (shorter exposure) you can see more movement in the water. At slower shutter speeds (longer exposure) the water turns into a milky flow. Which image is best is a personal preference.

2. Whitewater Sports

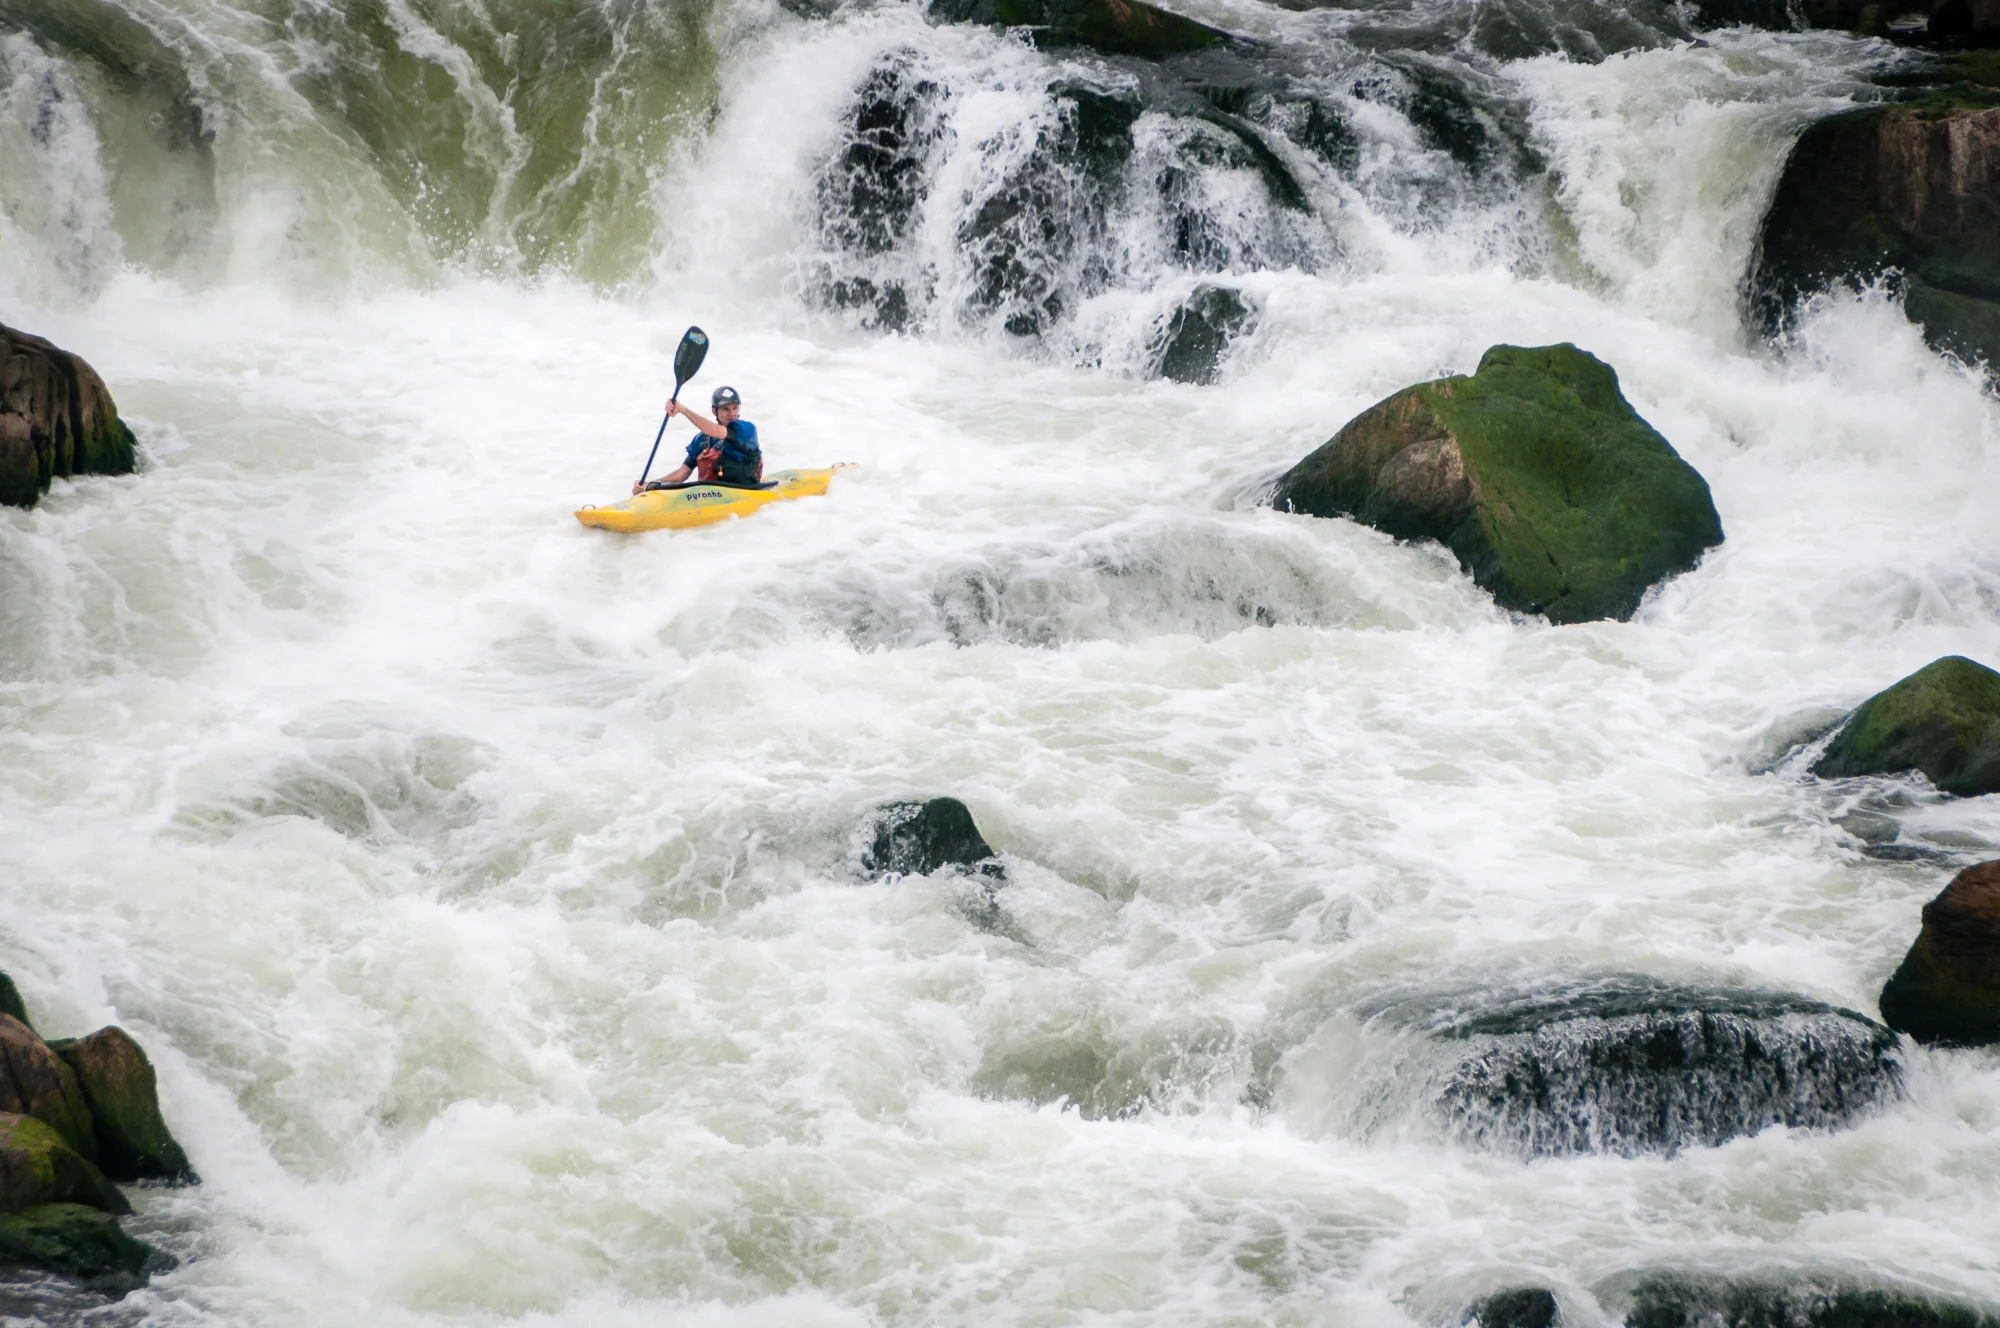
When shooting sports you can use faster shutter speeds to freeze the action, or use slower shutter speeds to add a little creative blur, showing motion. Whitewater sports, such as kayaking, is a great example of adding a little drama by slowing down the shutter speed and capturing motion blur in the water, and sometimes in the athlete as well. As with waterfalls, which shutter speed you choose is personal preference, and a factor of what you’re trying to capture. Perhaps you want to fully freeze the athlete but show a little motion in the water spray. Or perhaps you want a longer exposure to show a lot of flowing motion in the water. The longer the shutter speed the more difficult it will be to capture a sharp image of the athlete, but depending on how the athlete is moving it can be done. And a little motion in the athlete is not always a bad thing, especially if you’re trying for a more artistic photograph. This technique can be performed hand-held or with a tripod. If you use a tripod loosen the head to allow you to move the camera.

3. Landscapes with Water or Clouds

Long exposures can still water in a landscape or blur moving clouds in the sky. Longer exposures are more likely to still the water, and longer exposures will blur the clouds more. If the clouds are moving very fast or you use a very long exposure you can turn the clouds into nothing more than white streaks in the sky. If the water is reasonably flat you can sometimes still it enough to show reflections that more closely match the subject. Instead of wavy reflections you can capture straight ones. You can see an example of this in the photo of the Washington Monument. This technique usually requires a tripod.

20 sec exposure. The water near the camera is perfectly still and the clouds show some motion blur. The extra gold and blue tones are caused by a Singh-Ray Gold-N-Blue polarizer.

4. Turning People into Ghosts or Removing People from a Scene

Have you ever been to a monument or other scene that you’d like to photograph without any people, but there are too many people around and they never leave the scene? Sometimes you can use a very long exposure to eliminate most or all of the people, provided the people are moving fast enough. Slow the shutter down (use a long exposure) and you will start to blur the motion of the people. Slow it down enough and the people won’t even show up in the final image. This doesn’t always work, but give it a try. This technique is best used with a tripod.

To create ghosts you choose a middle ground shutter speed, something slow enough to blur the people, but fast enough to capture them. You really have to experiment with this technique. Which shutter speed you choose depends on how fast the people are moving and how blurry, or ghost-like, you want to capture them.

Many people have become ghosts in the first photo below. The second photo uses a slower shutter speed, but it's not long enough to make all people completely disappear. You can still see some blurred motion from them. But if I'd taken an even longer exposure, perhaps 10 or 20 seconds, most of the people would have disappeared.

5. Stationary Panning

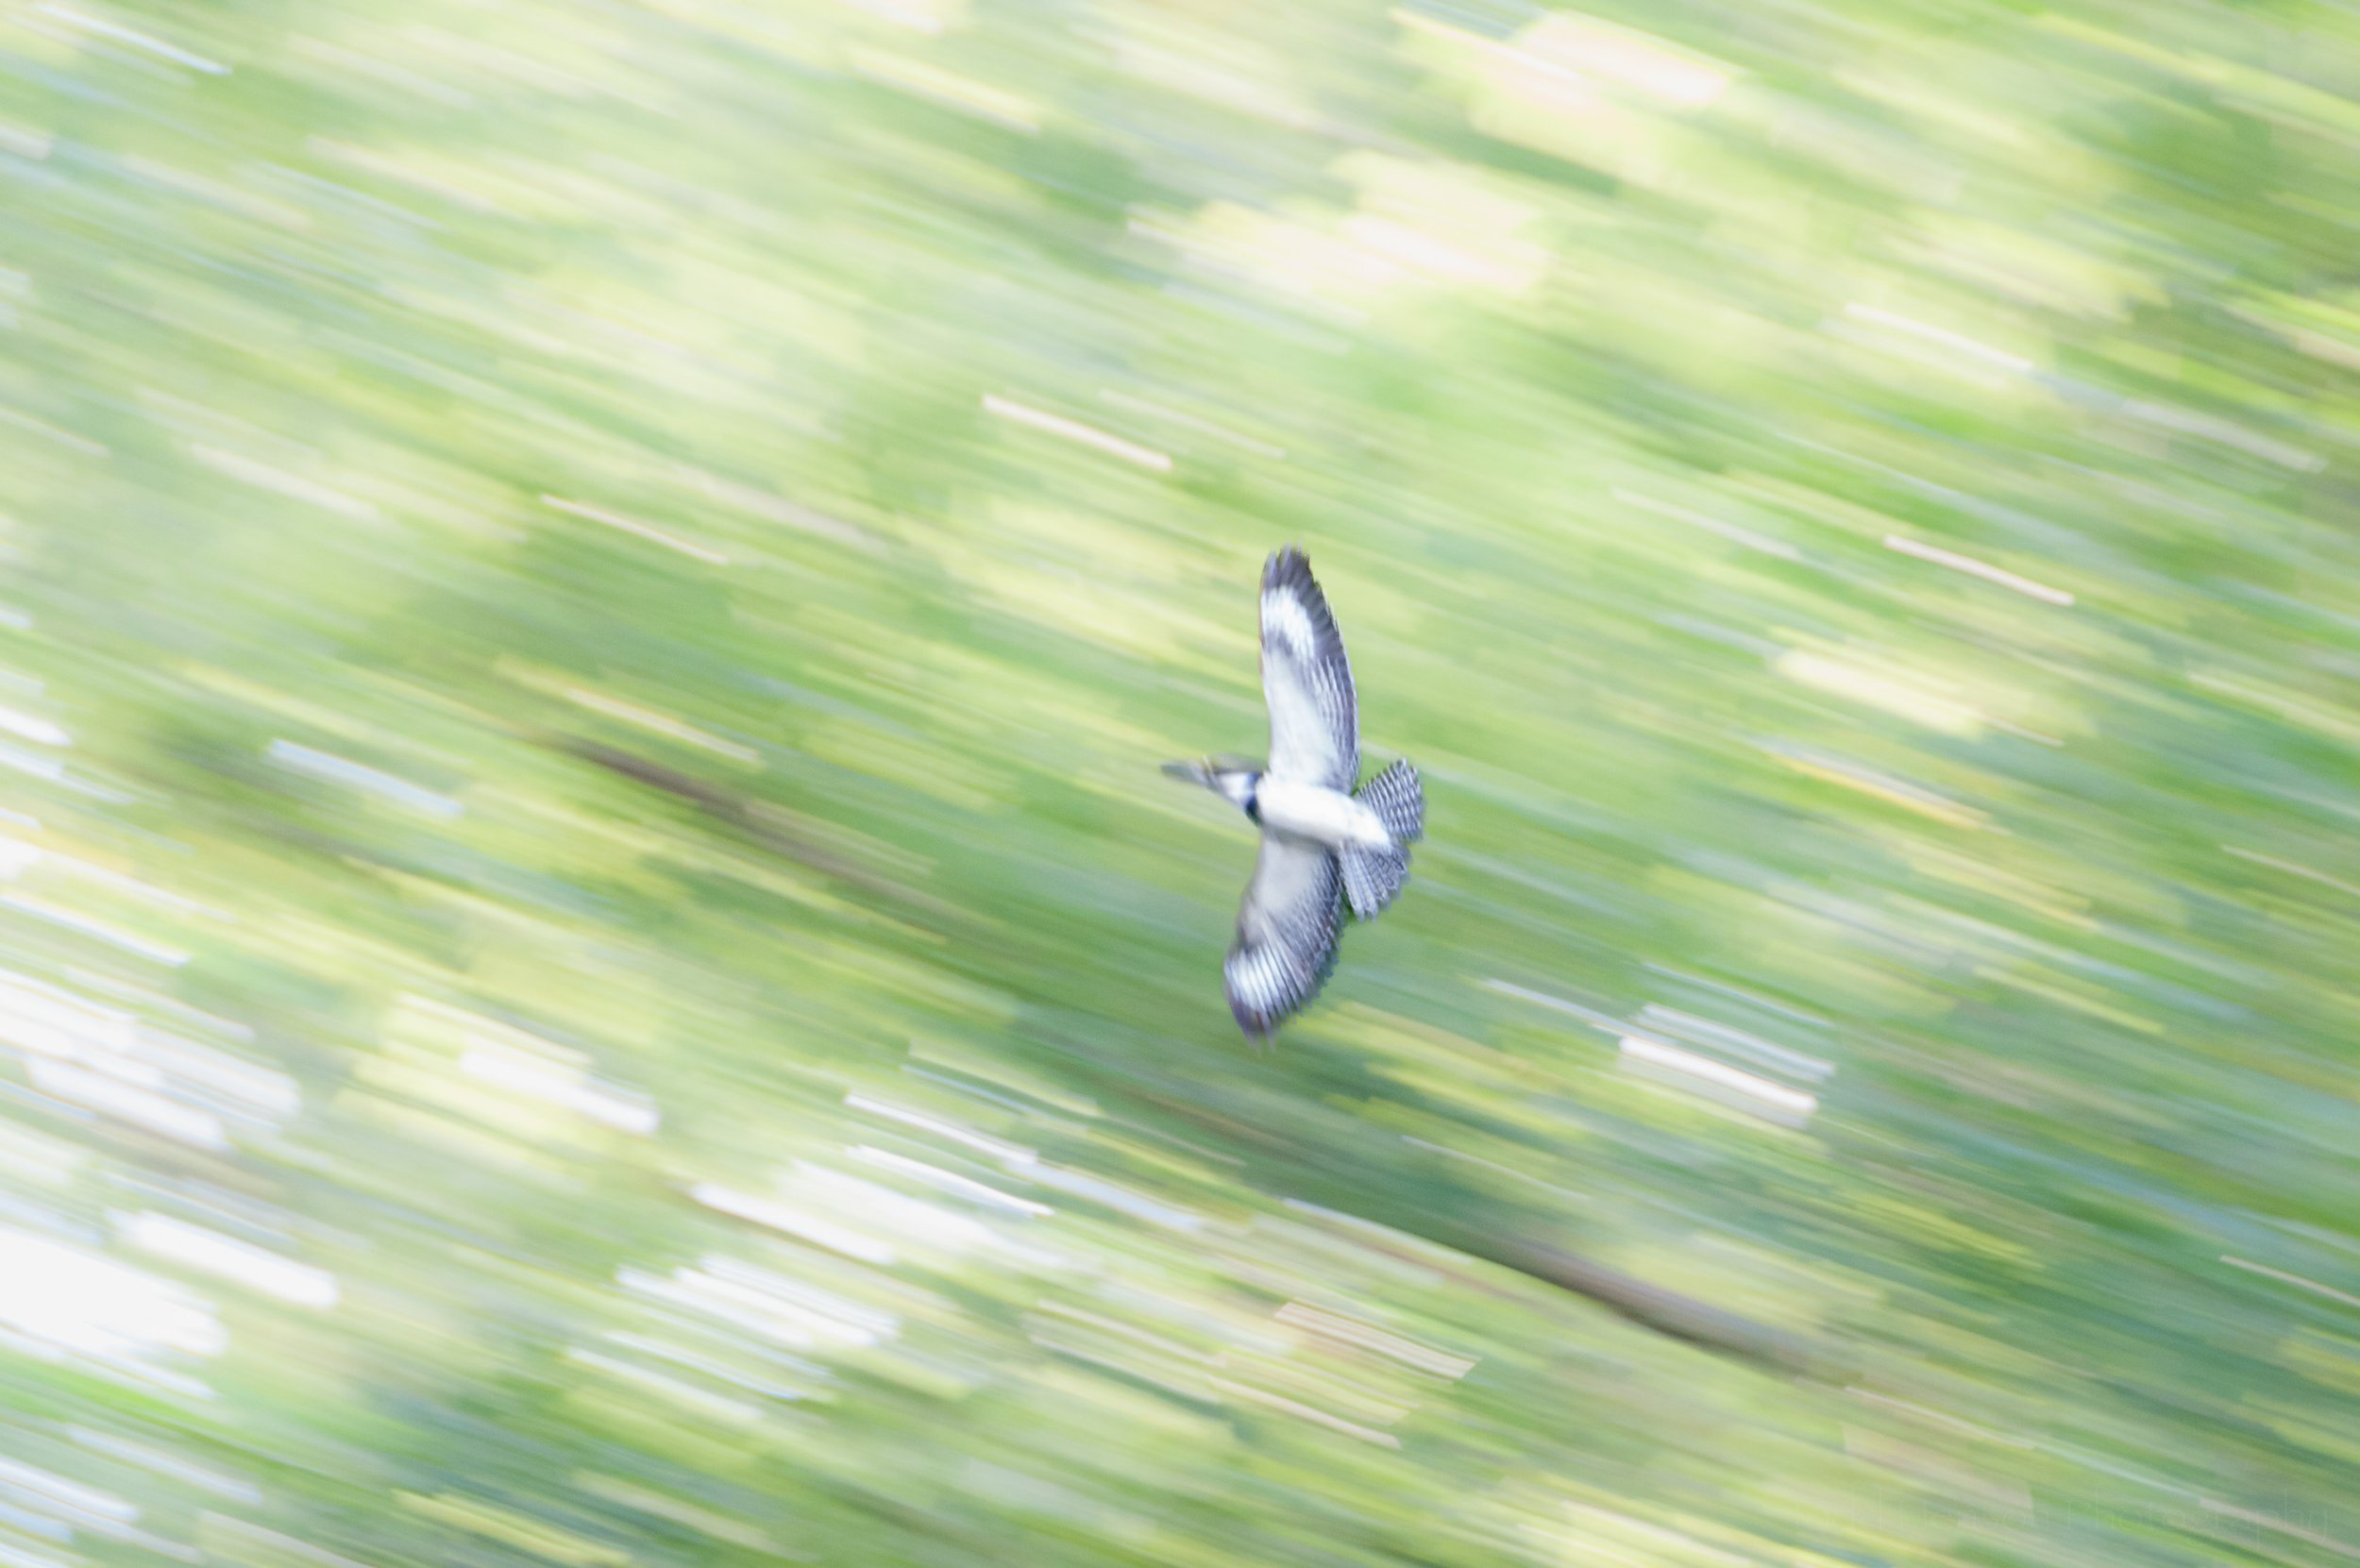
You can capture some very dynamic photos if you stand still and pan with a moving subject, using a slow shutter speed. The goal is to try to capture the subject mostly in focus but blur the background. This takes a lot of practice. Examples of this are photographing bicycles or vehicles as they pass by on the street, and capturing birds in flight. This technique is most easily performed hand-held. If you use a tripod loosen the head to allow the camera to move.

6. Panning While Moving

Similar to stationary panning, but this time you are moving while panning. The subject could be stationary or moving. As an example of a moving subject, you could photograph a moving motorcycle from a moving car. For a stationary subject you could photograph a farm and fields from a moving car. Objects closer to the camera will exhibit more motion blur than objects at a distance. This technique is most easily performed hand-held.

1/20 sec exposure from the passenger side of a moving car (I was the passenger, not the driver). Notice the motion blur of the green field.

7. Air Shows

Air shows hosting aircraft with propellers are a great place to try slower shutter speeds. When an aircraft has a moving propeller it’s best to try to capture some motion in that propeller. Creating a photograph of a moving plane with a perfectly frozen propeller just doesn’t look right, it looks fake. But capturing some motion in the propeller helps convey the motion of the aircraft. This technique can be performed hand-held or with a tripod. If using a tripod loosen the head to allow the camera to move.

1/50 sec exposure. This is another example of stationary panning. I was standing still while panning with the moving aircraft.

8. Zooming During Exposure

If you have a zoom lens you can really get creative by using a longer shutter speed and zooming the lens during the exposure. This is best performed from a tripod, but you can also try doing this hand held. The key is experimentation. Try zooming out during the exposure, then try zooming in during the exposure. They give different results. Try different subjects, different angles. Look for colors that can blur during the zoom.

9. Moving Camera During Exposure

This technique doesn’t require anything but a camera with a lens. Any camera will do provided you can use slow shutter speeds. You don’t need a tripod. All you need to do is move the camera during the exposure. You don’t even need to look through the viewfinder if you don’t want to. Experiment. Try different subjects, different shutter speeds, different motions. I don’t do this very often, but it’s something worth trying and I’d like to put a little more time into it. The results are usually far more abstract than many forms of photography. You may create photos of abstract blurs of color. Or perhaps you partially pan on a subject, then move elsewhere and create something close to a double exposure.

2.5 sec exposure while moving the camera. Notice the multiple ghosted images of the Jefferson Memorial.

How to Get Slow Shutter Speeds

Hopefully I’ve convinced you to try some long exposure photography. But how do you do it? How do you slow the shutter speed down? There are various ways to achieve slower shutter speeds (longer exposures), depending on what gear you have available.

  1. Shoot on an overcast day, when there is less sunlight, or at night. There’s less light at these times, so the camera will require more time to capture enough light to create the photograph.

  2. Use a smaller aperture. This means apertures with higher numbered f-stops, such as f/16, f/22, f/32, etc. This will limit the light entering the camera and allow you to lengthen the exposure, as the camera needs more time to capture enough light to create the photograph.

  3. Keep your ISO low. Some cameras use ISO 100 or 200 as the standard setting. Keep it here, or try the lower settings. ISO is the camera’s sensitivity to light. If you raise the ISO, for example to 800, the camera becomes more sensitive to light and requires less time to capture enough light to make the exposure. Note that higher ISO’s are, generally, also more prone to noise (grain in film). To create longer exposures set the ISO low, so the camera needs more time to capture enough light.

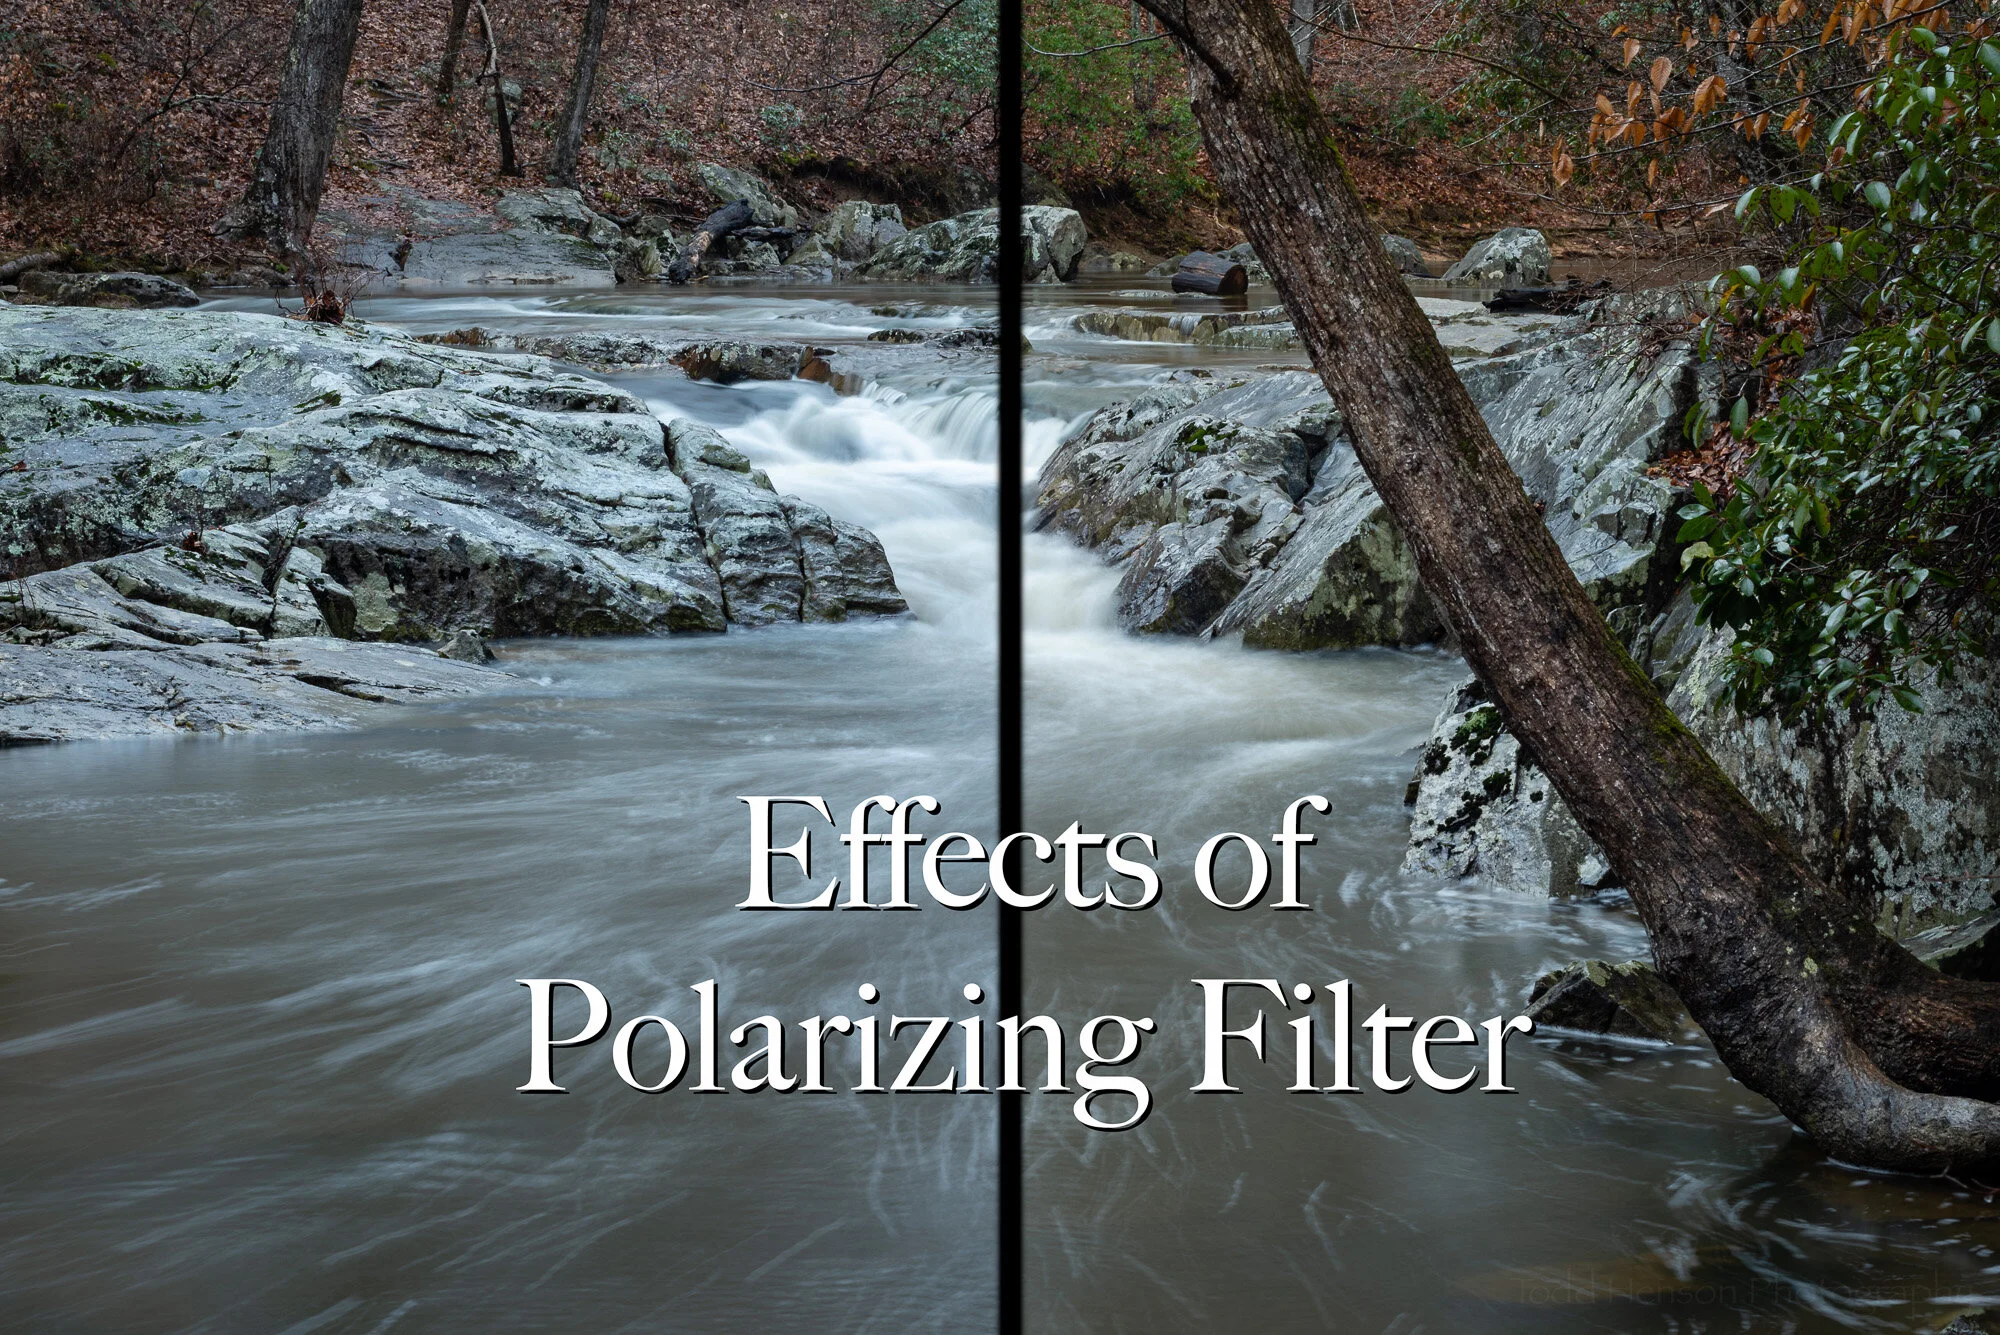
  4. Use a polarizing filter. A polarizer, in addition to polarizing the light, will also block some of the light entering the camera. Most polarizers will block between 1 to 2 stops of light. This will allow you capture slightly longer exposures. Combining this with a low ISO and a small aperture may be enough to let you get the shutter speeds you want.

  5. Use a neutral density filter. If you want really long exposures you may need to purchase some neutral density filters. These are dark filters that block some light. Think sunglasses for your lens. They’re called neutral density because they are supposed to be neutral in color, not introducing color casts. However, some filters, especially less expensive ones, do alter the color somewhat. You can usually correct this in post processing. Neutral density filters come in many different strengths. For very long exposures look at some of the 5, 10, or 15 stop neutral density filters out there. These will let you capture multi-minute exposures.

  6. Combine any or all of the above to get even slower shutter speeds. Be aware, though, if you use too many filters with wide angle lenses you may begin to actually see the filter in the corners of the frame. If that happens you can remove filters until you no longer see them, zoom in or use a lens that isn't quite as wide-angle, or create the image and crop it in post.

As a reminder, if you use really slow shutter speeds you may need a tripod, or some other support, to hold the camera steady during the exposure.

There are many other uses for slow shutter speeds. But I hope the few examples I’ve shown will prompt you to go out and experiment. Try different shutter speeds of the same scene, see how the different speeds affect the final image. You may be pleasantly surprised by some of the results.


Do you enjoy these posts?

Sign up to receive periodic emails with updates and thoughts. Don’t worry, I won’t spam you. And please consider purchasing artwork or products from my online store, and using my affiliate links in the sidebar to the right when shopping online.

I appreciate your support!