Techniques

Painterly Kingfisher in Flight by Todd Henson

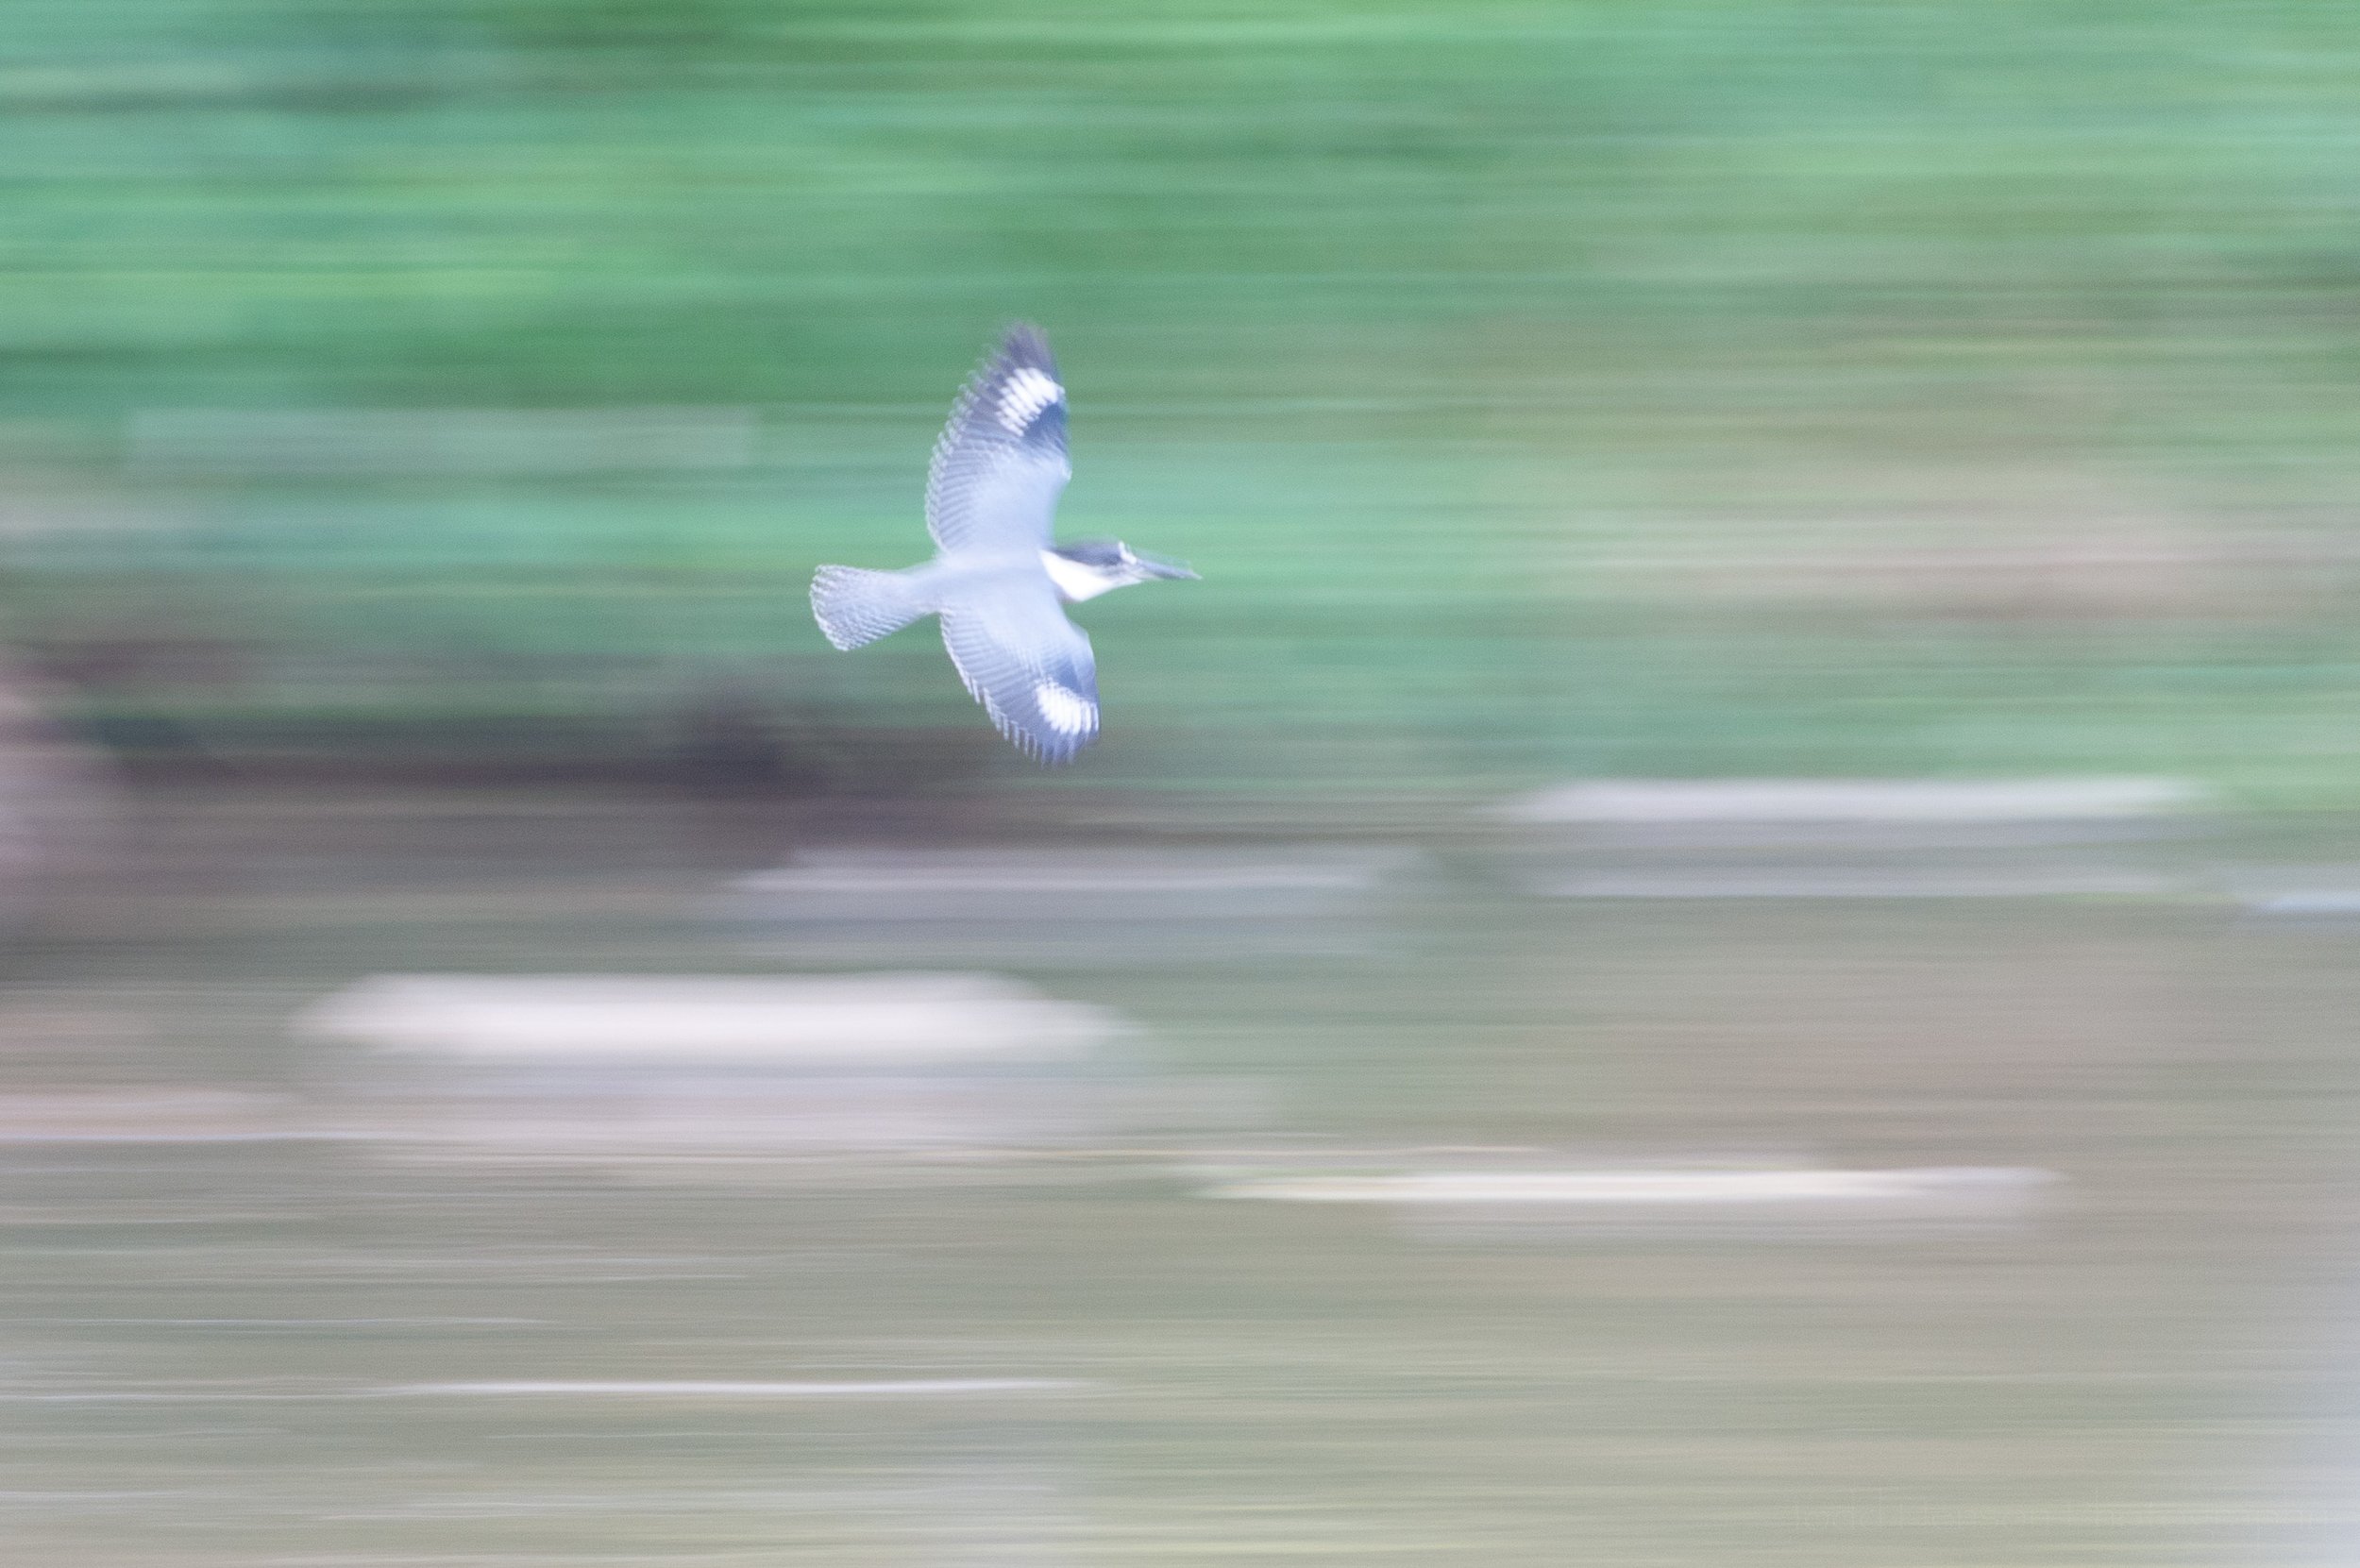
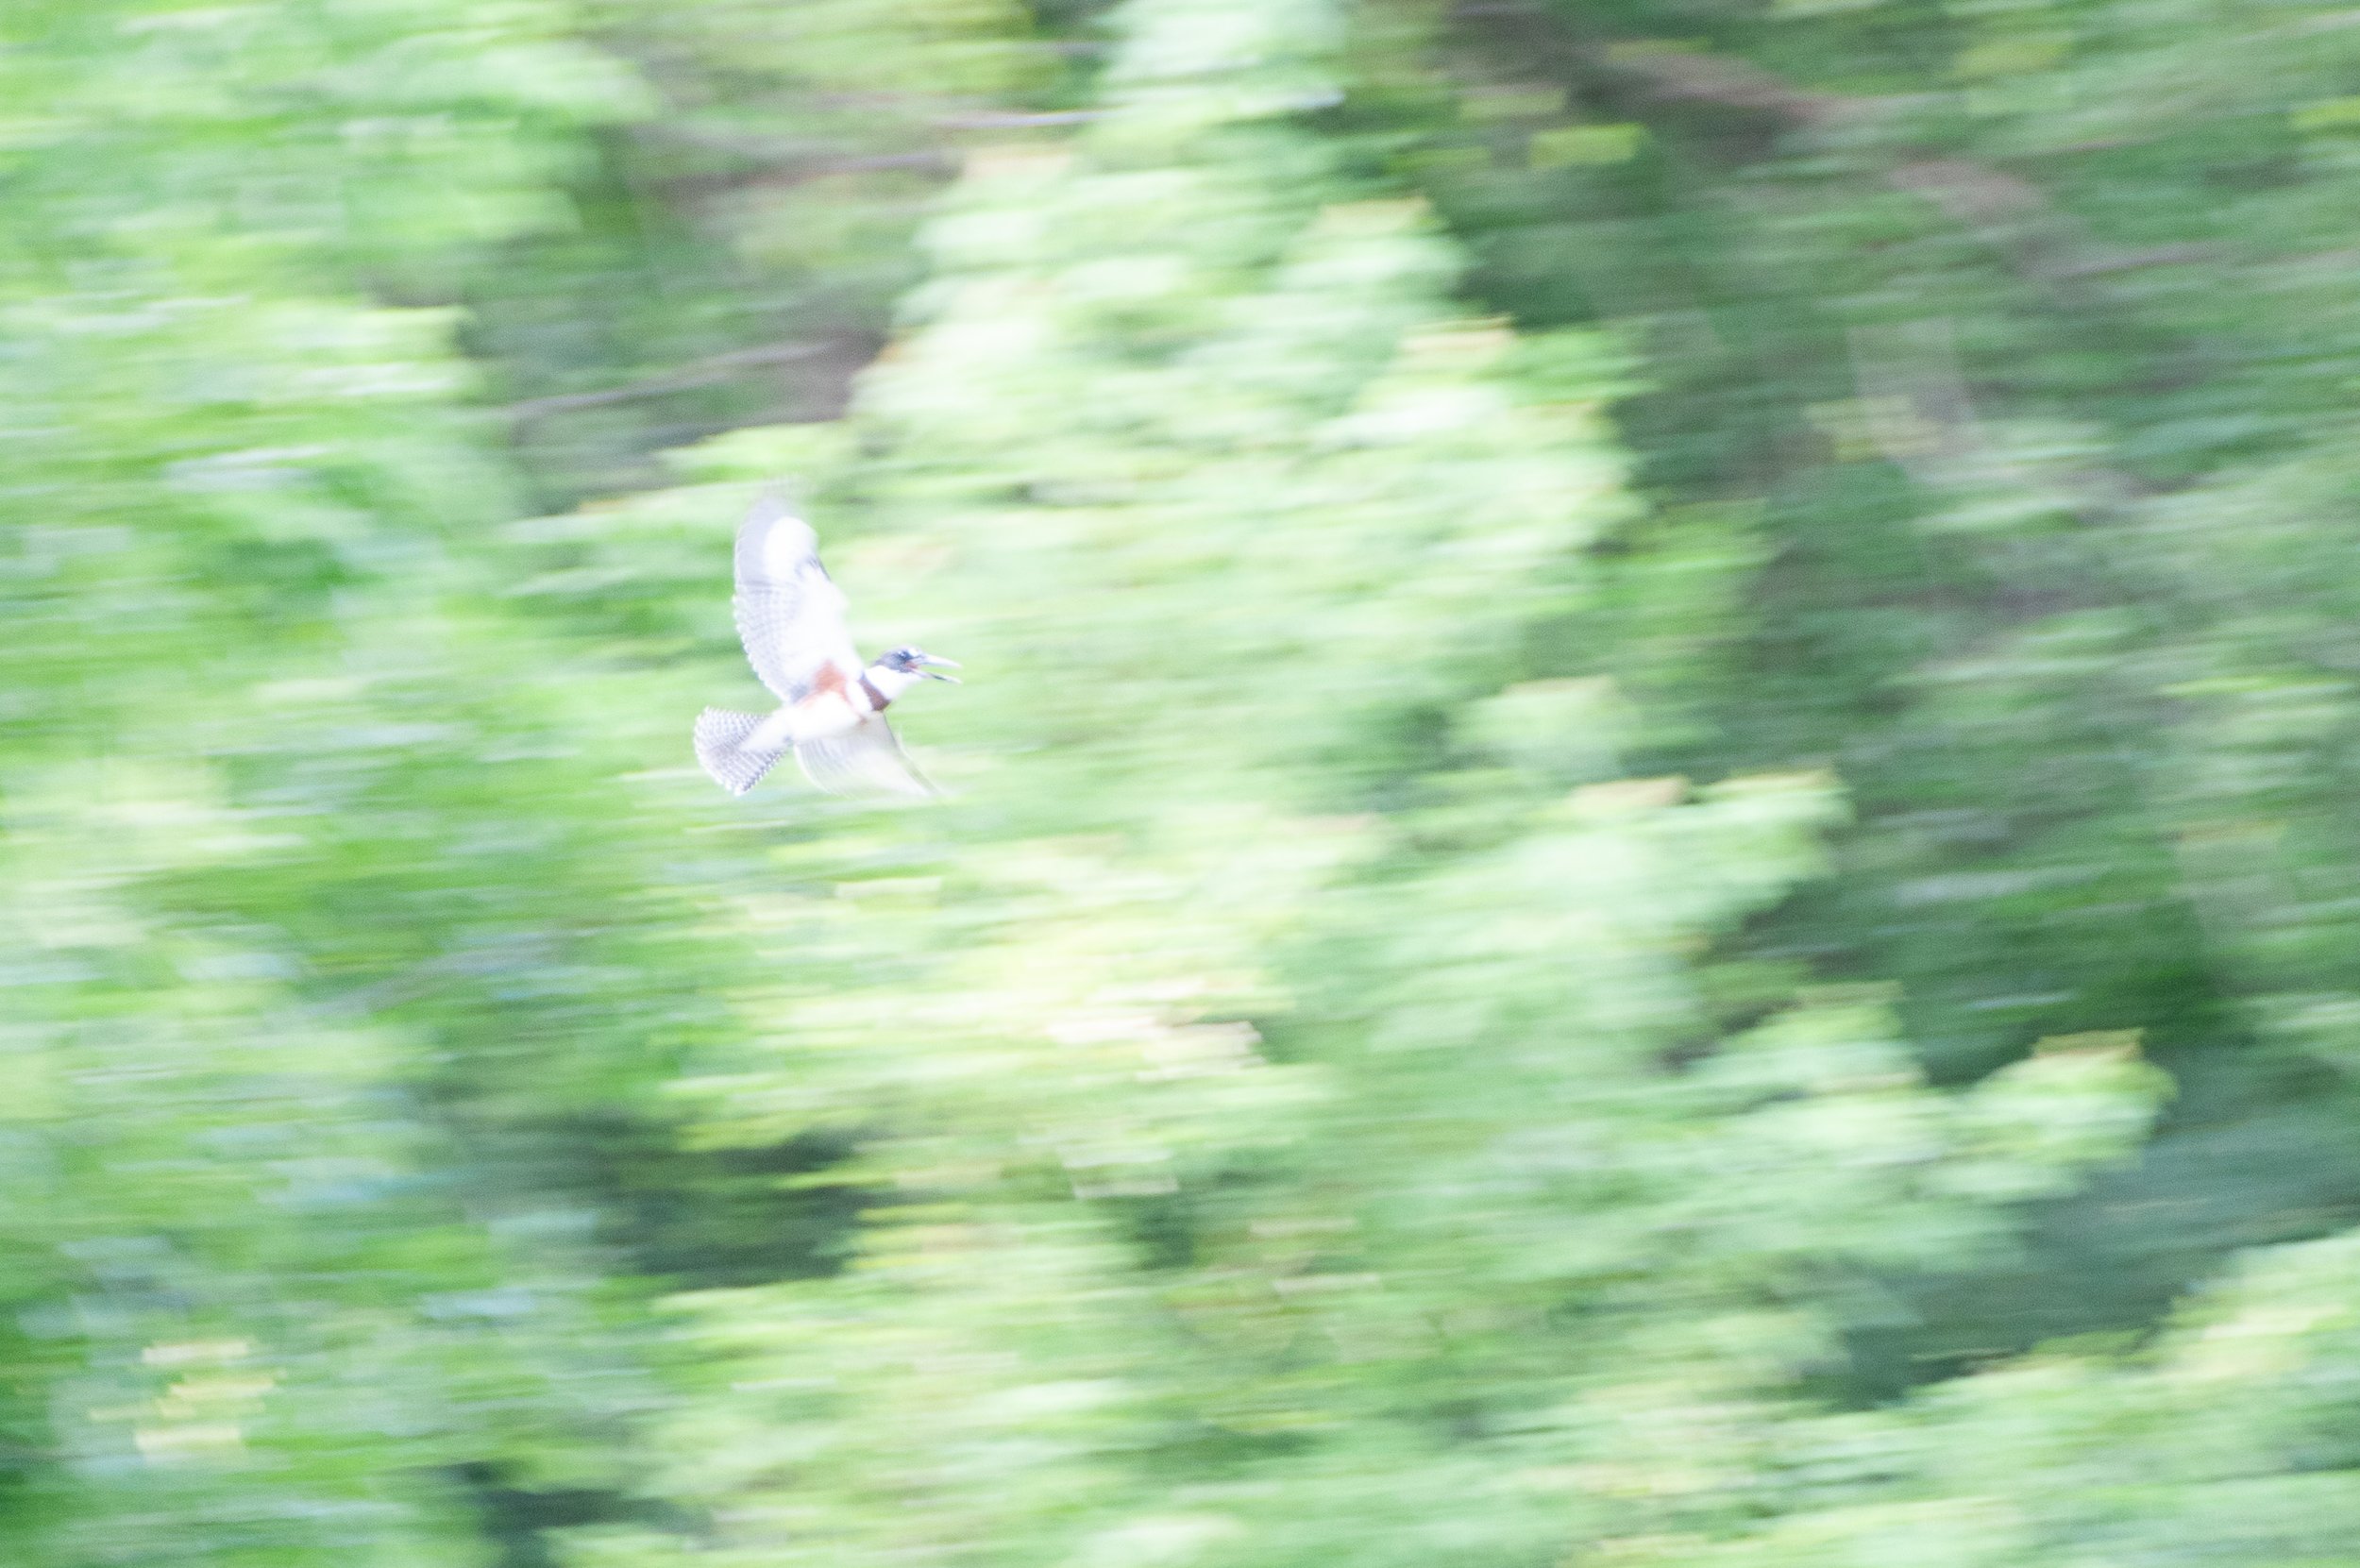
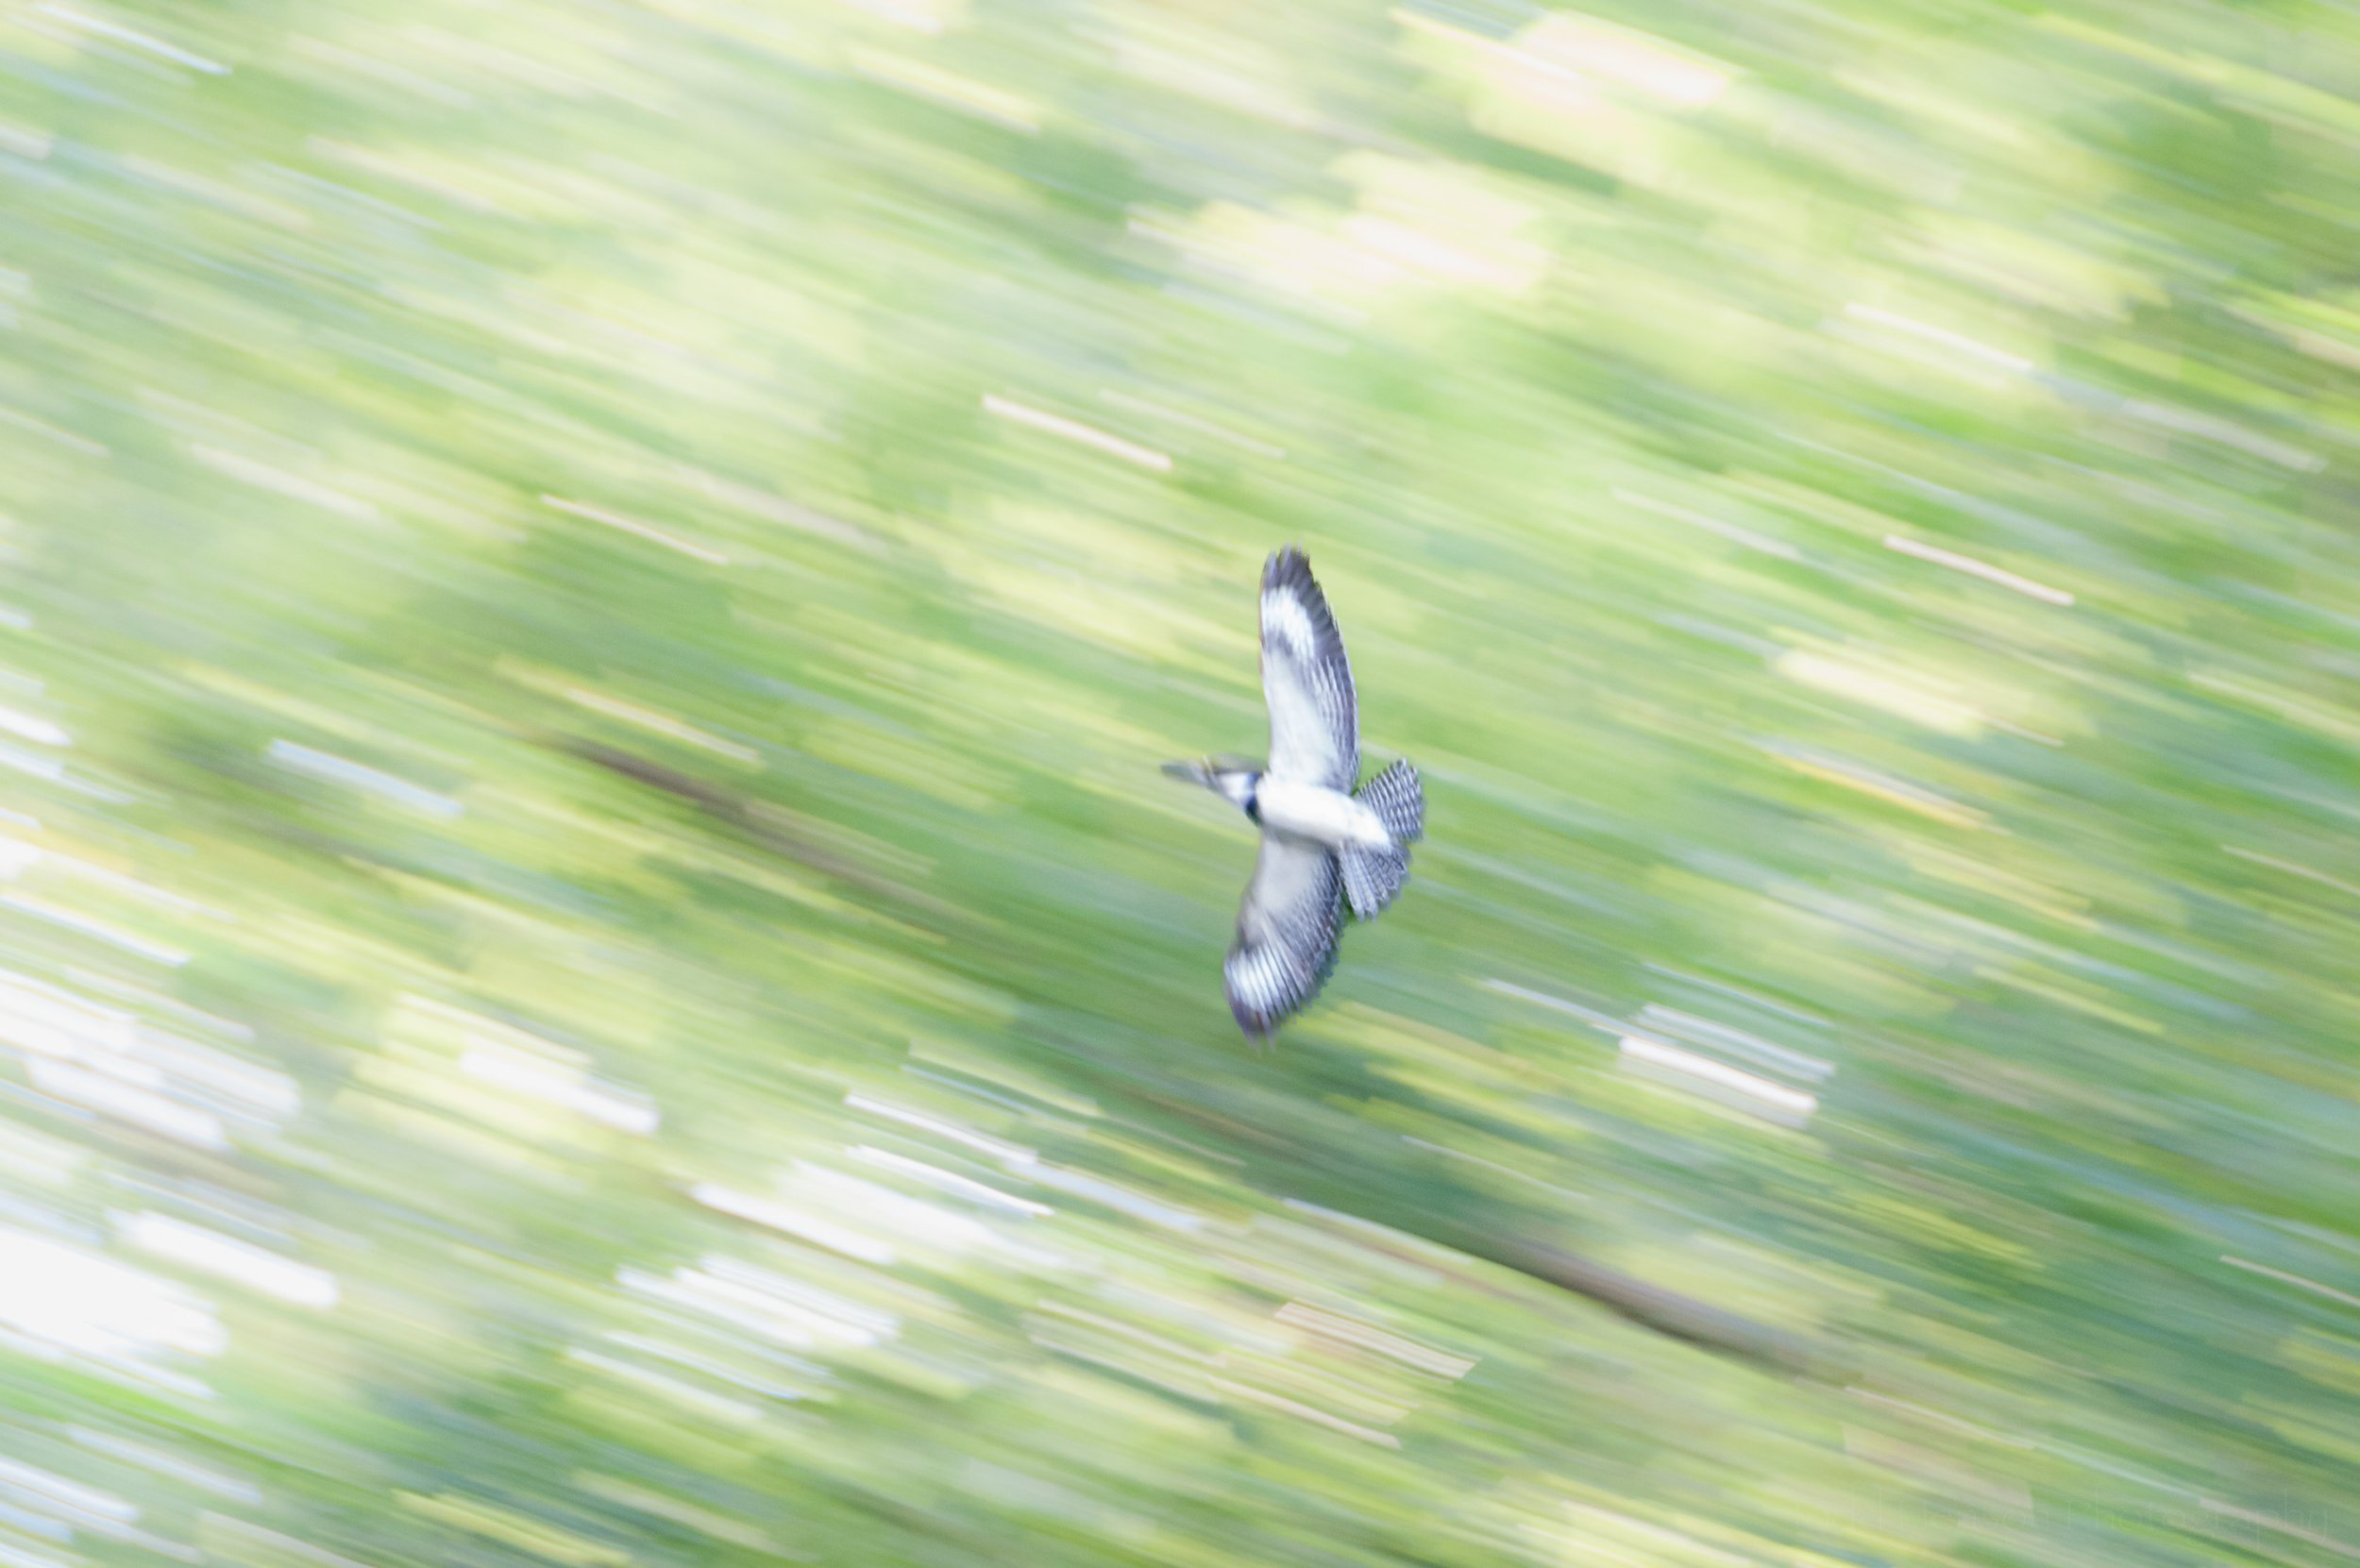
Belted Kingfisher Flyby

Sometimes paintings that look very much like real life are called photorealistic because they appear almost like photographs. Similarly, photography can be used to create more painterly images, even using techniques mostly performed in camera. Today we’ll explore one method of doing this, that of panning with a subject using long exposures to create intentional motion blur, and it doesn’t require pro-level cameras or lenses.

The Setup

On July 3, 2009, my brother and I visited Luray, Virginia and their fabulous Greenway, a beautifully maintained park system with a stream and walkway that runs through the town. In one area we heard the call of a belted kingfisher and watched as it repeatedly flew quickly upstream, and then back downstream. I had with me the kit lens that came with my camera, an 18-200 mm f/3.5-5.6 lens. In this case the 200 mm helped me get a little closer to the kingfisher, but if you photograph larger subjects or are willing to have a smaller subject then you can easily use a shorter focal length just as well.

The kingfisher was moving quickly and the light was a little subdued under the leaves of the trees. I doubted I could get nice clear photos of the kingfisher in flight, though I did initially try that, so I eventually settled on creating slightly more abstract painterly photos. I wanted the kingfisher as large as it could be so I zoomed in as far as I could to 200 mm. There wasn’t a lot of light so I knew shutter speeds would be an interesting challenge. I opened up the aperture of the lens all the way, to f/5.6 at 200 mm. I then raised my ISO to 640 to let me set faster shutter speeds. This gave me shutter speeds between 1/15 to 1/60 of a second. I could have worked in manual exposure mode and set everything, and if you want a specific look this is what you should do, but given I was panning through different areas with different light levels, and I was just having fun experimenting, I chose to work in aperture priority mode, my typical setting, where I choose the aperture and let the shutter speed fall where it may.

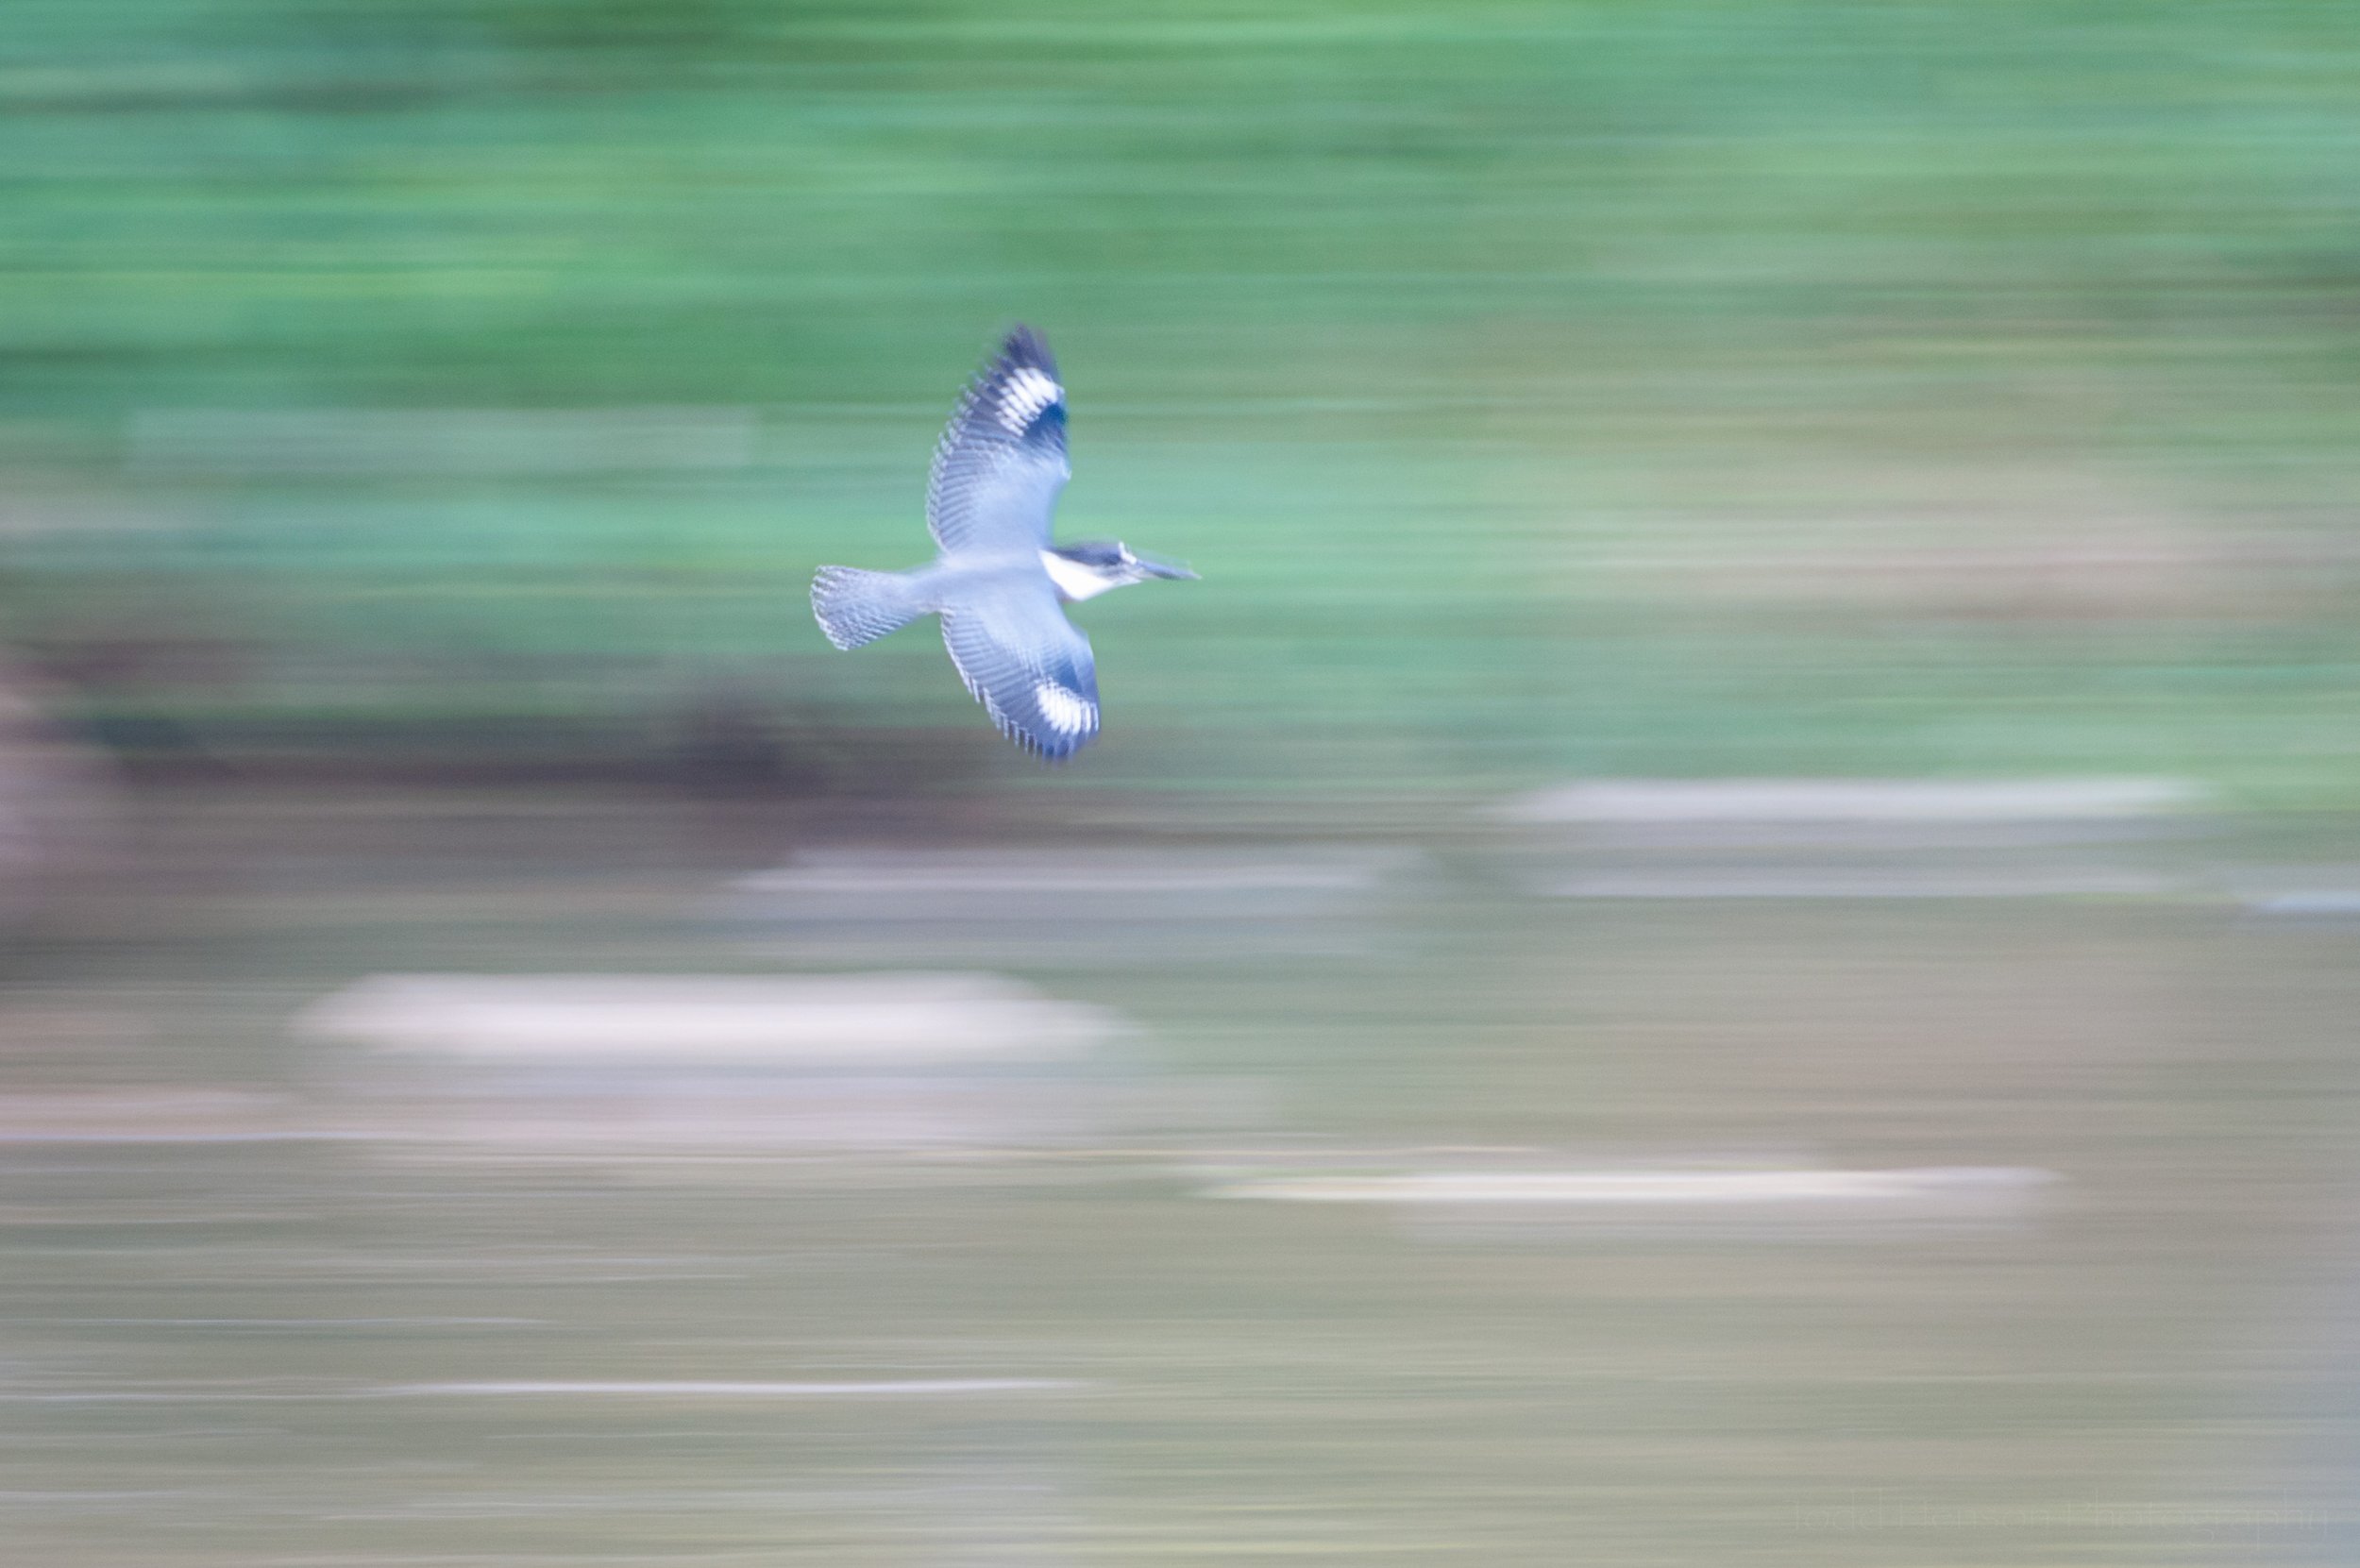
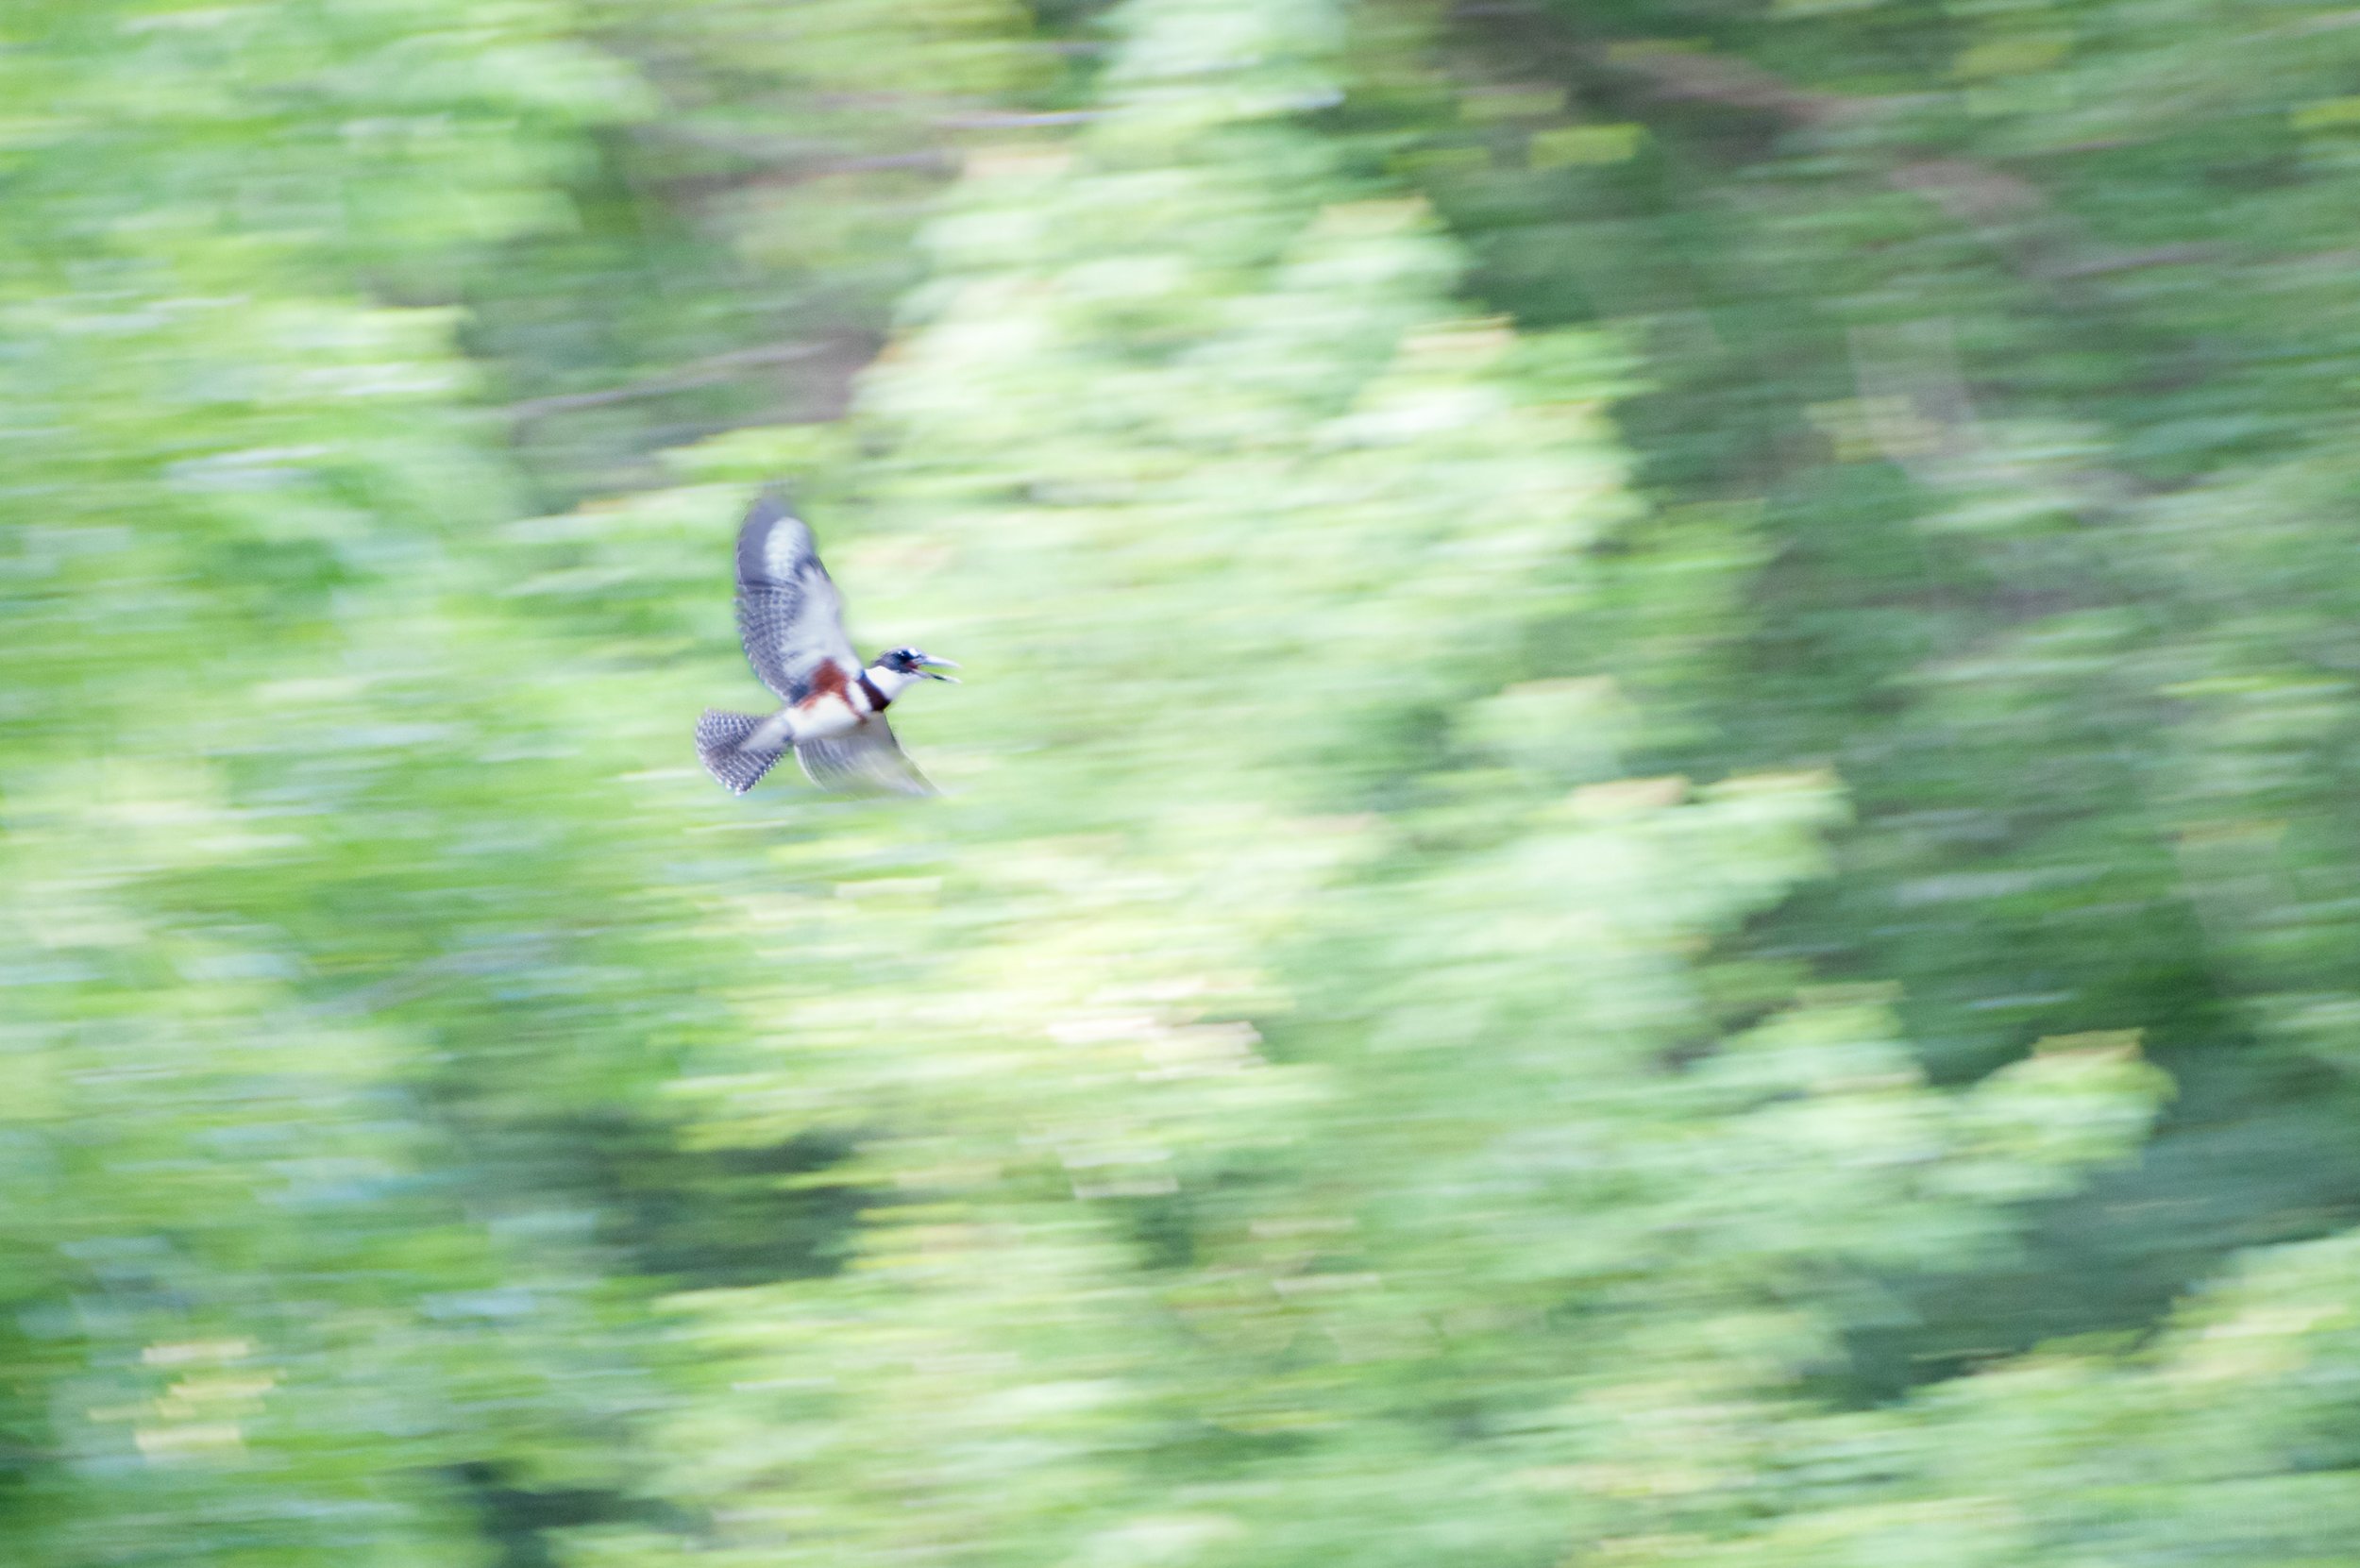
The Kingfisher Soars

Technique: Panning

So what is panning? It’s moving the camera with the subject and letting the background blur. If you see the bird coming from the left then face straight ahead and twist your body towards the left. Find the bird in your viewfinder and begin focusing. Stick with it as it flies by, pressing the shutter button in continuous mode so you create many images as it flies by, with you continuing to track it as it does, twisting your body to the right. Keep with it as it flies by to the right until it’s flown beyond your view. Hopefully, somewhere in that group of photos you’ve created a winner.

It requires a lot of experimentation to find just the right shutter speed for your subject. Do you want the subject in perfect focus, or are you willing to let the subject remain a bit blurry as I chose to here? And how fast is the subject moving? The shutter speed you need will depend on those factors, so you’ll need to practice to find what works for you in that specific instance.

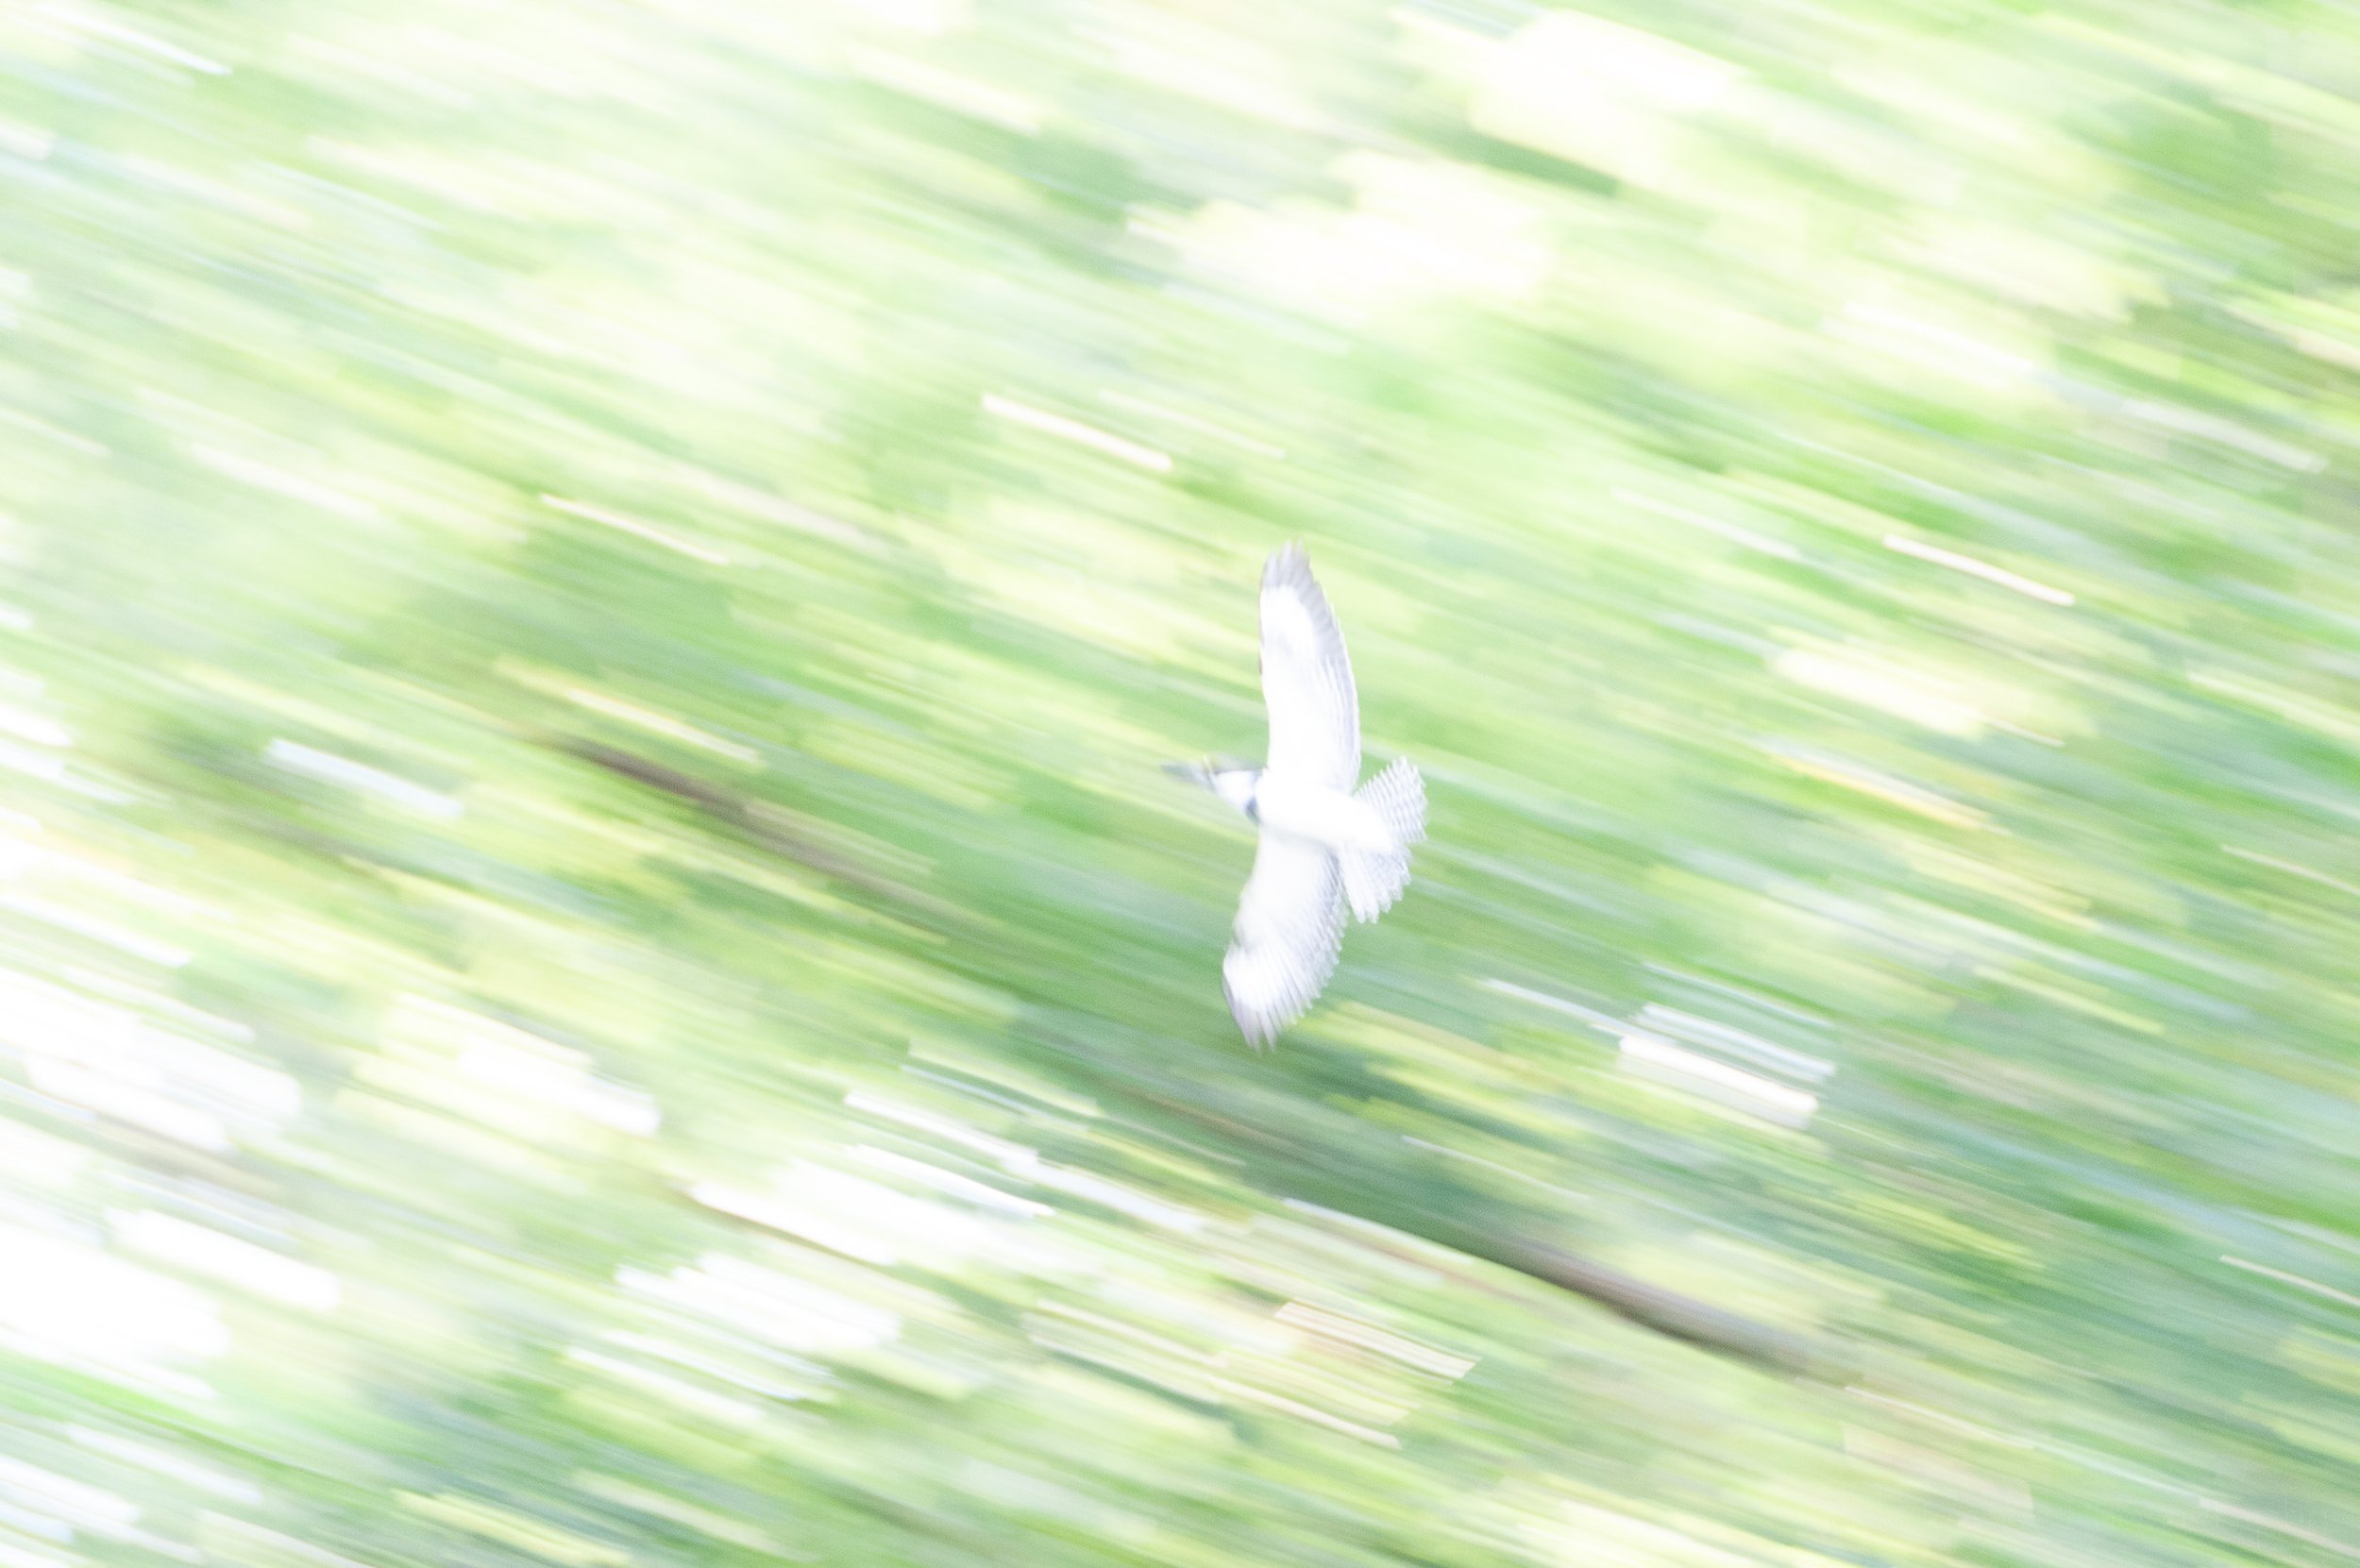
The Kingfisher Calls

Painterly Aspects

Notice how different each of the three photos here look. In the case of the first photo, Belted Kingfisher Flyby, the bird is moving very quickly so I’m panning very quickly which creates a complete blur to the background. The shutter speed is 1/15 second so there’s plenty of time for the background to blur. You can see how far the bird, and my camera, moved in that time by looking at the length of the lighter colored lines in the photo.

The second photo, The Kingfisher Soars, is similar but the bird was flying at an angle so I didn’t pan quite as fast, and I used a faster shutter speed of 1/50 second. You can see the lines of color from the background are shorter. They begin to look a little more like long paint strokes.

With the third photo, The Kingfisher’s Call, I’m now at a faster shutter speed with 1/60 second, and the bird isn’t moving nearly as fast, almost hovering as kingfishers sometimes do. Look closely at the lines of color and light in the background of the photo. See how much shorter they are? Now, perhaps, they most resemble strokes of a paintbrush. And the bird is almost in focus, or at least more so than with the other two photos.

One thing to note, you could find a fast enough shutter speed that works with both the subject movement and your ability to pan, such that you actually get the subject almost completely in focus and the background a blur. This can be a lot of fun, too. But in this case, trying for a more painterly effect, I was fine with the subject remaining a bit blurry from the motion. I thought it contributed to the look of the images.

Post-processing

So the majority of the technique is in-camera using the three basic camera settings of shutter speed, aperture and ISO. But I did do work in post after I’d downloaded the photos to my computer. I used Adobe Lightroom to adjust exposure, lessening some of the highlights, darkening some shadows, blurring the backgrounds a bit more by lowering clarity, and accentuating the kingfisher by keeping the whites of its body bright and the colors dark and bold.

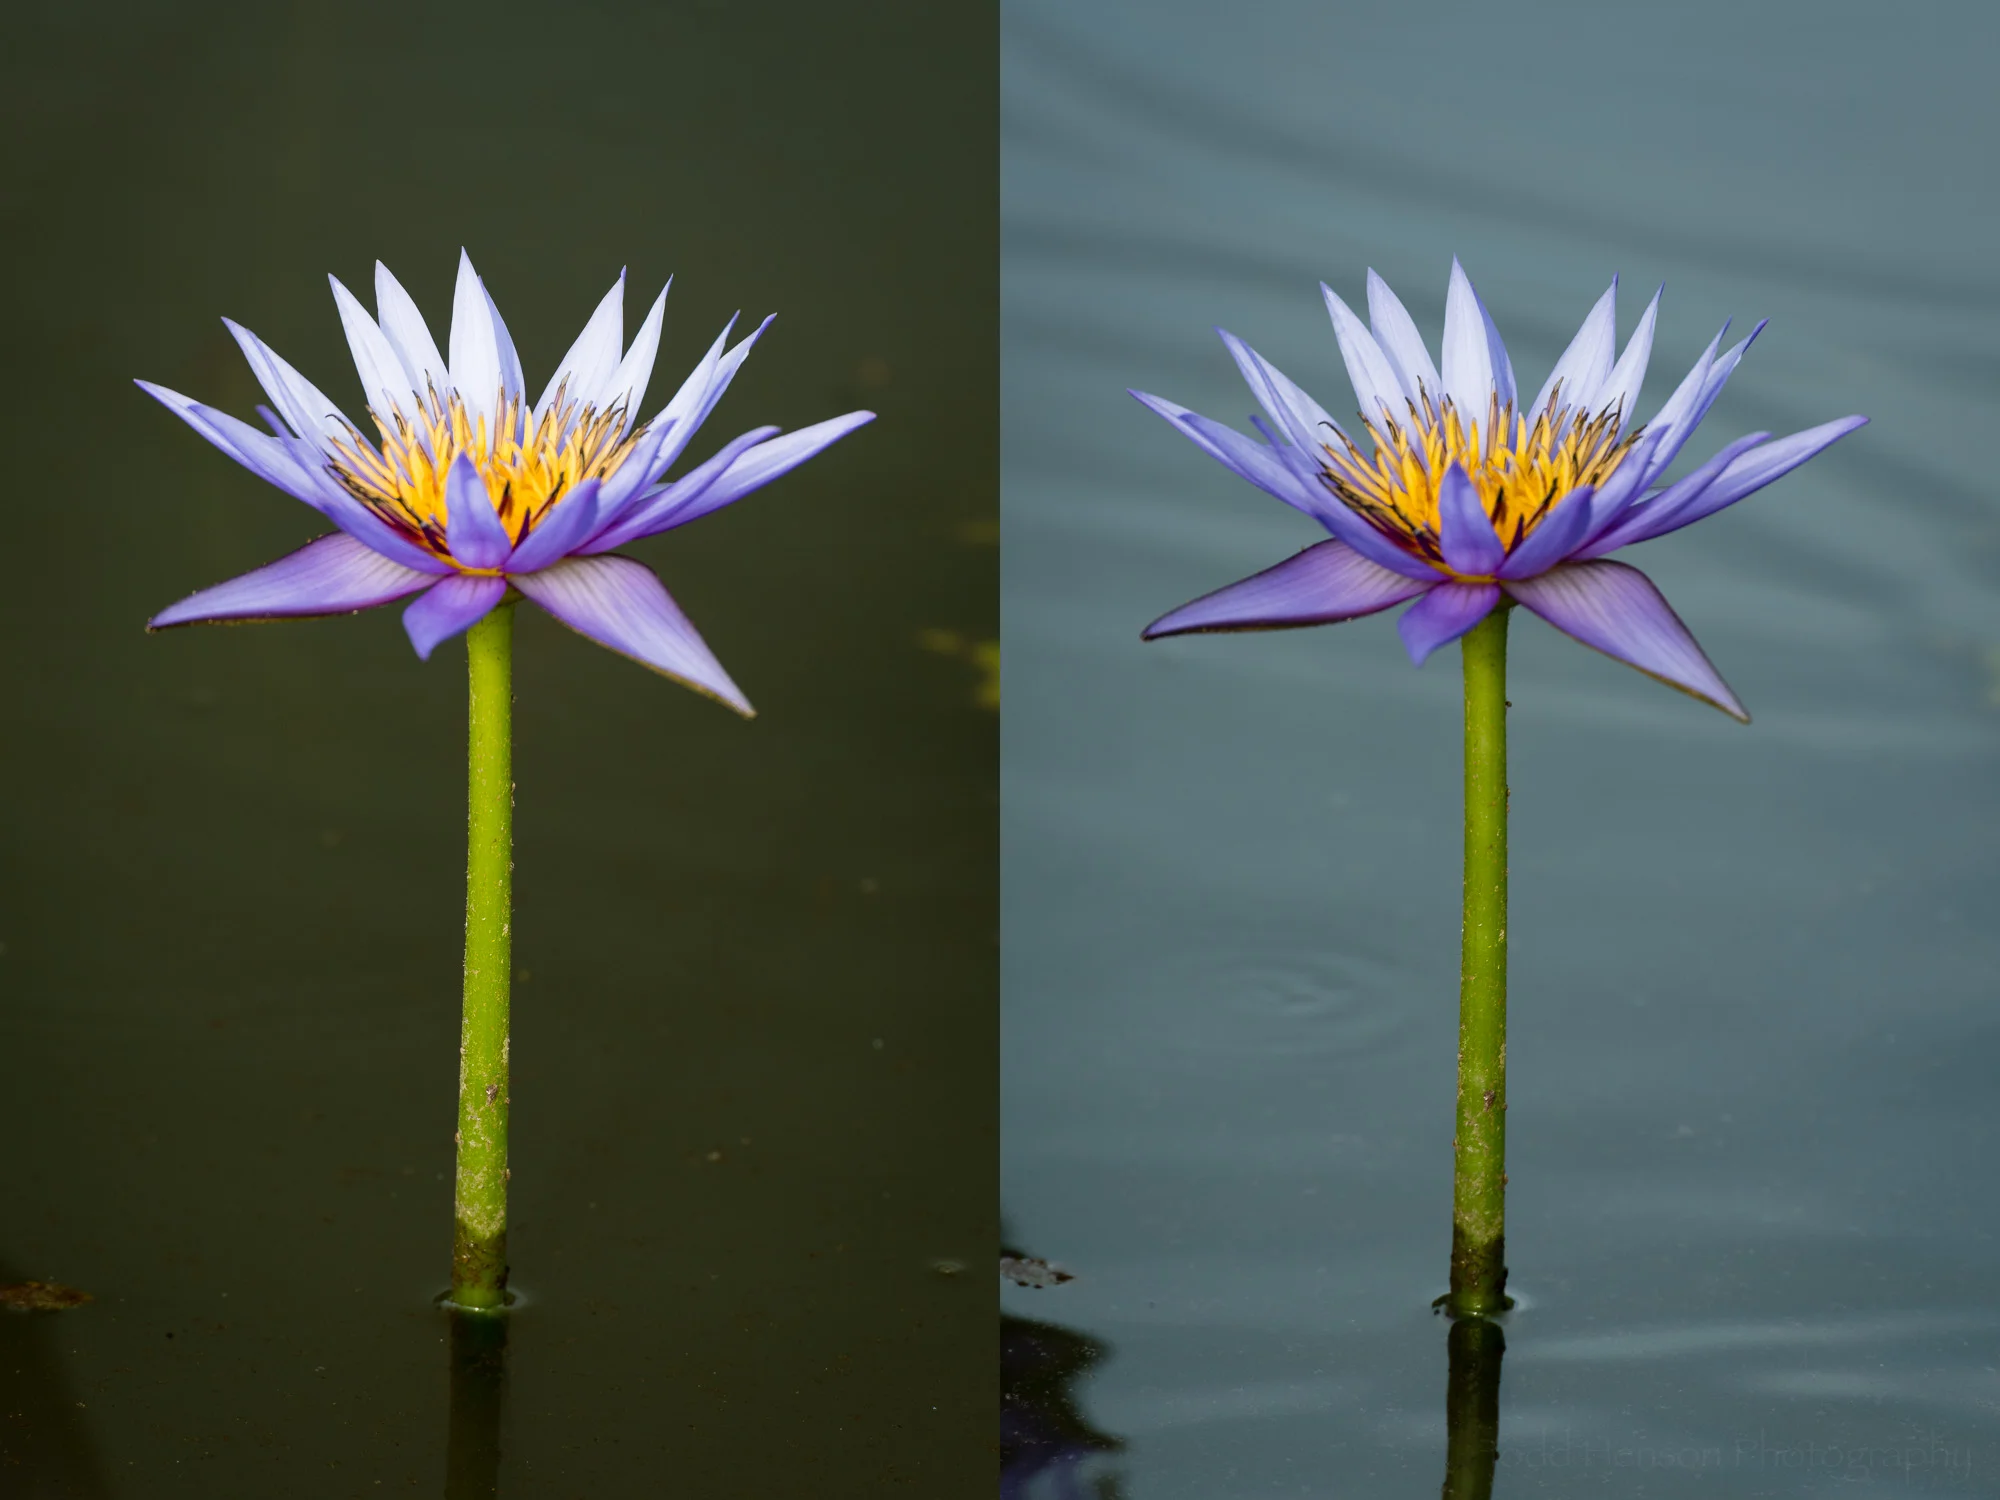
Below are before and after examples of each photo showing how it looked before I began processing in Lightroom and when I’d finished so you can see what effect this had. Click on each image to cycle between before and after

Final Thoughts

So what do you think? Have you tried this before? If not, give it a go. And you don’t have to photograph a bird to do this. You can chose any moving subject, such as a car or bicycle. In fact, you don’t even have to chose a moving subject. I’ve show before how you can use this technique on landscapes to create slightly more painterly views of the world. Give it a try, and let me know how it goes.

For other examples, see A Day for Abstracts in the Forest and Turbulence in Motion.


Do you enjoy these posts?

Sign up to receive periodic emails with updates and thoughts. Don’t worry, I won’t spam you. And please consider purchasing artwork or products from my online store, and using my affiliate links in the sidebar to the right when shopping online.

I appreciate your support!

Silhouettes in Nature by Todd Henson

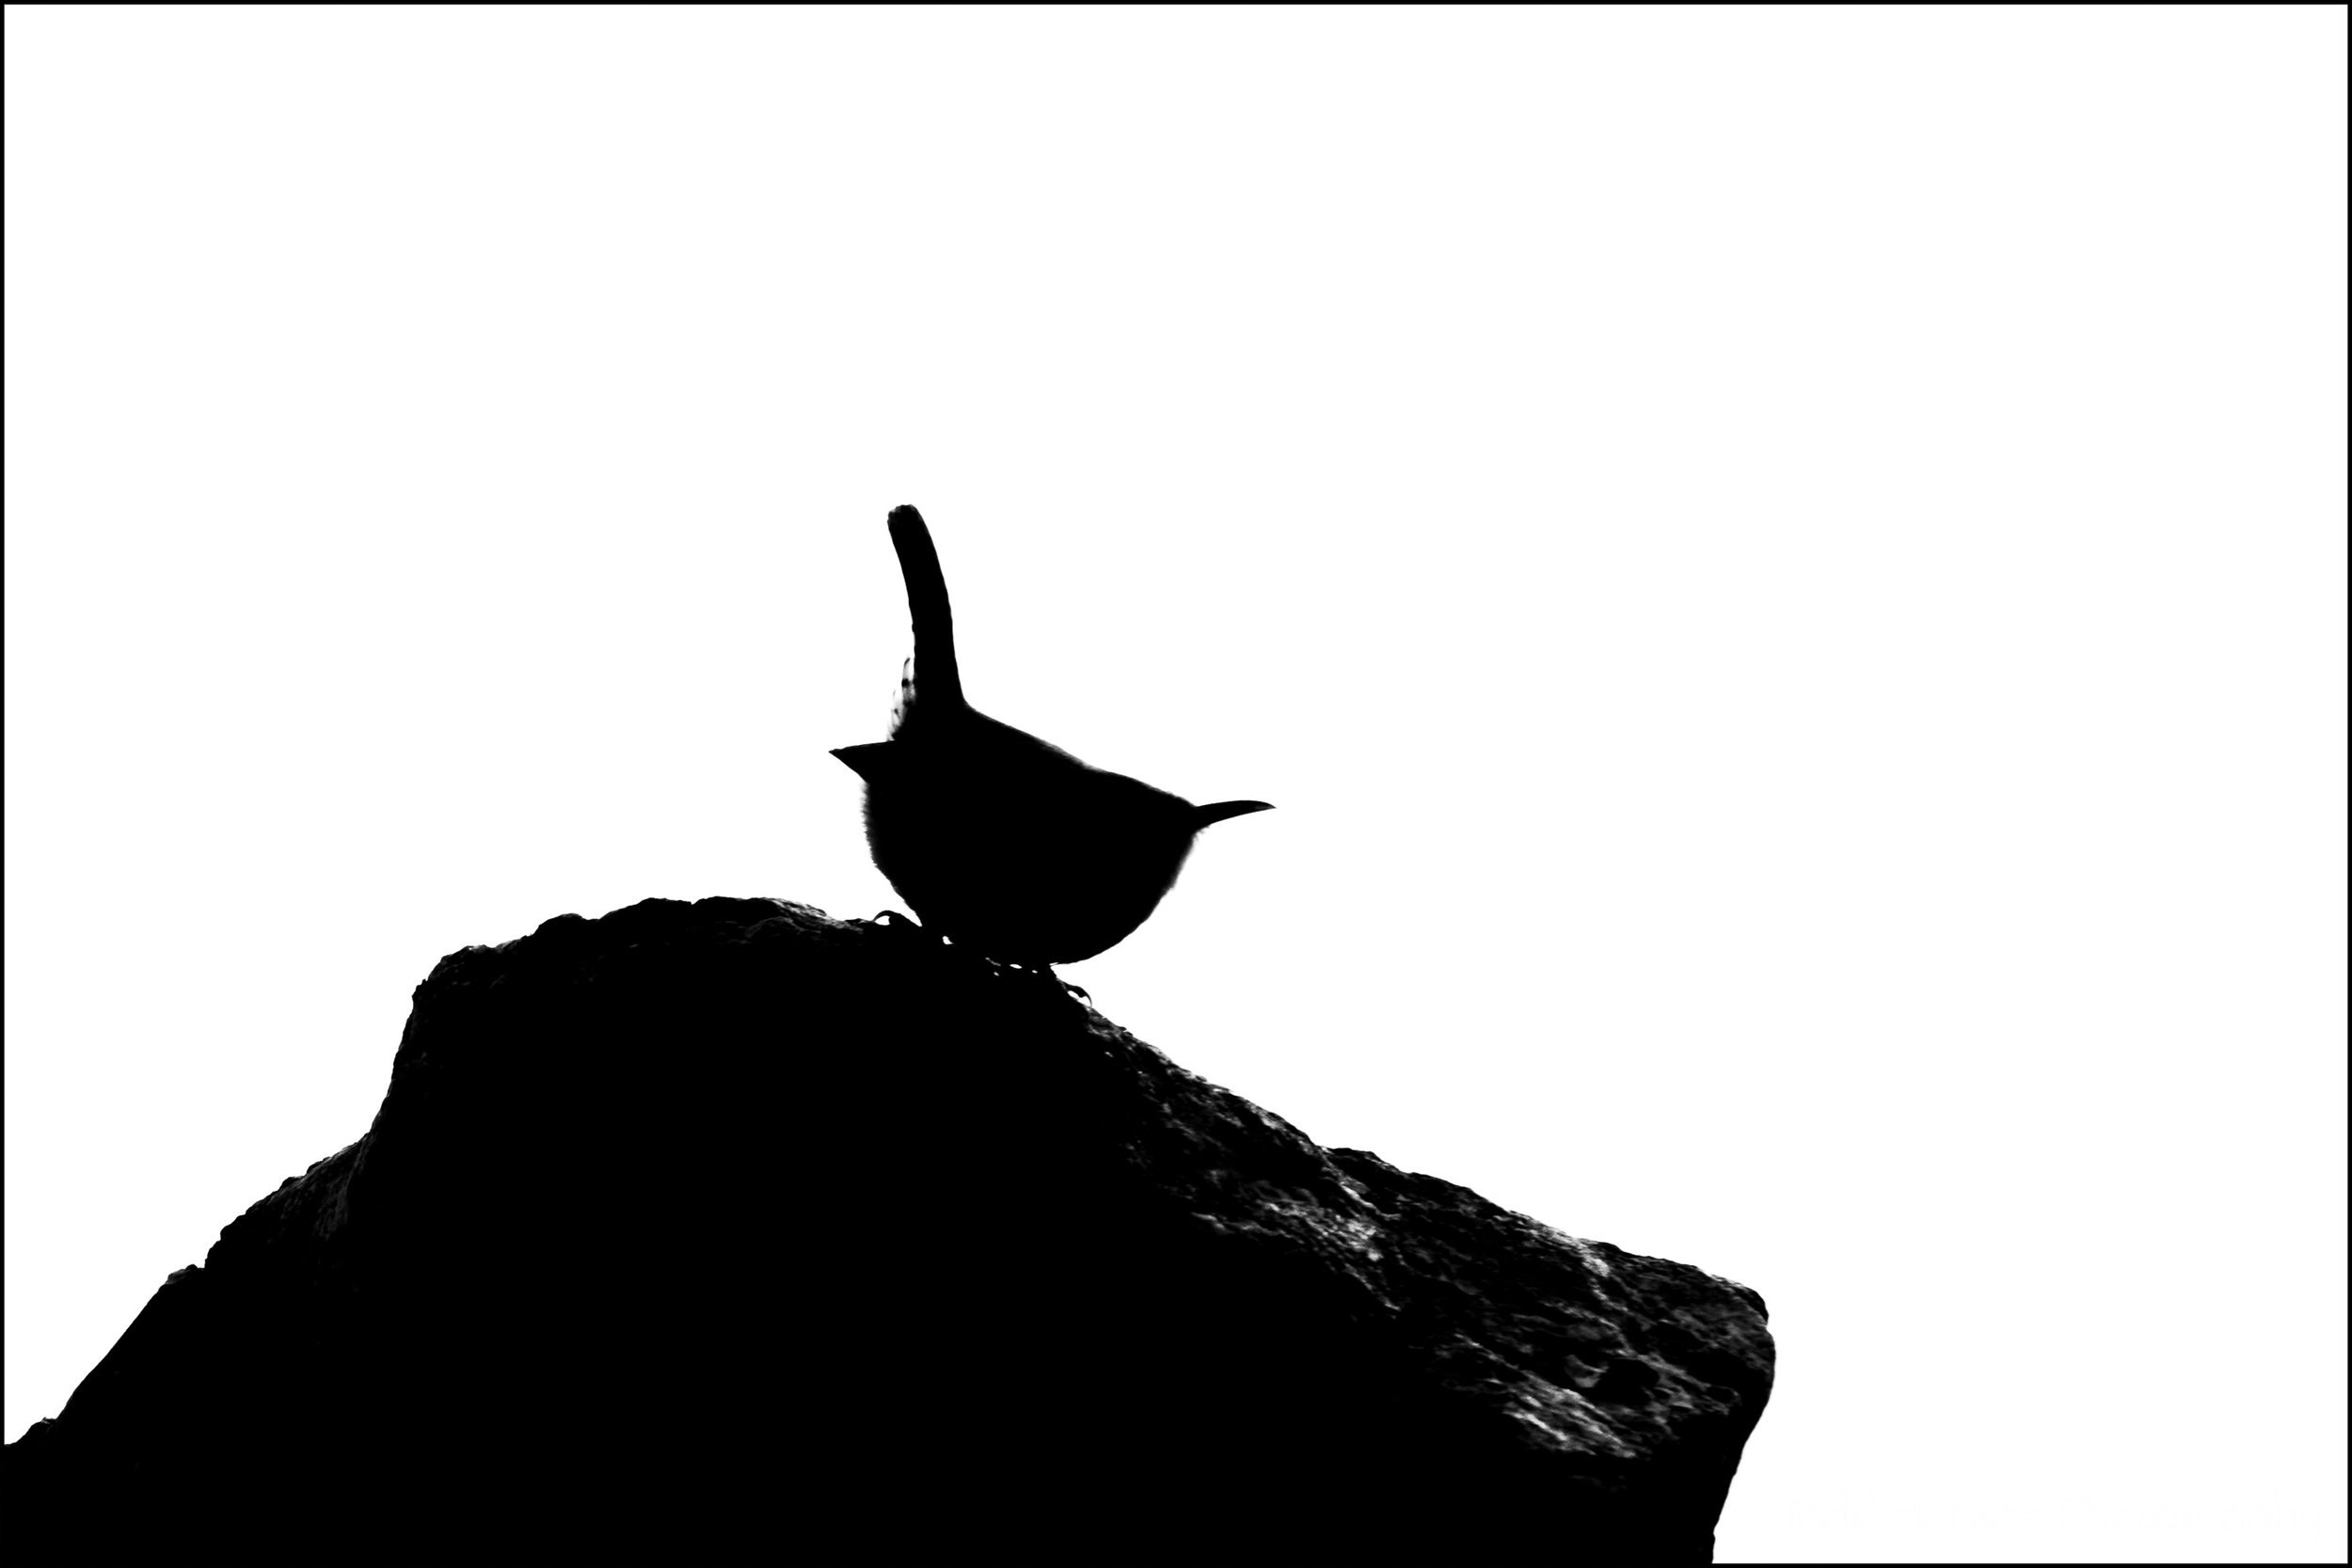
I’m not certain if I’ve experimented with, or shown, photographic silhouettes before. Something prompted me to try it with these two photos, and so here you are, two examples of silhouettes in nature.

Caroline wren in silhouette

When I first photographed these birds I wasn’t thinking about creating silhouettes from them. I simply didn’t think enough about the exposure with these strongly backlit subjects, which resulted in a fair bit of underexposure. I suppose that’s what sparked the idea of silhouettes.

Song sparrow in silhouette

I increased the contrast in post, darkening the darks and lightening the lights. As simple as this is, I enjoyed it and I could see myself trying this again, either with photos already in my library or actively seeking to create these in the field.


Do you enjoy these posts?

Sign up to receive periodic emails with updates and thoughts. Don’t worry, I won’t spam you. And please consider purchasing artwork or products from my online store, and using my affiliate links in the sidebar to the right when shopping online.

I appreciate your support!

Focus Stacking Pink Lady’s Slippers in 2022 by Todd Henson

Pink Lady’s Slipper (2022). This photo is the result of focus stacking 9 images to try to capture a significant portion of the bloom in focus.

One of the goals I had this season was to create a nice closeup photograph of one of our local orchids, the pink lady’s slipper, with an uncluttered out of focus background but showing a maximum amount of the blossom in focus. In the past I’ve tried this by experimenting with apertures to try to balance the amount of the blossom in focus against the amount of the background that’s out of focus. It’s been a challenge with many of the flowers I’ve found locally as they so often grow in very busy and brushy areas. So this year I decided to try using the focus stacking technique to accomplish my goal. This is a technique I’ve only rarely used, so I’m not an expert and am still learning.

Technique: Focus Stacking

Focus stacking refers to making many photographs of the same subject, one right after the other, while shifting the focus point for each photograph. In this case I used a very wide open aperture to keep the background nicely blurred. Then I focused on the closest point on the flower and made an image. Then I shifted the focus back just a little and made another photo, and repeated this until I was focused on the back of the flower. Essentially, each photo has a slice of the subject in focus and when you combine all of them in software you will, hopefully, get the entire subject in focus.

I’m not going to go into lengthy detail on the specifics of how to do this in software, but at a high level I did the following:

  • Selected all the individual photos in Lightroom and chose to edit as layers in Photoshop.

  • Selected all the layers in Photoshop, then auto-aligned the layers to line them all up correctly in case there was any slight movement between shots.

  • Auto-merged the layers, choosing the focus stacking option, to combine them all letting Photoshop pick the areas most in focus from each image.

  • Cropped the final merge to get rid of any inconsistent areas around the edges.

  • Performed any final edits in Lightroom.

The two photos I share today are examples of how I did. They are not perfect merges, though I am reasonably happy with the results. I’m ok with some things being a little out of focus but there are small areas of pink on each flower that I’d hoped would be in focus and are not. At some point I may spend more time on each to see if I might have captured those areas in focus in some of the images but the software just didn’t merge them correctly, and if so I would need to manually adjust the layers after the merge to try to capture those areas in focus. Or it’s also possible I just moved the focus a little too far such that I missed a slice, in which case I’ll need to try again next season.

Another Pink Lady’s Slipper (2022). This photos is the result of focus stacking 14 images, resulting in a 3.01 GB file.

Lessons Learned

  • If you are shooting with a wide open aperture and are close to your subject then adjust the focus in very small increments to assure you capture the entire subject. You can’t always go back and redo this later.

  • Try to pick days where there’s no wind, or at least very little. You don’t want the subject moving between each shot.

  • Use a sturdy tripod. Software can align the photos if they are not all perfectly aligned, but why risk problems? Use a tripod and get the shots as steady and lined up as possible while in the field.

  • Consider what software to use. I used Adobe Lightroom and Photoshop to perform all processing. This is a great combo but sometimes there are third party software packages that might do a better job with specific tasks. I’ve heard good things about Helicon Focus when it comes to focus stacking, but I’ve never tried it.

  • Consider how much memory and processing power this might take. I’m still working from a fairly old computer (12 years old) and this process did tax it. It became so memory constrained at times that the entire process seemed to stall and likely took far longer than it would on a more recent computer (I’ve been recently thinking about finally getting a new one).

  • Consider how much hard drive space this might take. Granted, space is relatively cheap in the scheme of things, but just realize that combining 14 images created on a 20 megapixel camera can result in a 3 GB merged file. If your subject requires even more images then the size will grow even larger.

  • Practice, practice, practice.

Conclusion

Focus stacking is a great technique that can help you create images that surpass the capabilities of whatever camera and lens you own. You can create very shallow depth of field photographs but still capture maximum detail in the specific areas you want. Modern software makes it relatively painless in most cases to create some nice images, but it can still take a little work, and it does help to practice the technique to better your skills and increase the chances of creating a final photo that exceeds your expectations.


Do you enjoy these posts?

Sign up to receive periodic emails with updates and thoughts. Don’t worry, I won’t spam you. And please consider purchasing artwork or products from my online store, and using my affiliate links in the sidebar to the right when shopping online.

I appreciate your support!