panning

Painterly Kingfisher in Flight by Todd Henson

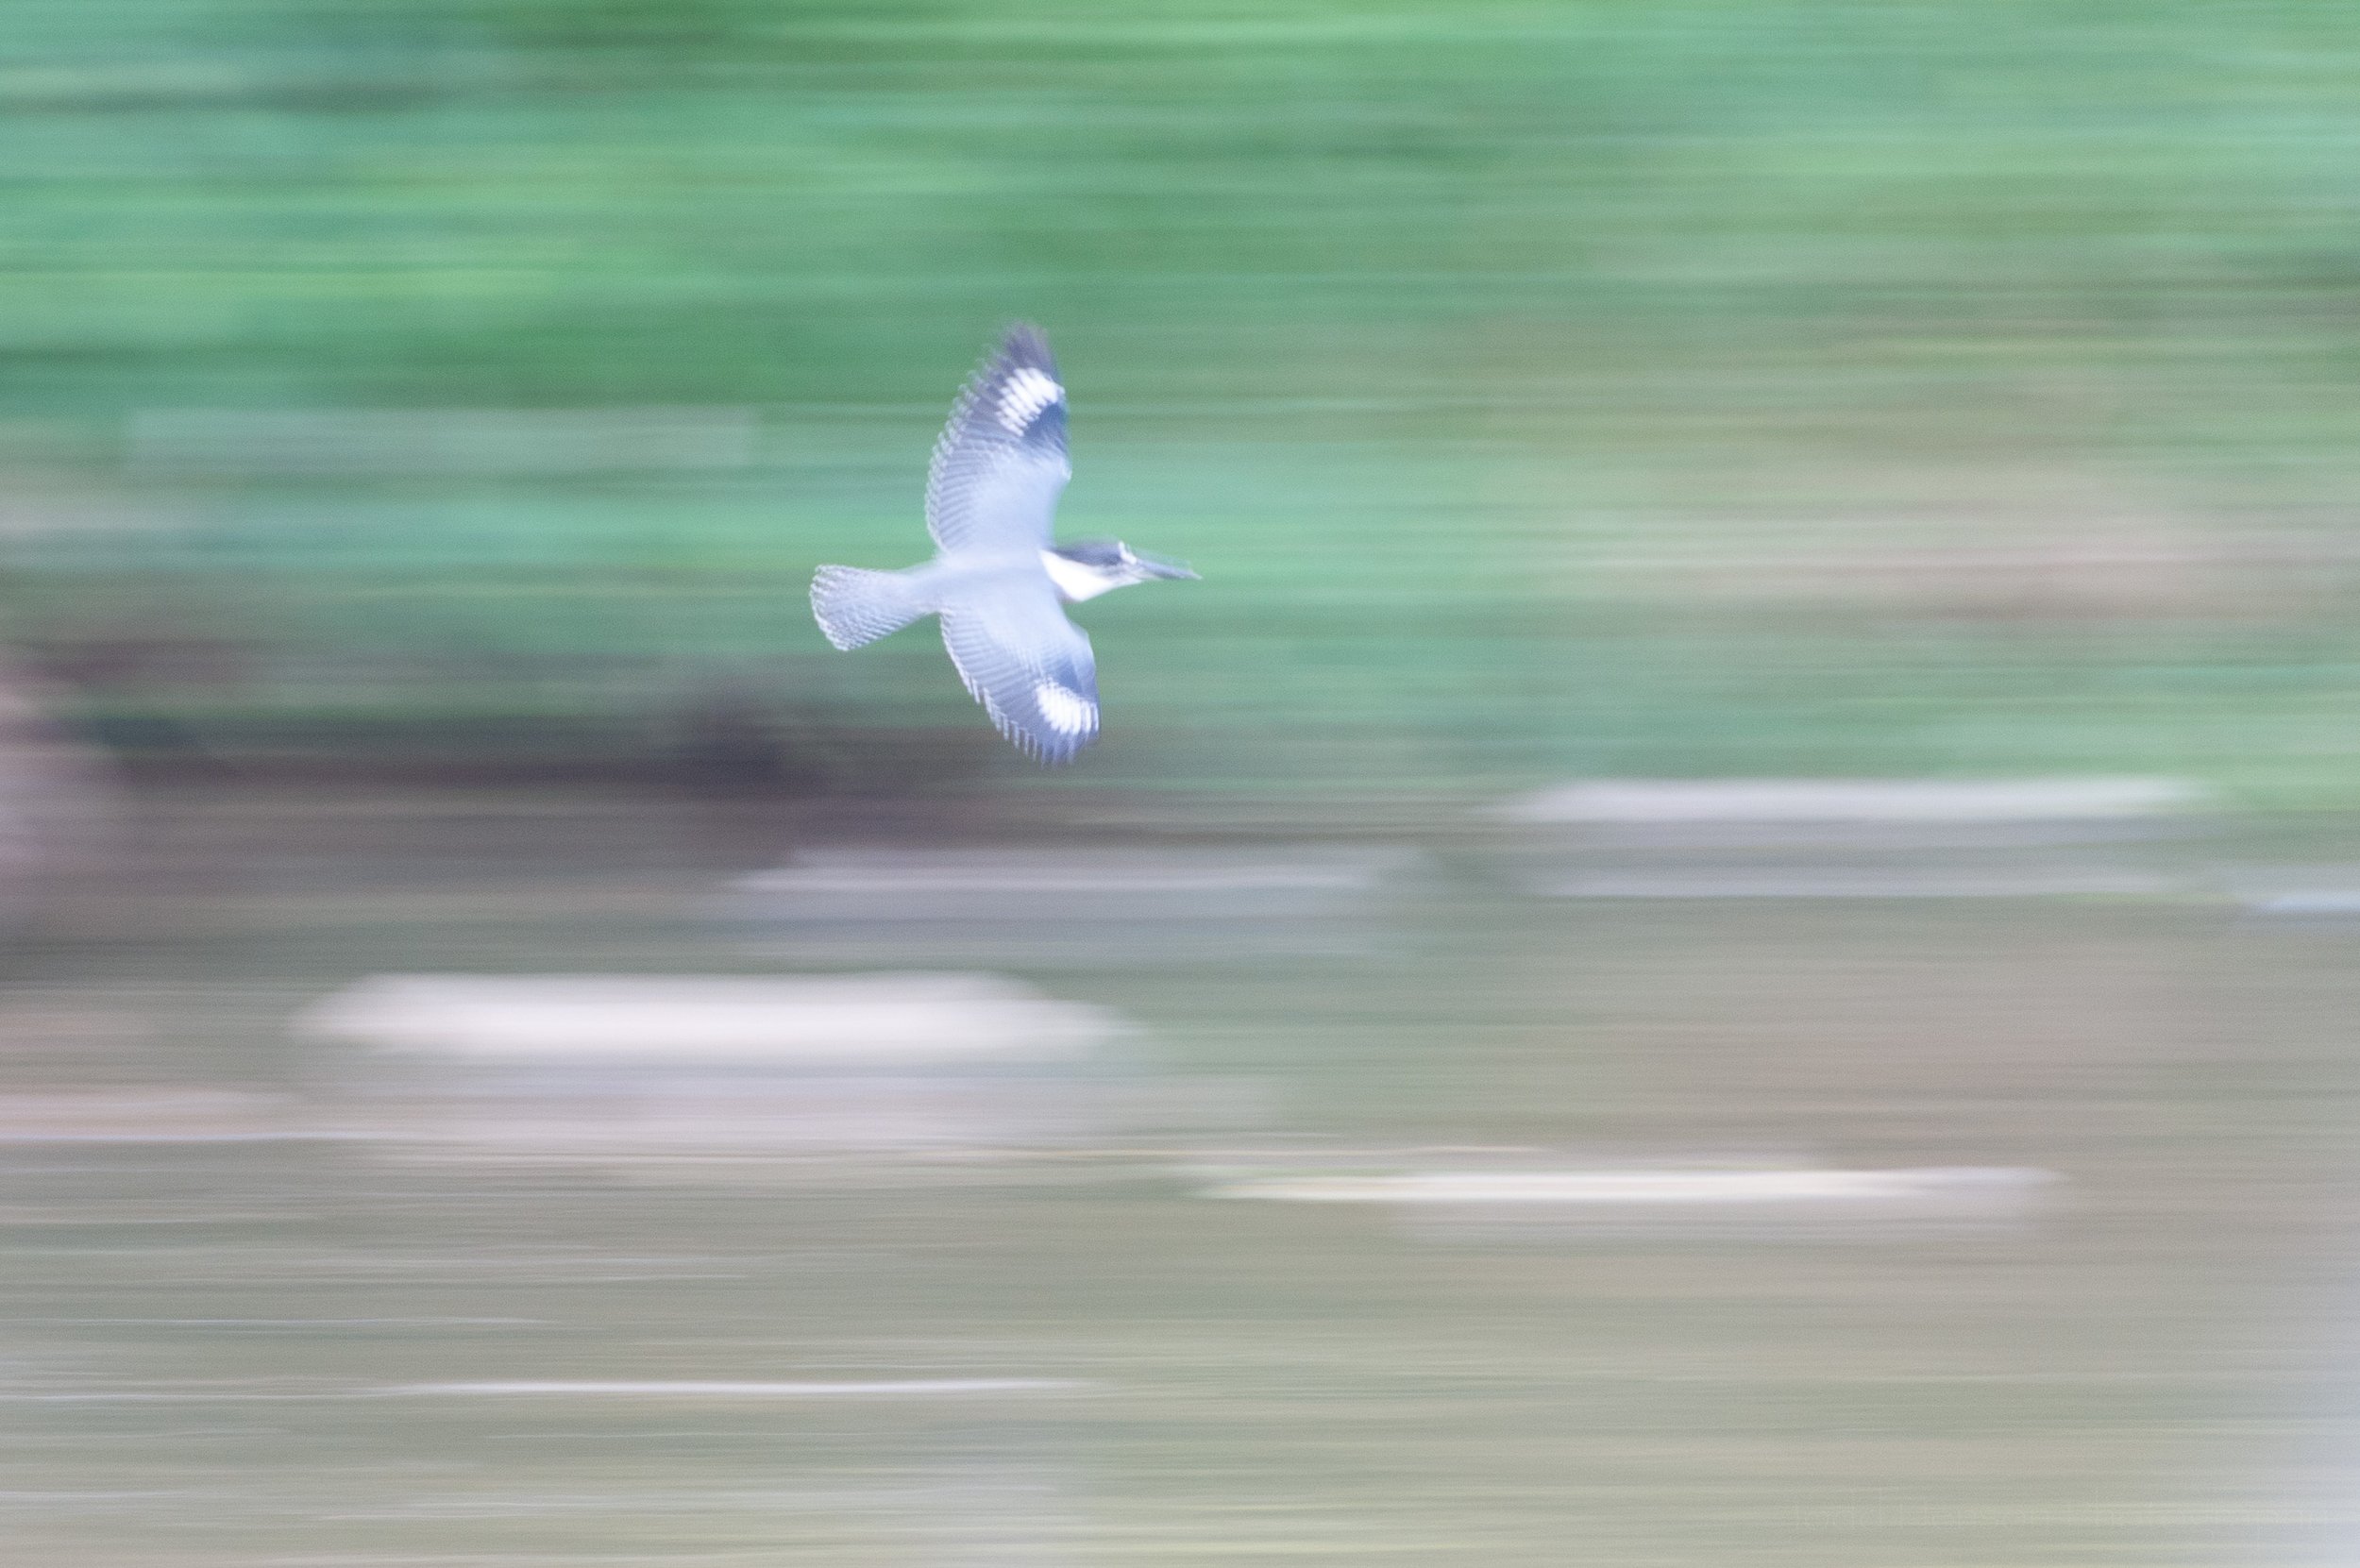
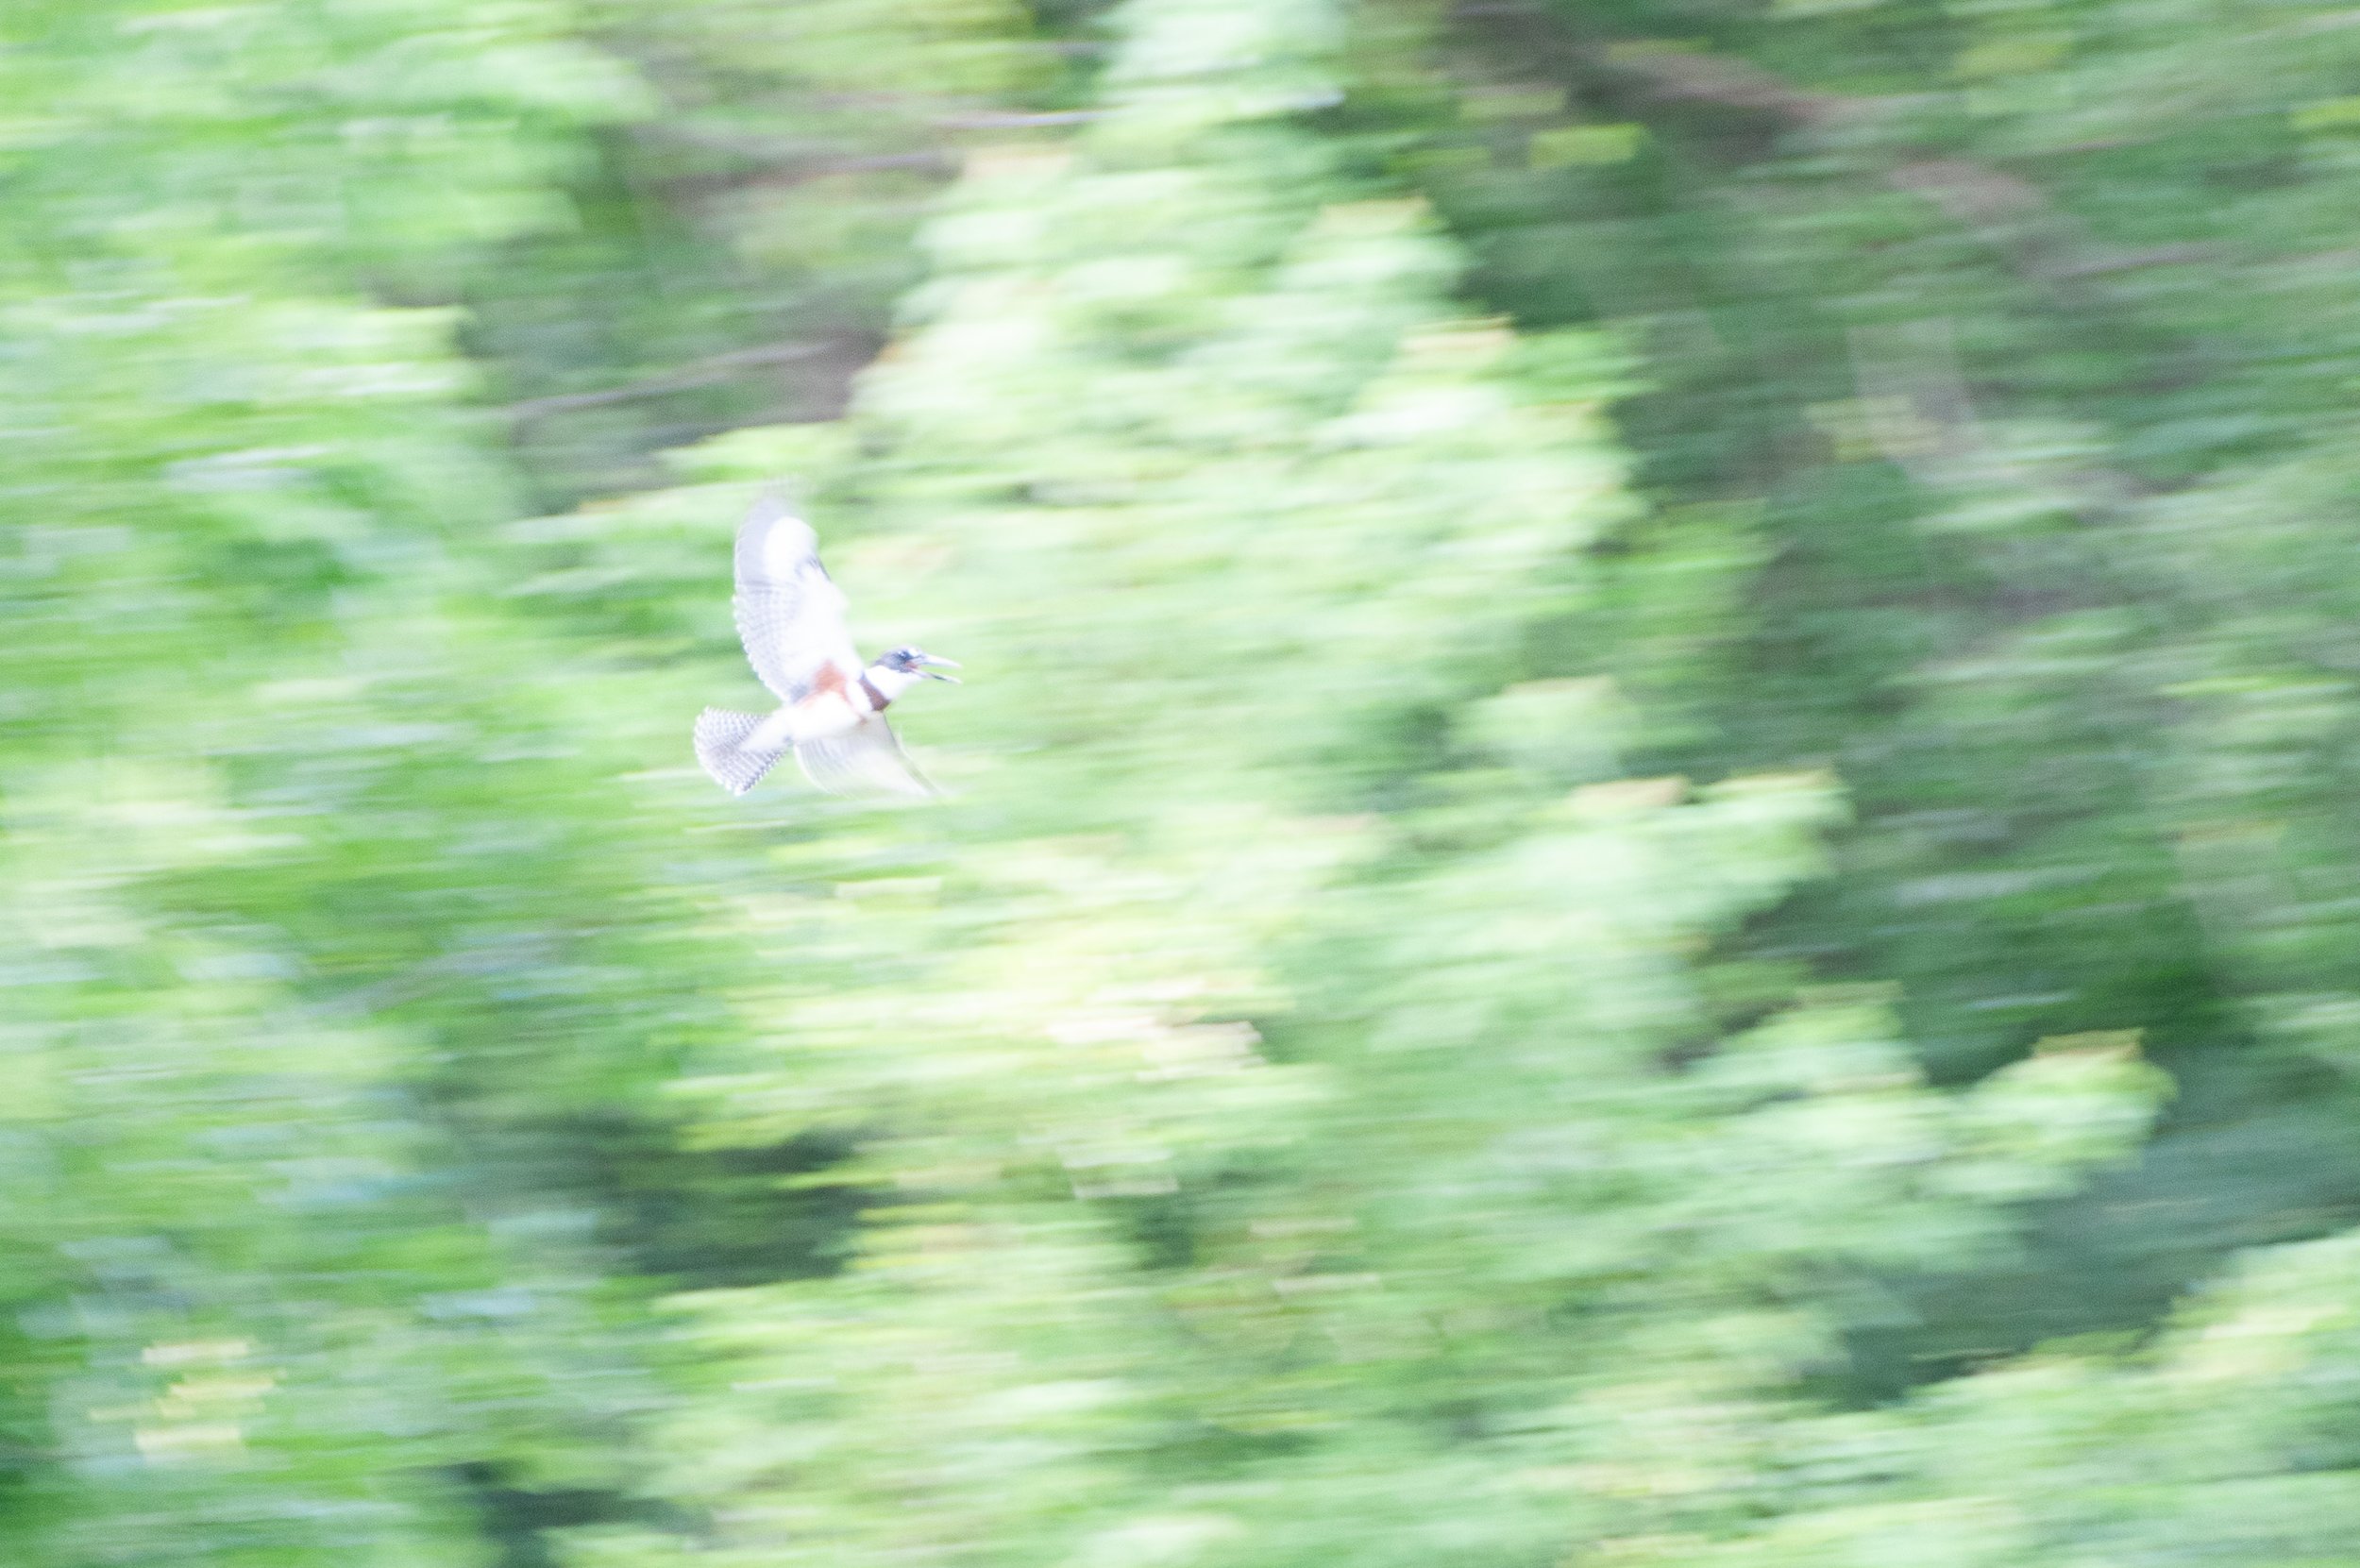
Belted Kingfisher Flyby

Sometimes paintings that look very much like real life are called photorealistic because they appear almost like photographs. Similarly, photography can be used to create more painterly images, even using techniques mostly performed in camera. Today we’ll explore one method of doing this, that of panning with a subject using long exposures to create intentional motion blur, and it doesn’t require pro-level cameras or lenses.

The Setup

On July 3, 2009, my brother and I visited Luray, Virginia and their fabulous Greenway, a beautifully maintained park system with a stream and walkway that runs through the town. In one area we heard the call of a belted kingfisher and watched as it repeatedly flew quickly upstream, and then back downstream. I had with me the kit lens that came with my camera, an 18-200 mm f/3.5-5.6 lens. In this case the 200 mm helped me get a little closer to the kingfisher, but if you photograph larger subjects or are willing to have a smaller subject then you can easily use a shorter focal length just as well.

The kingfisher was moving quickly and the light was a little subdued under the leaves of the trees. I doubted I could get nice clear photos of the kingfisher in flight, though I did initially try that, so I eventually settled on creating slightly more abstract painterly photos. I wanted the kingfisher as large as it could be so I zoomed in as far as I could to 200 mm. There wasn’t a lot of light so I knew shutter speeds would be an interesting challenge. I opened up the aperture of the lens all the way, to f/5.6 at 200 mm. I then raised my ISO to 640 to let me set faster shutter speeds. This gave me shutter speeds between 1/15 to 1/60 of a second. I could have worked in manual exposure mode and set everything, and if you want a specific look this is what you should do, but given I was panning through different areas with different light levels, and I was just having fun experimenting, I chose to work in aperture priority mode, my typical setting, where I choose the aperture and let the shutter speed fall where it may.

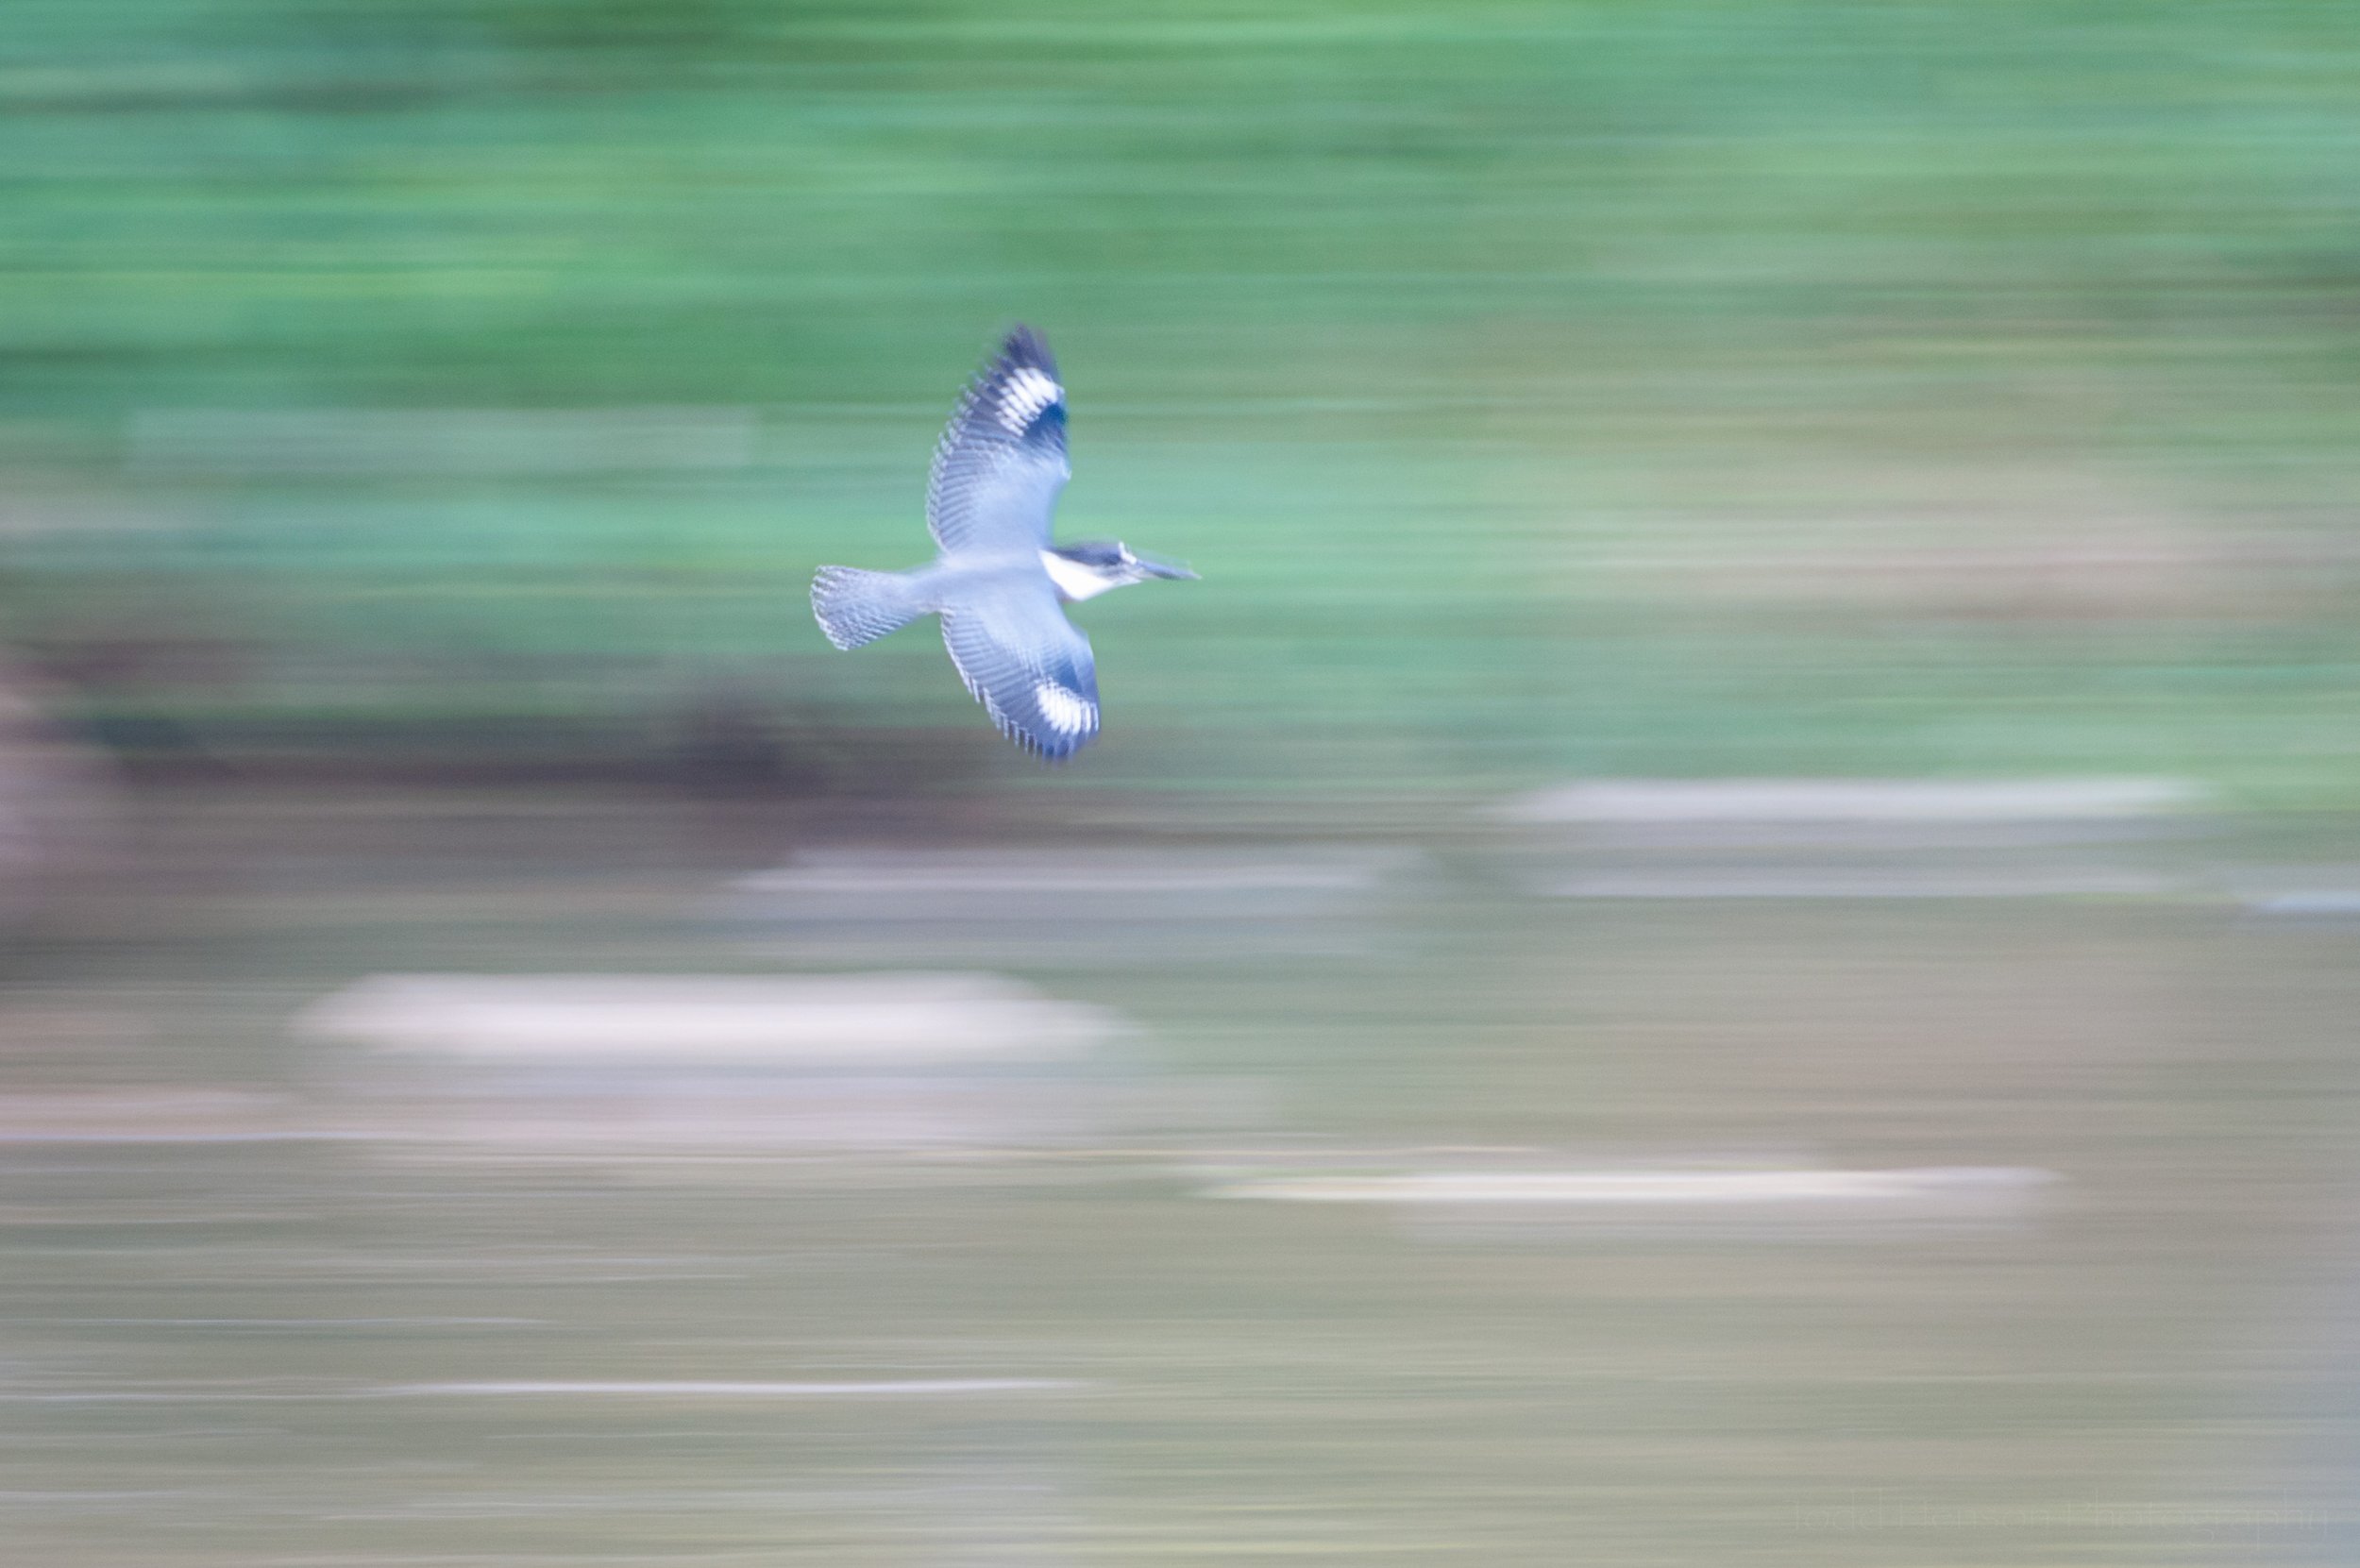
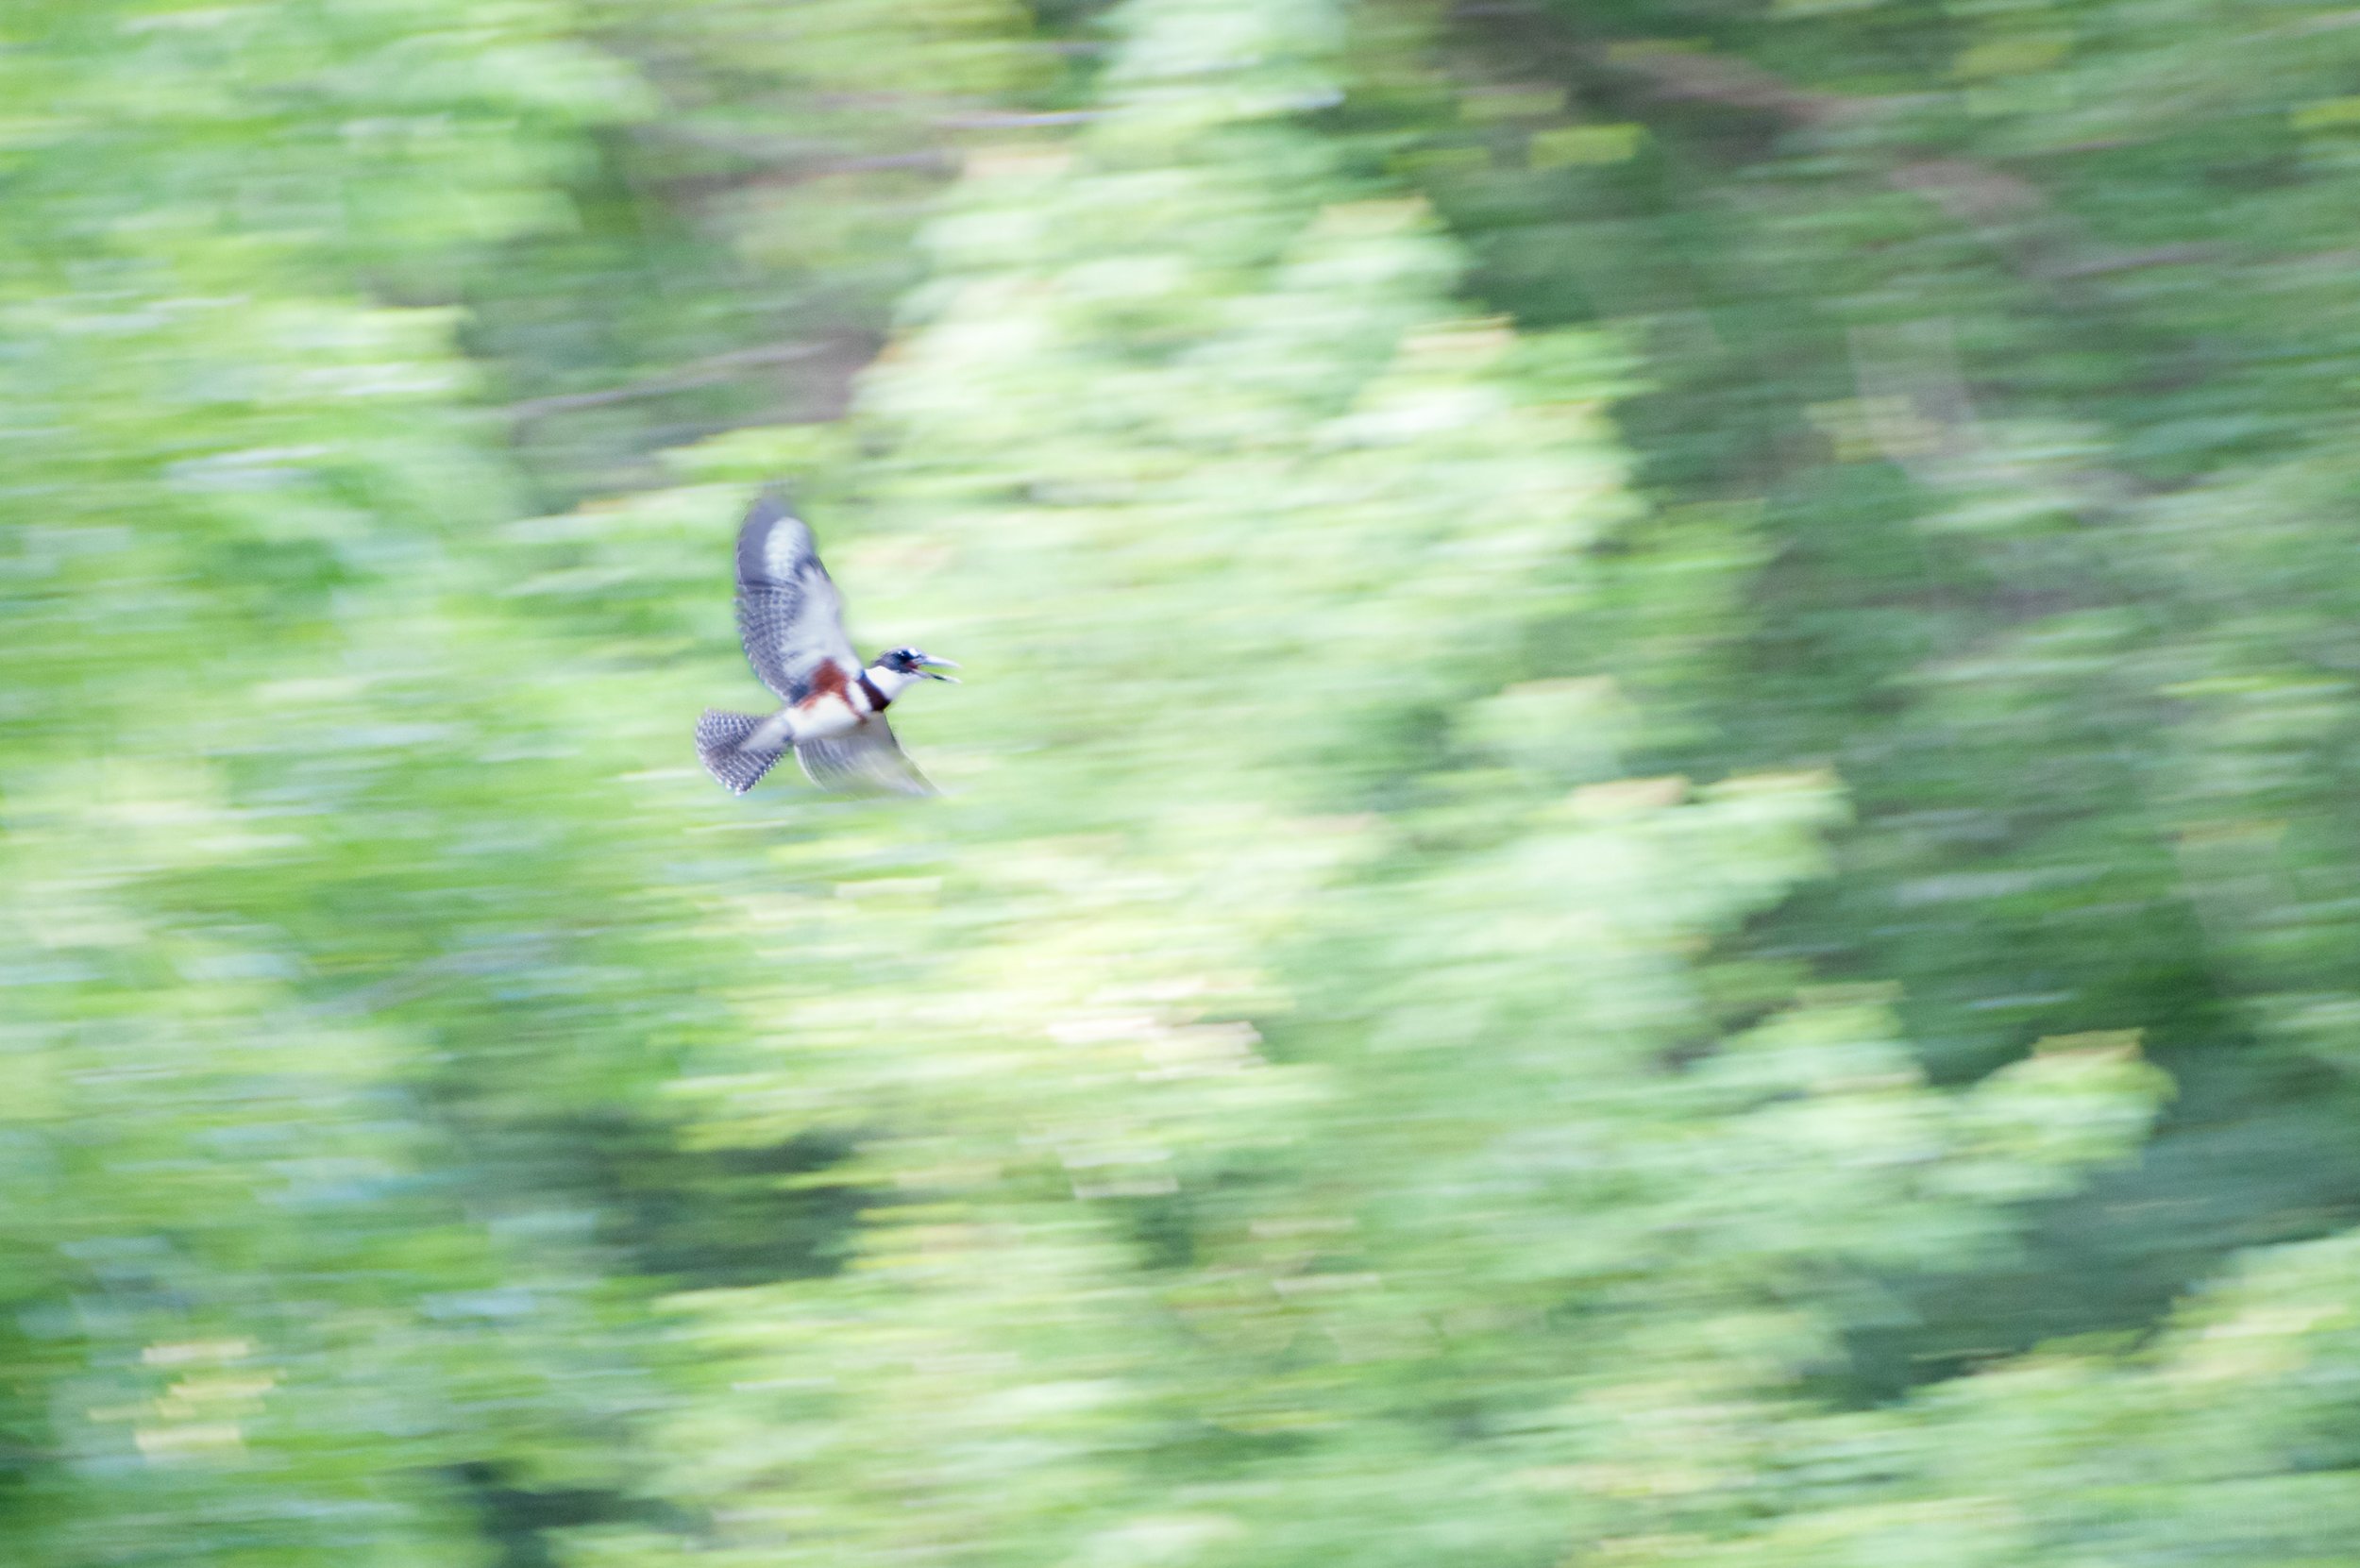
The Kingfisher Soars

Technique: Panning

So what is panning? It’s moving the camera with the subject and letting the background blur. If you see the bird coming from the left then face straight ahead and twist your body towards the left. Find the bird in your viewfinder and begin focusing. Stick with it as it flies by, pressing the shutter button in continuous mode so you create many images as it flies by, with you continuing to track it as it does, twisting your body to the right. Keep with it as it flies by to the right until it’s flown beyond your view. Hopefully, somewhere in that group of photos you’ve created a winner.

It requires a lot of experimentation to find just the right shutter speed for your subject. Do you want the subject in perfect focus, or are you willing to let the subject remain a bit blurry as I chose to here? And how fast is the subject moving? The shutter speed you need will depend on those factors, so you’ll need to practice to find what works for you in that specific instance.

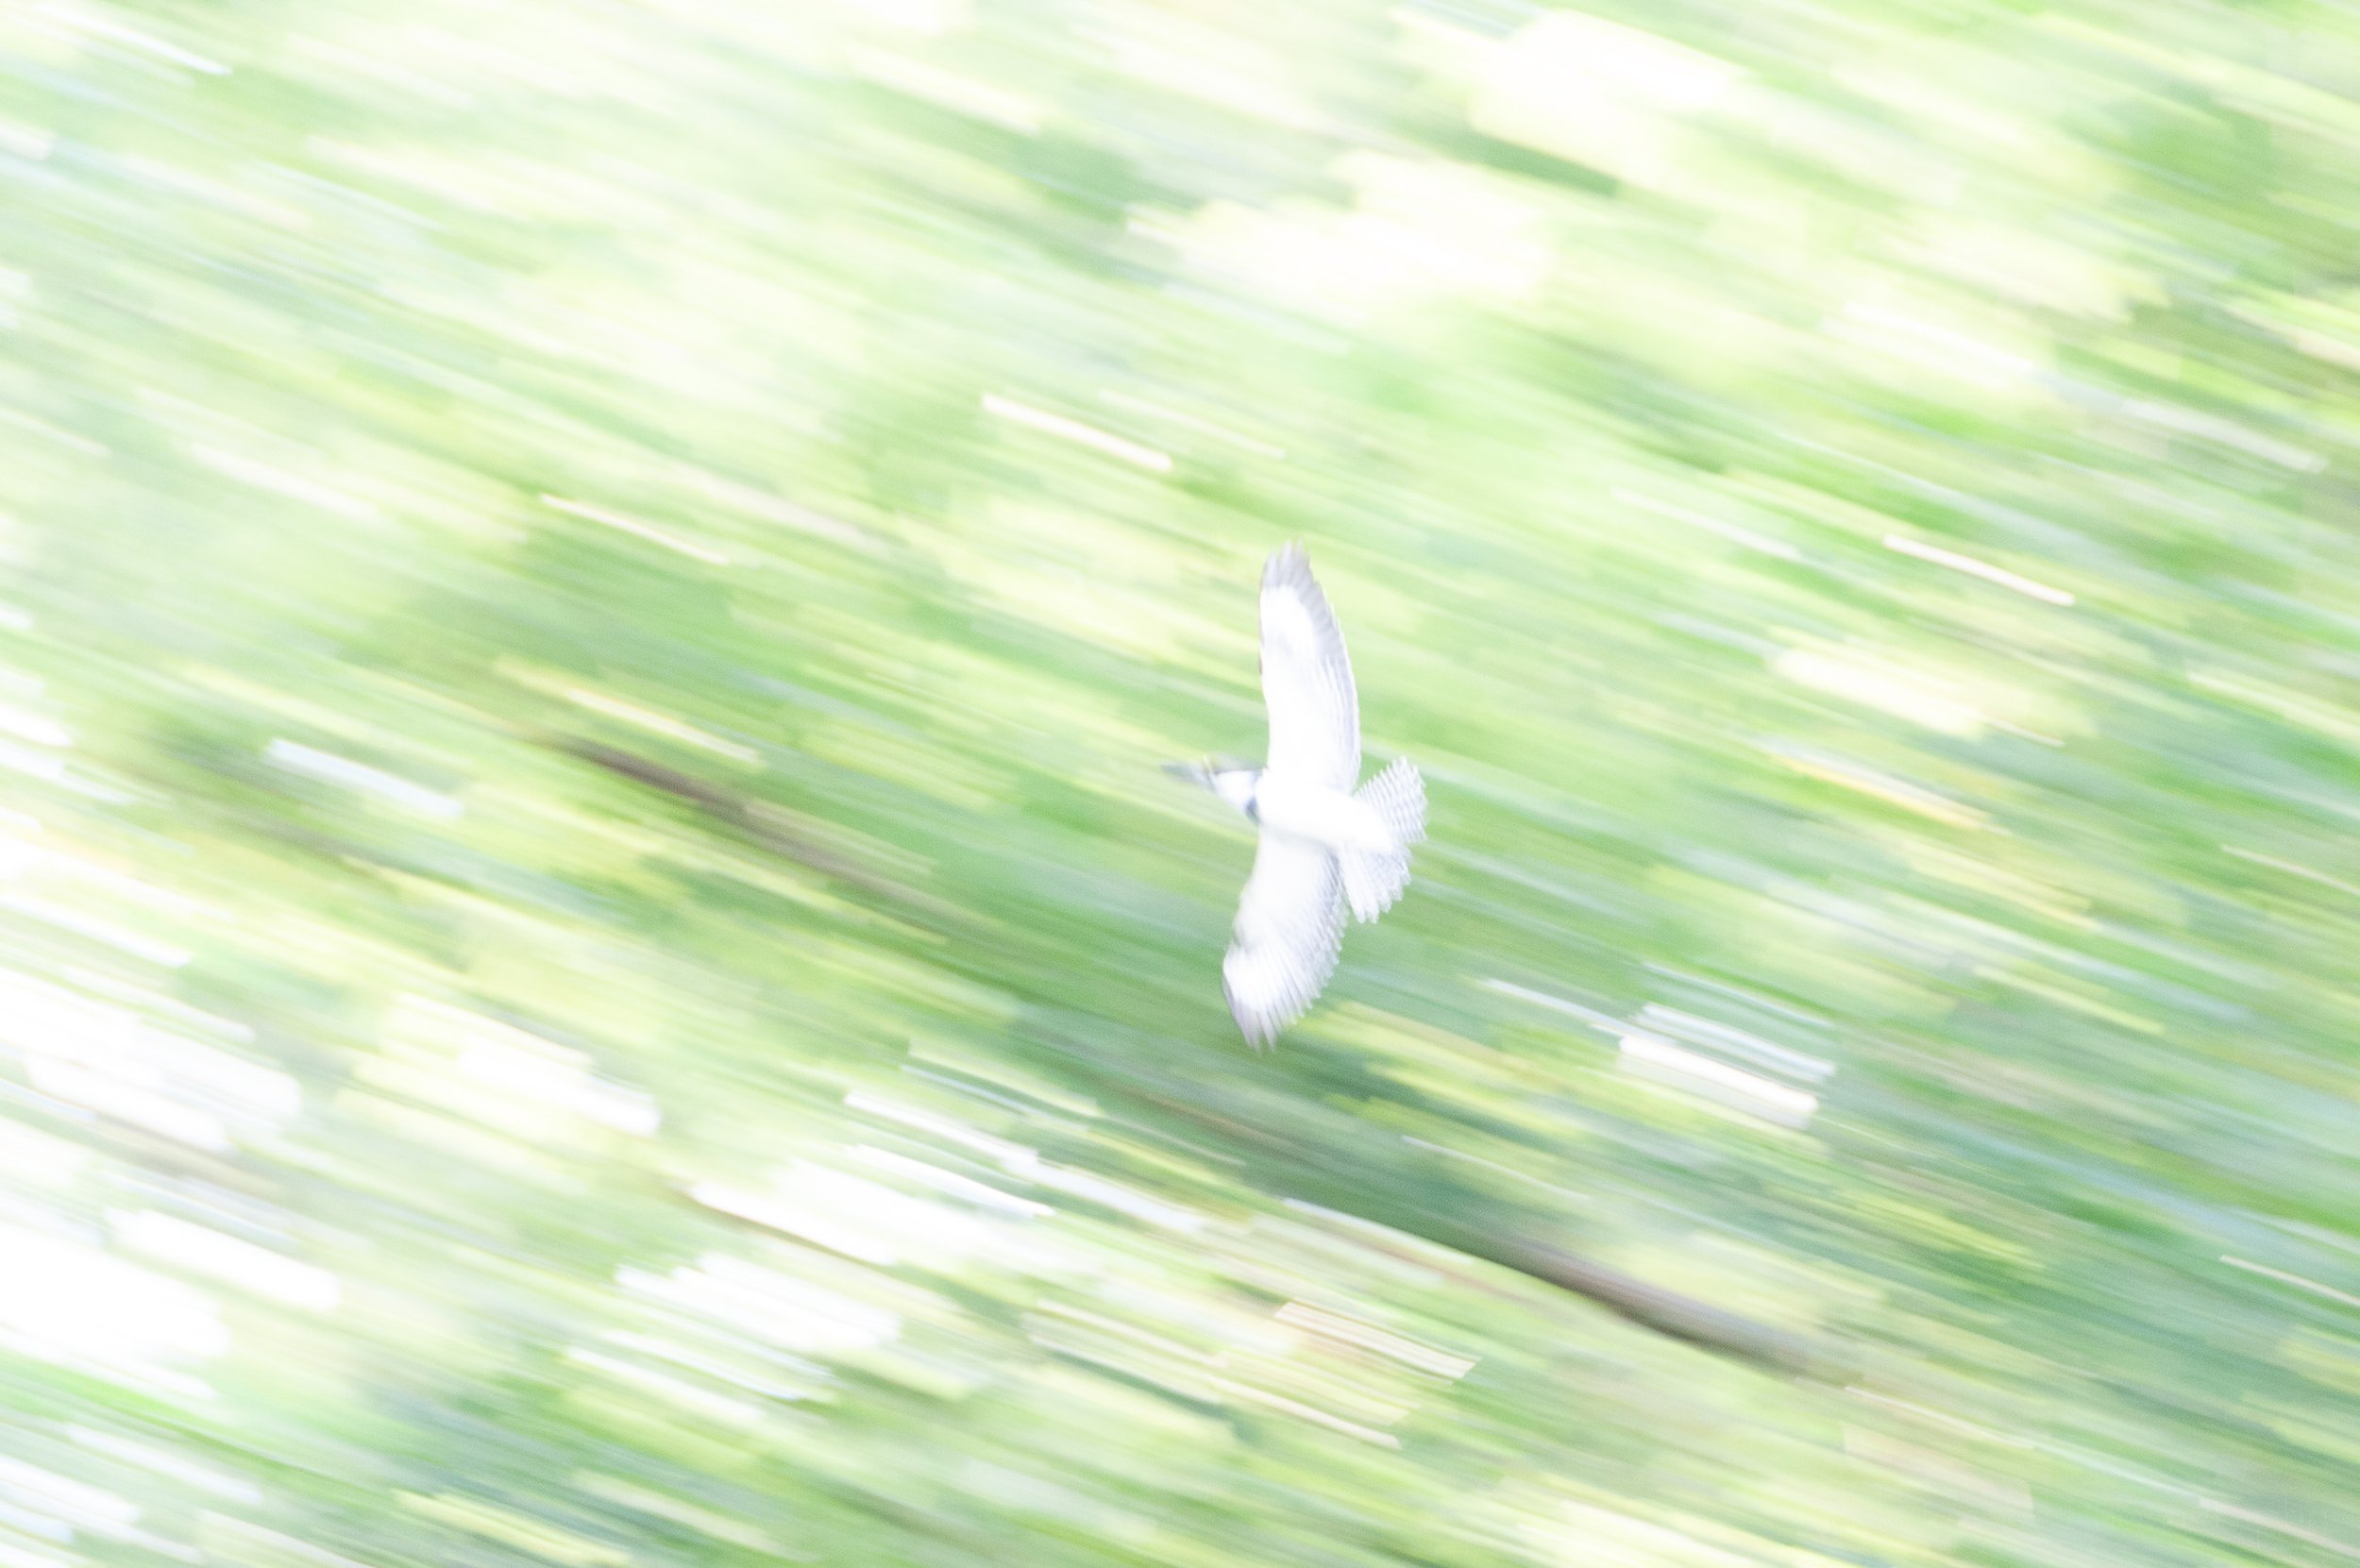
The Kingfisher Calls

Painterly Aspects

Notice how different each of the three photos here look. In the case of the first photo, Belted Kingfisher Flyby, the bird is moving very quickly so I’m panning very quickly which creates a complete blur to the background. The shutter speed is 1/15 second so there’s plenty of time for the background to blur. You can see how far the bird, and my camera, moved in that time by looking at the length of the lighter colored lines in the photo.

The second photo, The Kingfisher Soars, is similar but the bird was flying at an angle so I didn’t pan quite as fast, and I used a faster shutter speed of 1/50 second. You can see the lines of color from the background are shorter. They begin to look a little more like long paint strokes.

With the third photo, The Kingfisher’s Call, I’m now at a faster shutter speed with 1/60 second, and the bird isn’t moving nearly as fast, almost hovering as kingfishers sometimes do. Look closely at the lines of color and light in the background of the photo. See how much shorter they are? Now, perhaps, they most resemble strokes of a paintbrush. And the bird is almost in focus, or at least more so than with the other two photos.

One thing to note, you could find a fast enough shutter speed that works with both the subject movement and your ability to pan, such that you actually get the subject almost completely in focus and the background a blur. This can be a lot of fun, too. But in this case, trying for a more painterly effect, I was fine with the subject remaining a bit blurry from the motion. I thought it contributed to the look of the images.

Post-processing

So the majority of the technique is in-camera using the three basic camera settings of shutter speed, aperture and ISO. But I did do work in post after I’d downloaded the photos to my computer. I used Adobe Lightroom to adjust exposure, lessening some of the highlights, darkening some shadows, blurring the backgrounds a bit more by lowering clarity, and accentuating the kingfisher by keeping the whites of its body bright and the colors dark and bold.

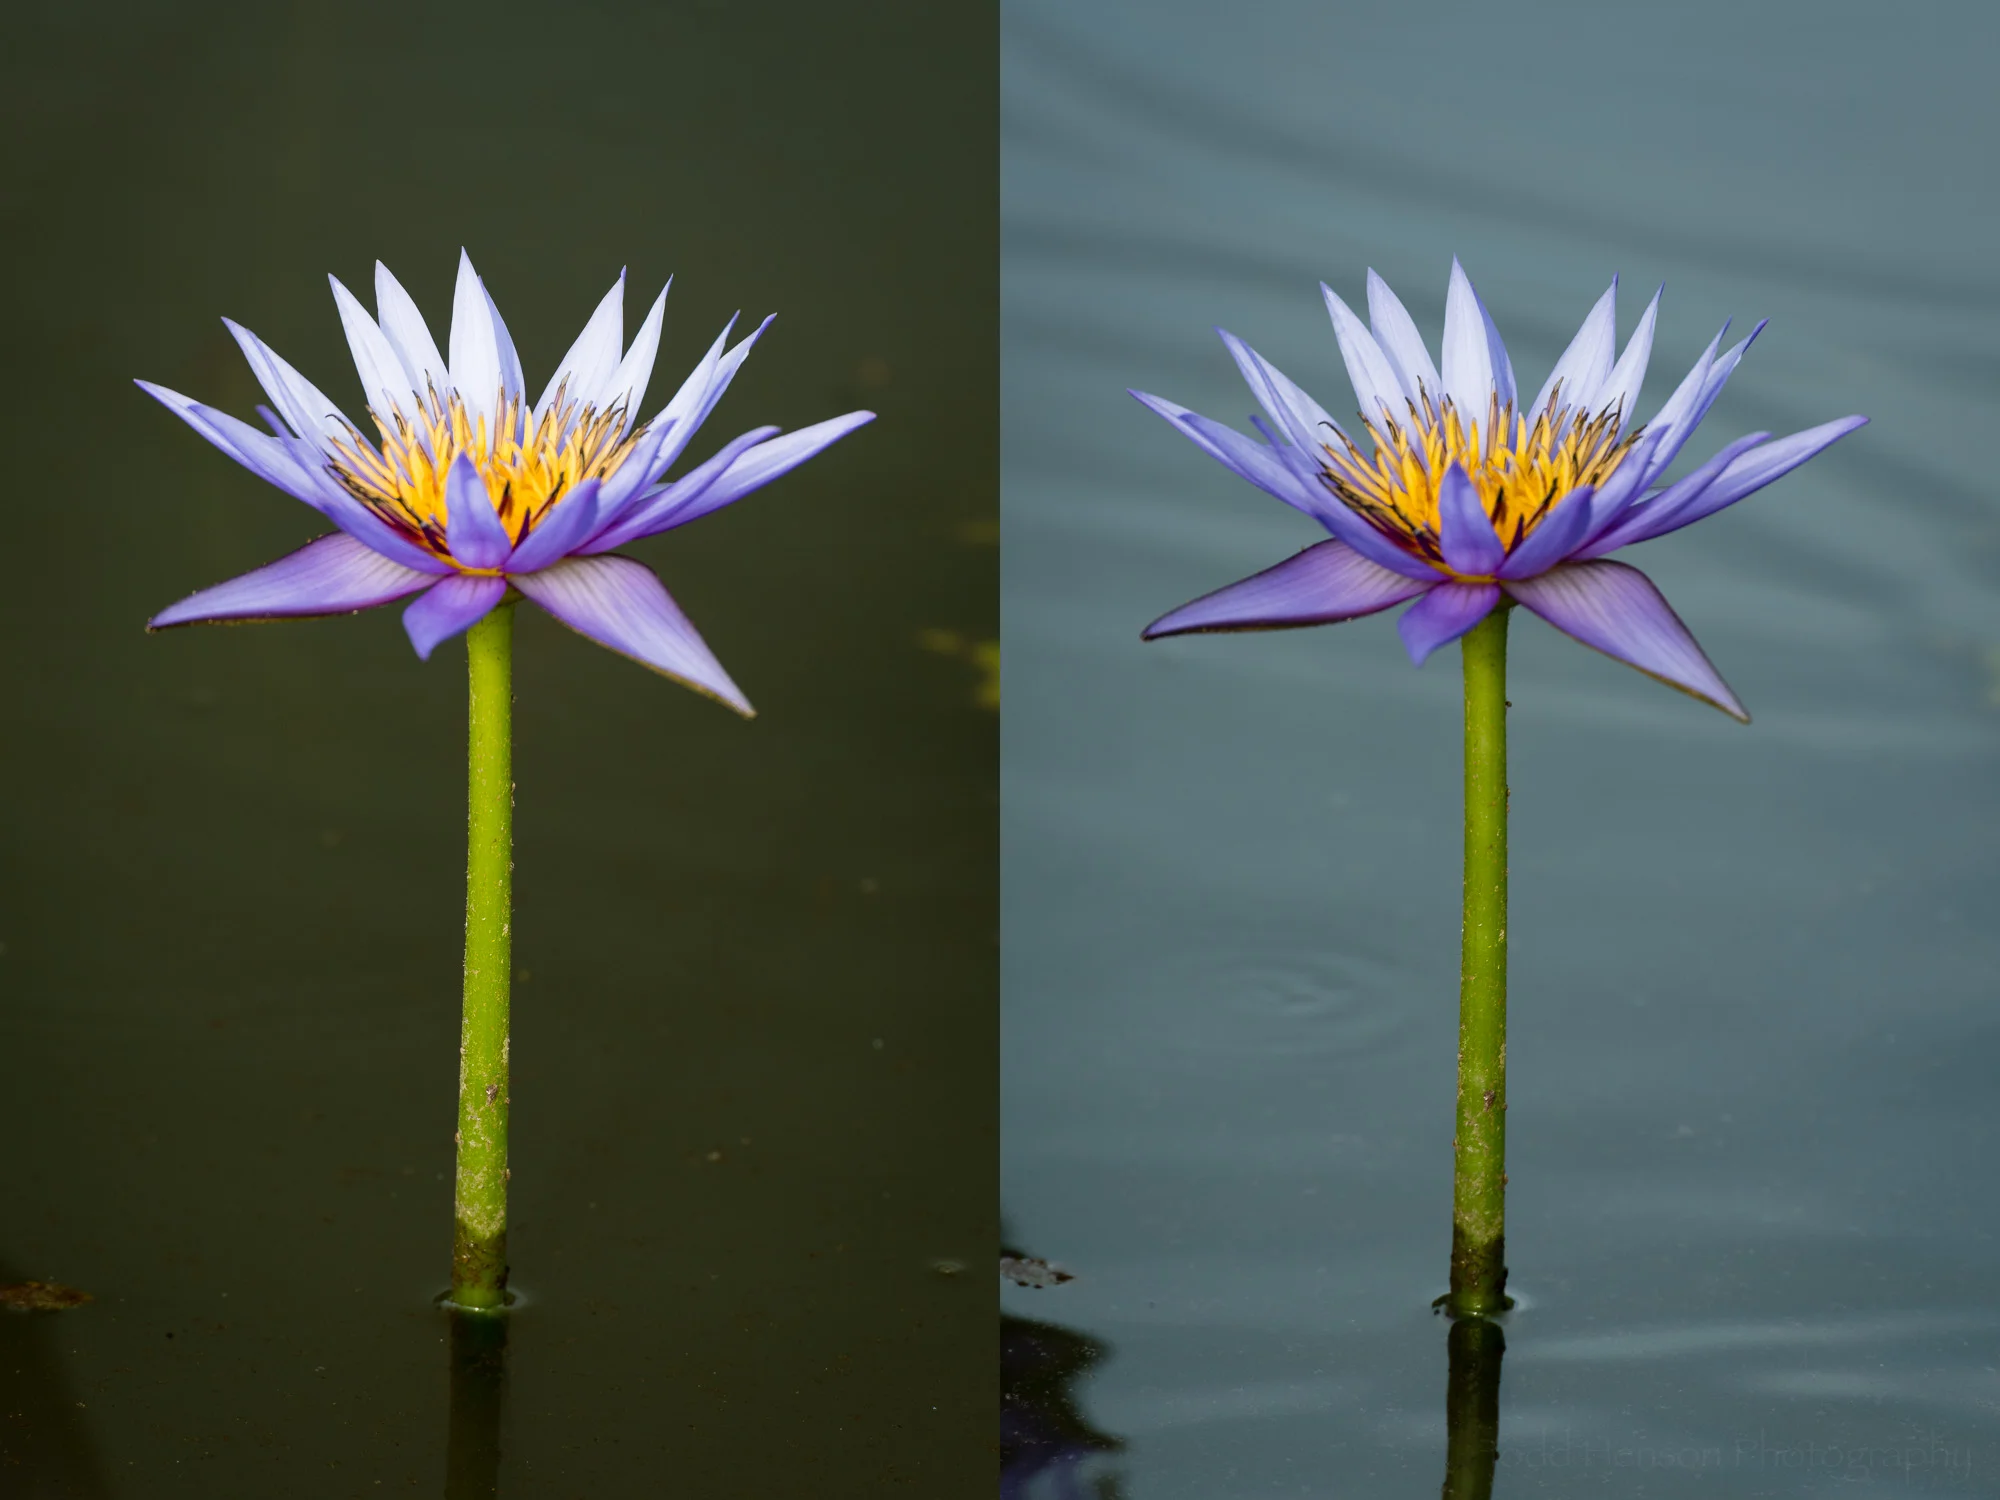
Below are before and after examples of each photo showing how it looked before I began processing in Lightroom and when I’d finished so you can see what effect this had. Click on each image to cycle between before and after

Final Thoughts

So what do you think? Have you tried this before? If not, give it a go. And you don’t have to photograph a bird to do this. You can chose any moving subject, such as a car or bicycle. In fact, you don’t even have to chose a moving subject. I’ve show before how you can use this technique on landscapes to create slightly more painterly views of the world. Give it a try, and let me know how it goes.

For other examples, see A Day for Abstracts in the Forest and Turbulence in Motion.


Do you enjoy these posts?

Sign up to receive periodic emails with updates and thoughts. Don’t worry, I won’t spam you. And please consider purchasing artwork or products from my online store, and using my affiliate links in the sidebar to the right when shopping online.

I appreciate your support!

Shooting From the Road by Todd Henson

There is a particular photographic technique, or perhaps style of photography, that I don’t practice often but have thoroughly enjoyed each time I have. And that is shooting from the road, from a moving vehicle. But before we get ahead of ourselves, lets get the required warning out of the way: Please only do this as a passenger. Never shoot from the road while driving. Seems pretty obvious, right?

Panning From the Road: Farm and Motion Blur

Farm from the road

My earliest successful attempt at shooting from the road might have been a short day trip my brother and I took many years back. While driving down a road I was taken by the scene of a farm and the green fields in front of it, so I had my brother drive back and forth several times. There was no one else on this road so we didn’t get in anyone’s way. What I was hoping for was a panned image where the barn and silos were sharply in focus but the green fields closer to the car were blurred from the motion of driving by them. I was remembering as a kid how much I enjoyed staring out the side window of a car watching the blurred fields beside the road. I wanted to capture something of this in a photograph.

This was a challenging photo to create. I needed a fast enough shutter speed, and good enough panning technique, to get the barn and silos in focus. But I needed a slow enough shutter speed to capture the motion blur of the nearby field. That’s why I had my brother drive back and forth several times so I could experiment with settings until I found something that worked for me. In the end I used the following lens/camera settings: 105mm, ISO 200, f/18, 1/20 sec.

A quick note on panning, if you’re not familiar with it. Panning is where you move your camera, tracking your subject as the subject moves (or in this case as we moved past the subject). It requires a steady hand if you’re using a slow shutter speed. It takes a lot of practice but it’s worth it, and lots of fun. Give it a try if you haven’t.

Panning From the Road: House in Focus

House from the road

Another example of panning from the road was of an attractive house my father and I saw as we were driving by on our way back from a visit to Blandy Experimental Farm. This time we didn’t drive back and forth, so I needed to get it right the first time. I wasn’t looking for blurred fields or grass, just capturing a nice image of the house and its lawn, so I used a much faster shutter speed. I shot a quick burst of frames as we passed by, panning with the house from the passenger side of the car. I had no idea at the time if I captured a decent image, but when I got home I was very pleased with the results. Here are the lens/camera settings I used: 80mm, ISO 400, f/8, 1/500 sec.

Shooting the Road Ahead

On the road

Another obvious way to shoot from a moving car is to photograph the road ahead. You still have options here as far as whether you want to capture some motion blur at the sides of the road or whether you want to try to freeze all motion. In my case for each of these I opted to mostly freeze all motion, so I used faster shutter speeds. I like the perspective these photos give, facing forward with the road in front, sometimes visible far into the distance. I think there’s an aspect of storytelling to it. Here are the lens/camera settings I used for the photographs below: 58 - 80mm, ISO 400, f/8.0, 1/640 sec.

Driving through the hills

On target at mile marker 100

Tips

One of the most important tips for shooting from the road is to experiment, try different settings, see how they affect the look of the image. You can introduce intentional blur, or you can try to reduce all blur and create sharp images, or some combination of them both. Try experimenting with depth of field. I really didn’t pay too much attention with that in these photos, but it’s an option you have.

This tip applies in just about any circumstance: practice! Panning can be a challenge so it’s worth practicing any chance you get. You can practice closer to home by tracking a bird in flight or a car in motion. Try to move the camera such that you keep the subject directly on the focus point.

Another tip is to use the vibration reduction feature of your lens or camera if they have it. This can help reduce some of the natural vibration you’ll encounter from the vehicle and help you get sharp images (if that’s what you’re trying for).

It might be a good idea to wash the windows of the car before setting out, especially if they’re very dirty. I’ll be honest, though, I didn’t do that for any of these photos.

Have you ever tried shooting from the road? What were your experiences? And if you haven’t tried this, do you think you will in the future? Let me know in the comments below.


Do you enjoy these posts?

Sign up to receive periodic emails with updates and thoughts. Don’t worry, I won’t spam you. And please consider purchasing artwork or products from my online store, and using my affiliate links in the sidebar to the right when shopping online.

I appreciate your support!

Turbulence in Motion by Todd Henson

On a recent walk through the woods I felt the pull to try something different, to experiment with a style of photography I don’t often practice, something more abstract and dynamic. I decided to use intentional panning of the camera to create motion blurred images of static scenes, something I’ve seen other photographers do but haven’t very often tried myself.

Horizontal panning, where you move the camera in a relatively straight line left and or right, is sometimes used to create beautifully abstract images of shorelines where there’s nothing distinct or recognizable in the photo but instead just a blur of lines and colors. The closet I can easily come to shoreline is along a creek or river, so that’s what I decided to try first. I experimented using longer or shorter shutter speeds, and I tried moving the camera both left and right during an exposure, as well as just moving left or just moving right. It was fascinating seeing all the various effects this created.

Inside Saturn

In this first image I swung back and forth very quickly, never stopping my motion. I was using a wide angle lens, 16 mm, and I was fairly close to the creek, so when I panned back and forth it created curved instead of straight lines. At first I’d considered trying to straighten them in software, but instead I decided to accentuate the curves by distorting them even more. To do this, instead of choosing my specific lens in Lightroom’s profile section I chose a GoPro lens profile, which created a more fisheye view. I also adjusted some of the colors, making them more saturated. I figured, there’s nothing real or recognizable in this, so no reason to stick strictly to what I saw.

Another fascinating effect you can create is when you’re panning but you slow down enough, or even stop for brief moments during the exposure. This created the image below, where there is still plenty of motion blur, but you can also see some of the scene, the creek below, the far banks and the trees of the forest beyond. Using the same techniques in slightly different ways can give vastly different results.

Creekside Flashbacks

Focusing downward, on the moving water of the creek and small sections of disturbance, while still panning horizontally, created the following image. I imagine it as a closeup of the storms on Jupiter with the beautiful bands of colored clouds, storms raging within. The browns at the top are from the bank on the other side of the creek. They are very streaked and blurred from the motion. Interestingly, the moving water has a very different look than the bank. Some of the water closest to the lens seems to have very little motion blur to it, while a small section of disturbed water flowing over rocks takes on the form of the white storm clouds.

Storms on Jupiter

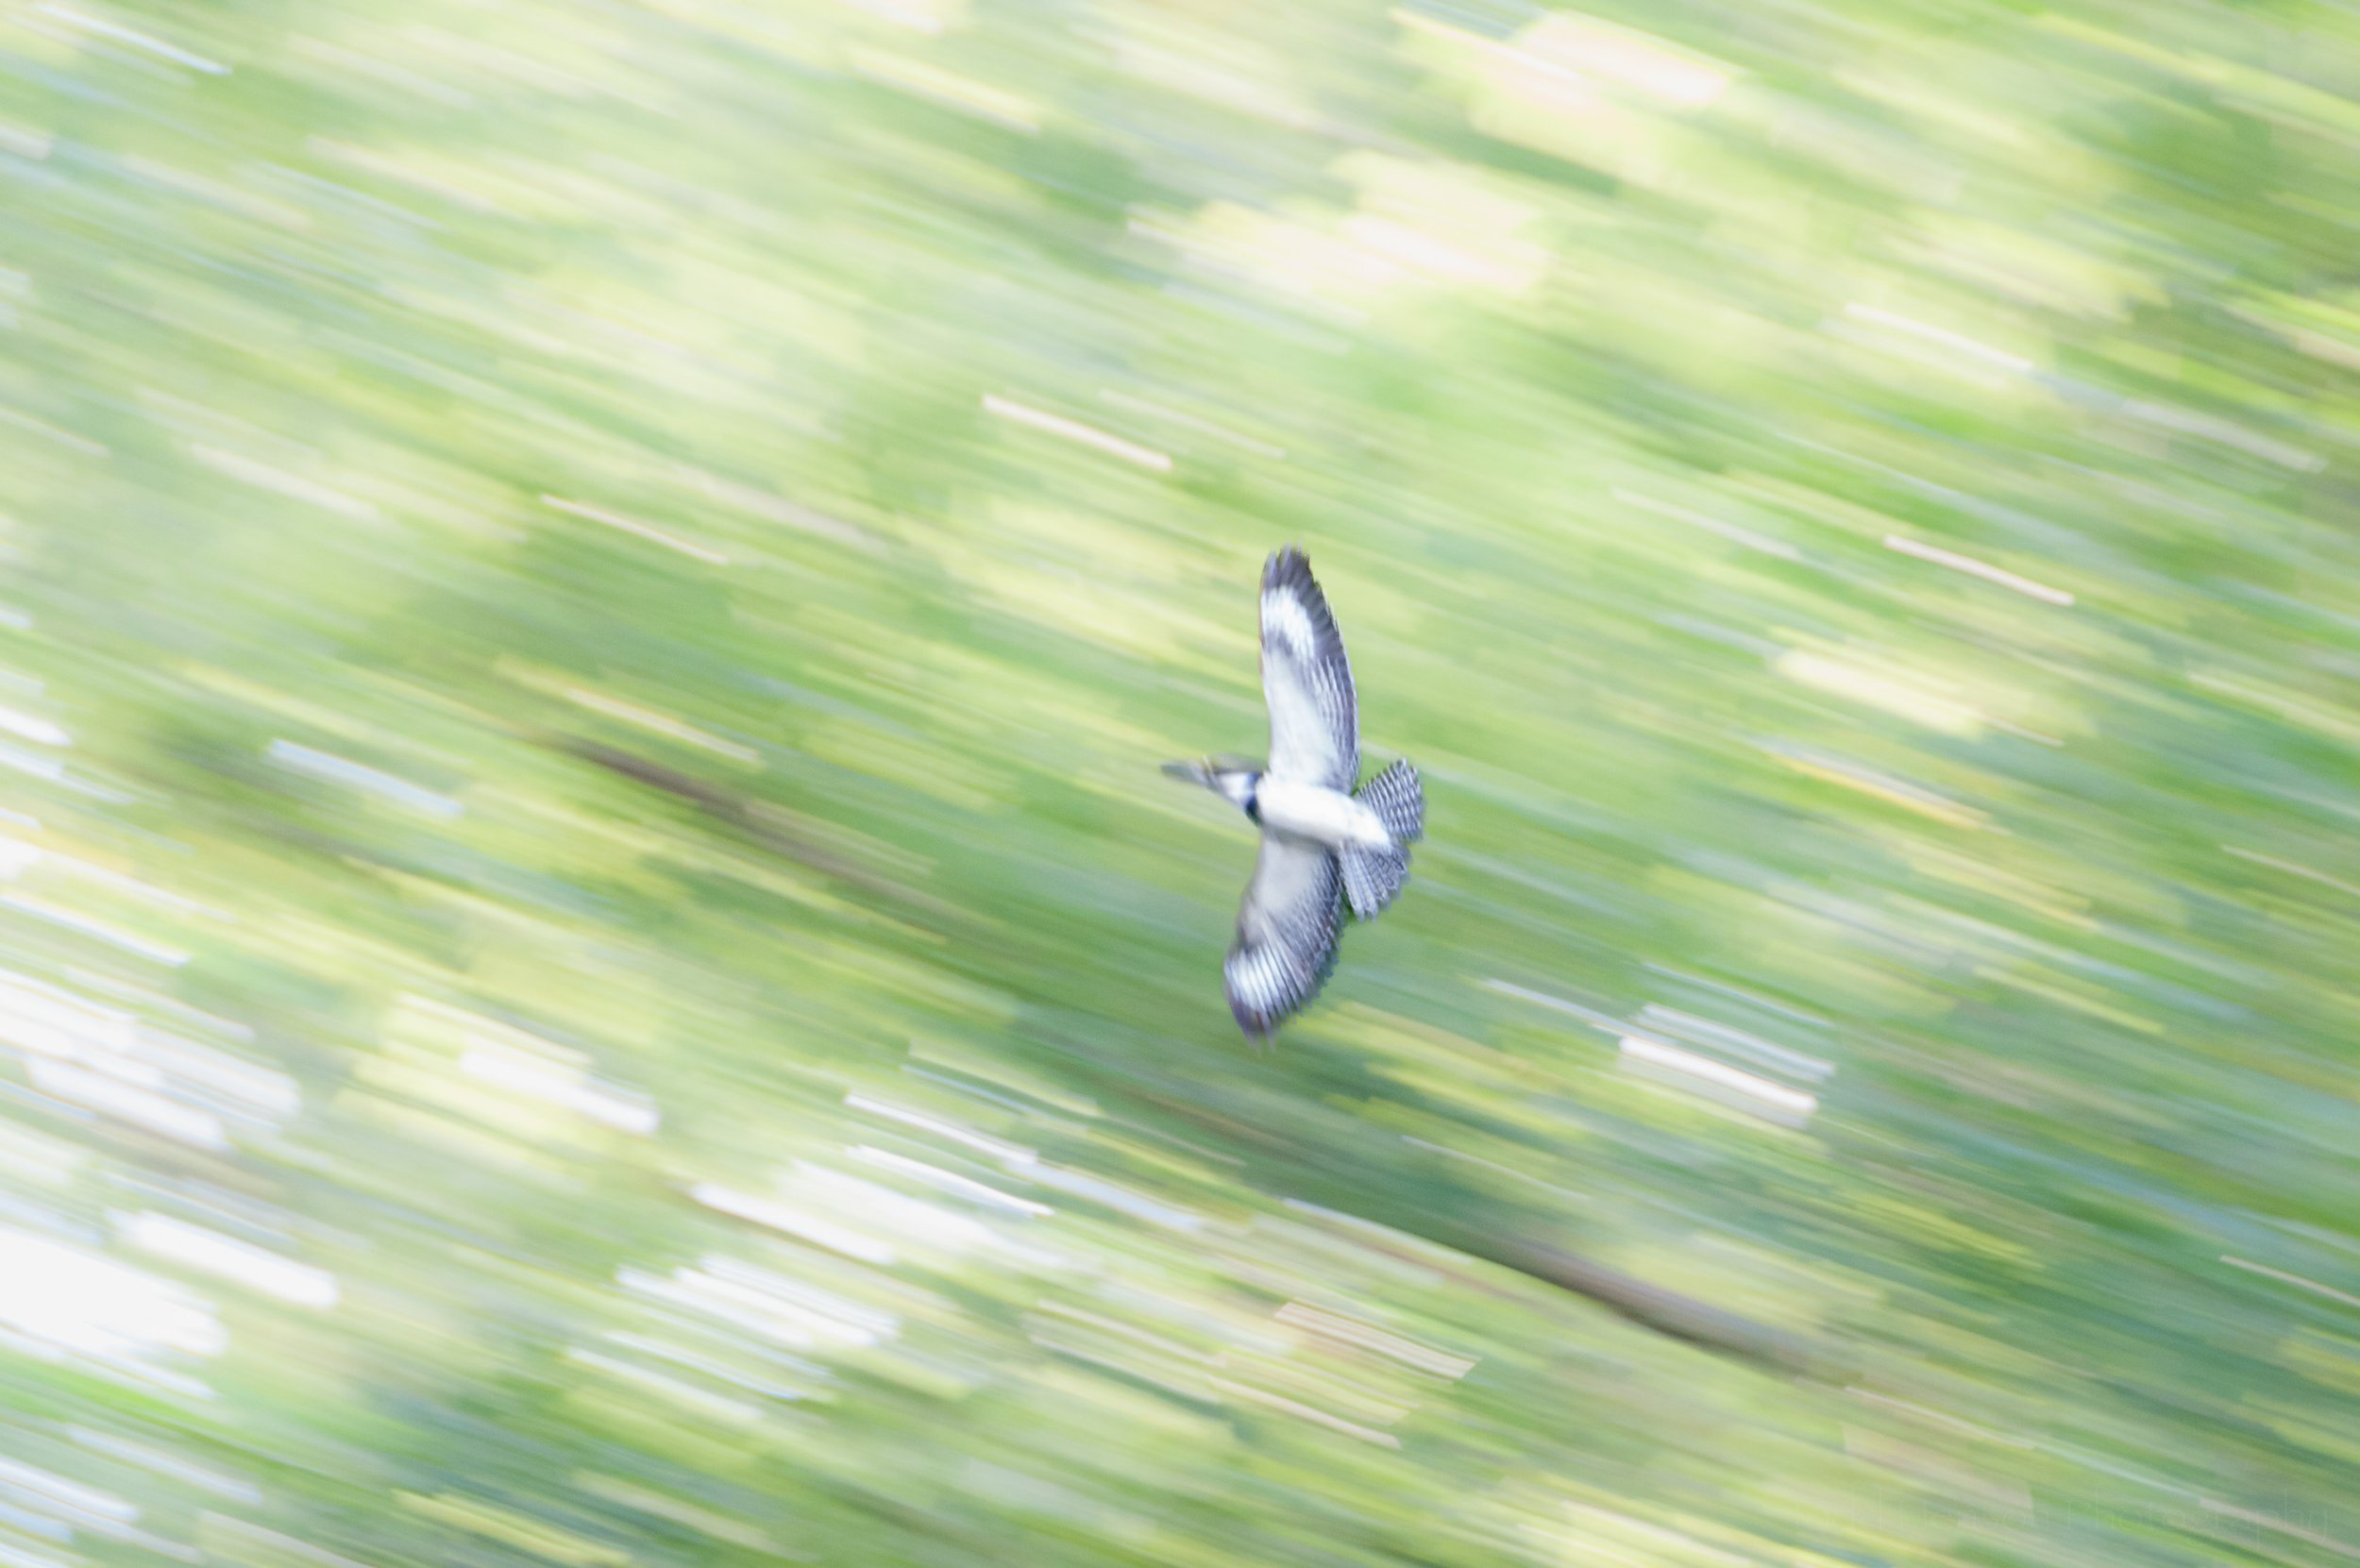
You can also pan vertically, up and down. As with the horizontal panning, you can pan both up and down in a single exposure, or pan just upward or just downward, each creating different effects. How fast you pan and when and where you start panning also make a difference. Below are two examples of panning vertically at a stretch of trees. The first includes some of the sky, whereas the second is of the forested hillside but stops just as it hits the sky.

Dancing Trees

Hillside

Finally, on the way out I decided to try the horizontal panning technique with the road. I love this effect. It gives the feel of being in a car looking out a window at the road and scenery flying by. And yet here, I was standing in one place and panning my camera along the road. With most exposures the road was blurry, but in this one I managed to capture the painted lines relatively well focused. It might have been interesting to do this as a car went by, panning with the car.

The Road in Motion

If these techniques are new to you then give them a try sometime. The key is creating slow enough shutter speeds to let you move the camera during the exposure. To do this you can lower your ISO as low as your camera allows and stop down your aperture until you get slow enough shutter speeds. In the case of these images I used ISO 100, apertures between f/18 and f/22, and shutter speeds of 1/20 to 1.3 seconds. The rest is all about moving your camera. And you don’t need to restrict yourself to horizontal or vertical movement, you could also rotate it or move it in various directions. Experiment!

One final comment on post-processing these. By using such small apertures you will begin to notice sensor dust in your images. That’s an unfortunate side effect of small apertures, the depth of field is so great you start to see actual dust accumulated on your camera sensor. This is easy enough to get rid of in software, but you should know to look for it. You’d think with photographs this abstract it wouldn’t be a concern, and yet it really stood out in some places.

I had a lot of fun creating these images. Sometimes experimenting and using techniques you usually don’t can be an exhilarating experience, giving you new ways to look at the world around you, new ways to visualize the sorts of photographs you’re capable of creating. I hope you’ve enjoyed this, and I hope it inspires you to try your own experiments.


Do you enjoy these posts?

Sign up to receive periodic emails with updates and thoughts. Don’t worry, I won’t spam you. And please consider purchasing artwork or products from my online store, and using my affiliate links in the sidebar to the right when shopping online.

I appreciate your support!